
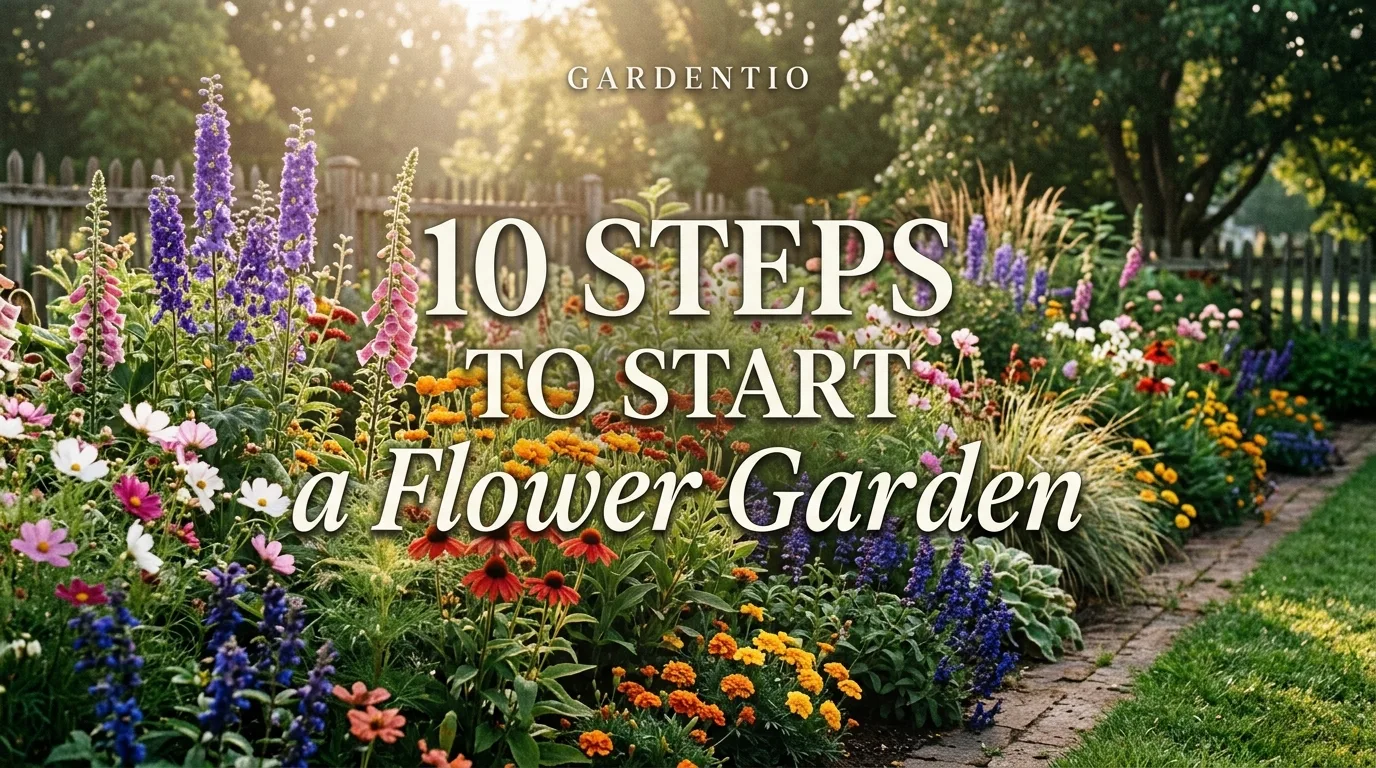
10 Steps to Start a Flower Garden
There’s a specific kind of overwhelm that hits the first time you stand in an empty patch of yard trying to picture actual flowers there instead of just grass or bare dirt. Every gardening feed and store display shows finished results, full borders, layered color, nothing about how any of it actually got started. Learning how to start a flower garden really comes down to a handful of decisions made in order: where it goes, what soil it needs, which flowers to choose, and how far apart to space them so they don’t crowd each other out by midsummer. None of it requires special skill, just doing the steps in a sensible sequence instead of buying plants first and figuring out the rest later, which is how most flower beds end up patchy or overgrown in their first year. This walks through the ten steps that take you from an empty patch of yard to a flower garden that actually blooms the way you pictured it, starting with the one decision everything else depends on: where the bed goes.
1. Pick a Site Based on Real Sun Exposure
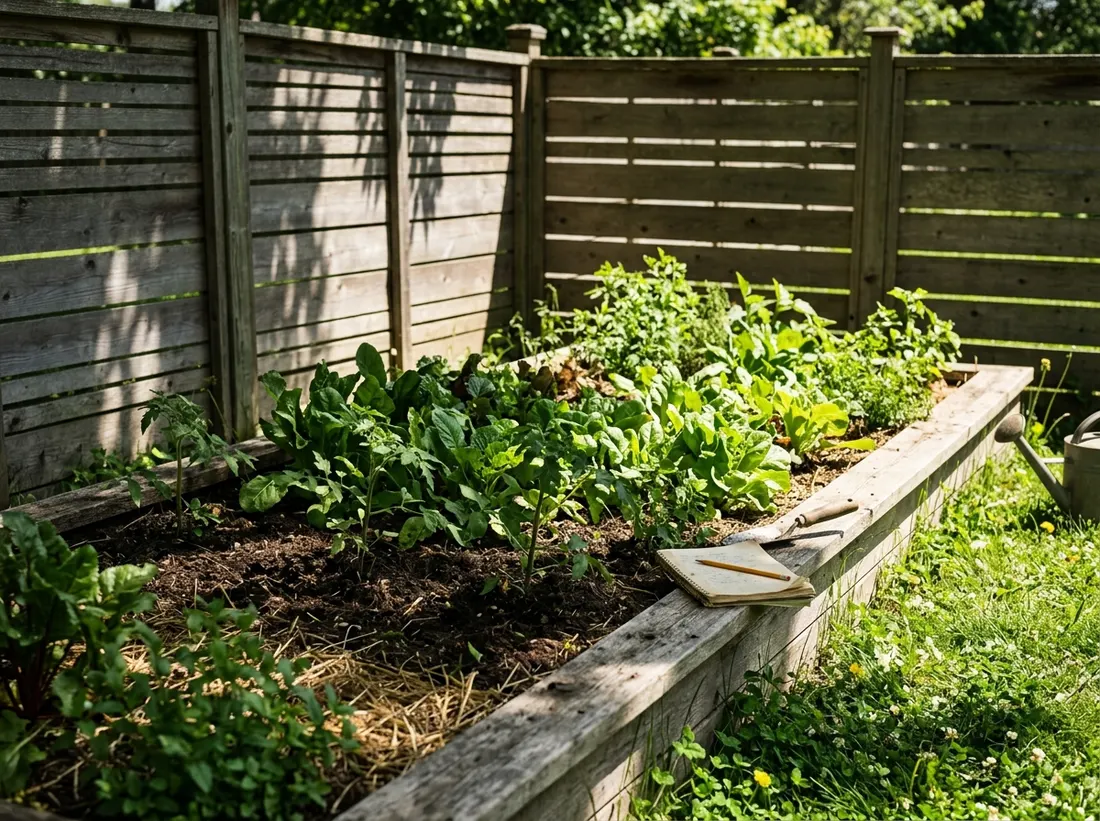
Watch your chosen spot across a full day, morning, midday, and late afternoon, before committing to it, since most flowering plants need six or more hours of direct sun to bloom well. A site that looks bright at noon can still be shaded by a fence or tree for half the day. Full-sun flowers like zinnias, cosmos, and coneflower need that six-hour minimum, while shade-tolerant options like impatiens and astilbe do fine with three to four hours of filtered or morning light.
2. Test and Prepare the Soil
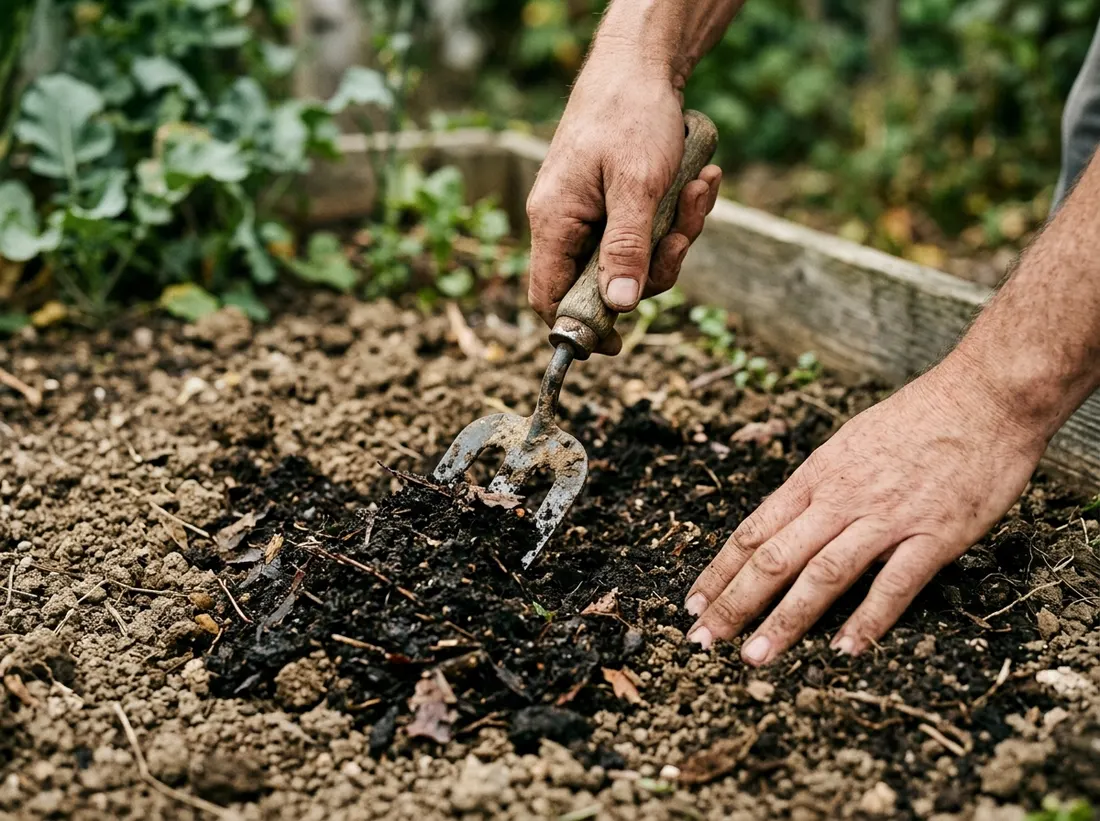
Dig a small hole about six inches deep and check the texture, soil that’s mostly clay drains slowly and needs organic matter worked in, while sandy soil drains fast and needs the same fix for a different reason, to help it hold moisture. Mix two to three inches of compost into the top eight inches of soil across the whole bed. A basic soil test, either a home kit or one through your local extension office, tells you the pH, and most flowering plants prefer a slightly acidic to neutral range between 6.0 and 7.0.
3. Decide on a Color and Bloom-Time Scheme
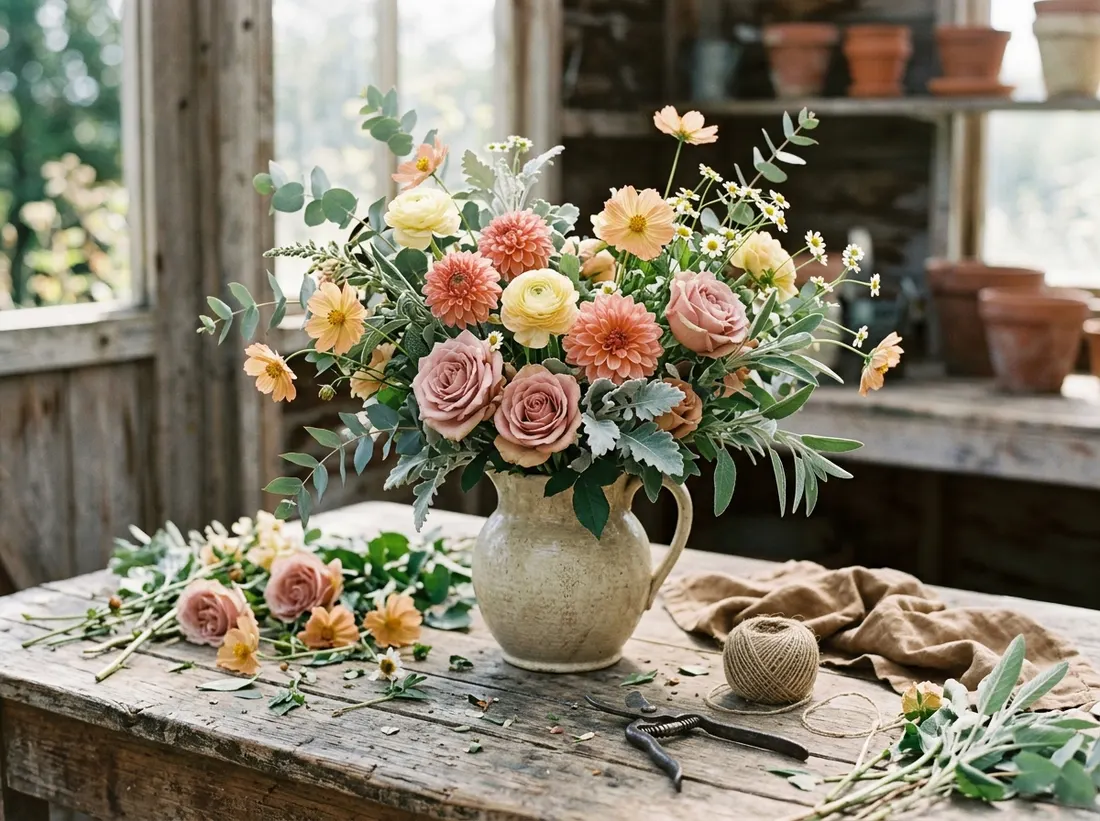
Pick a color palette, whether that’s a tight two-or-three-color scheme or a fuller mixed-color cottage look, before you start choosing individual plants, since this decision shapes every choice after it. Just as important, plan for bloom time so something is flowering across the whole season rather than one big burst in June that fades by July. Combine early bloomers like tulips and daffodils, midseason plants like coneflower and salvia, and late-season bloomers like asters and sedum so the bed stays active from spring through fall.
4. Choose Between Bulbs, Seeds, and Starts
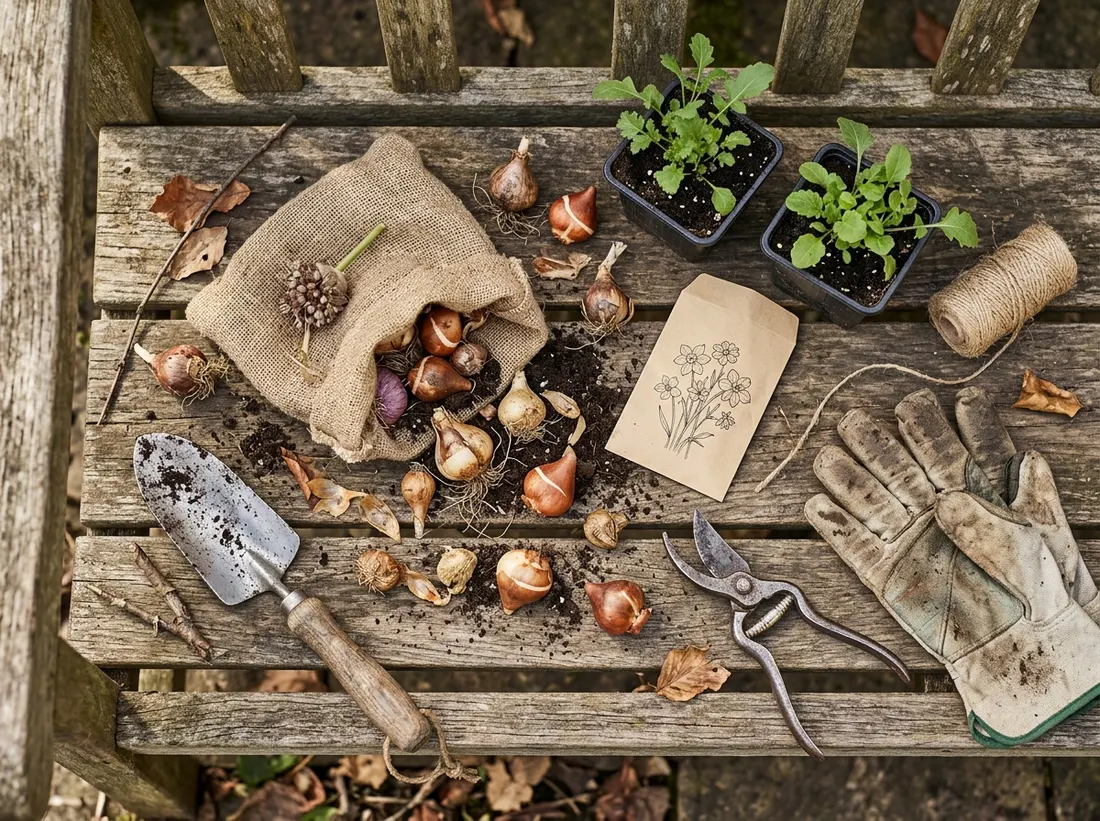
Bulbs, seeds, and nursery starts each suit different situations. Bulbs, planted in fall for spring bloomers like tulips and daffodils, need almost no care beyond planting at the right depth, usually two to three times the bulb’s height. Seeds cost the least and offer the widest variety, but need more patience, often six to ten weeks from sowing to bloom. Starts, young plants from a nursery, cost more per plant but give you an instantly filled-in look and a head start on bloom time in the first season.
5. Map Out Spacing for Mature Plant Size
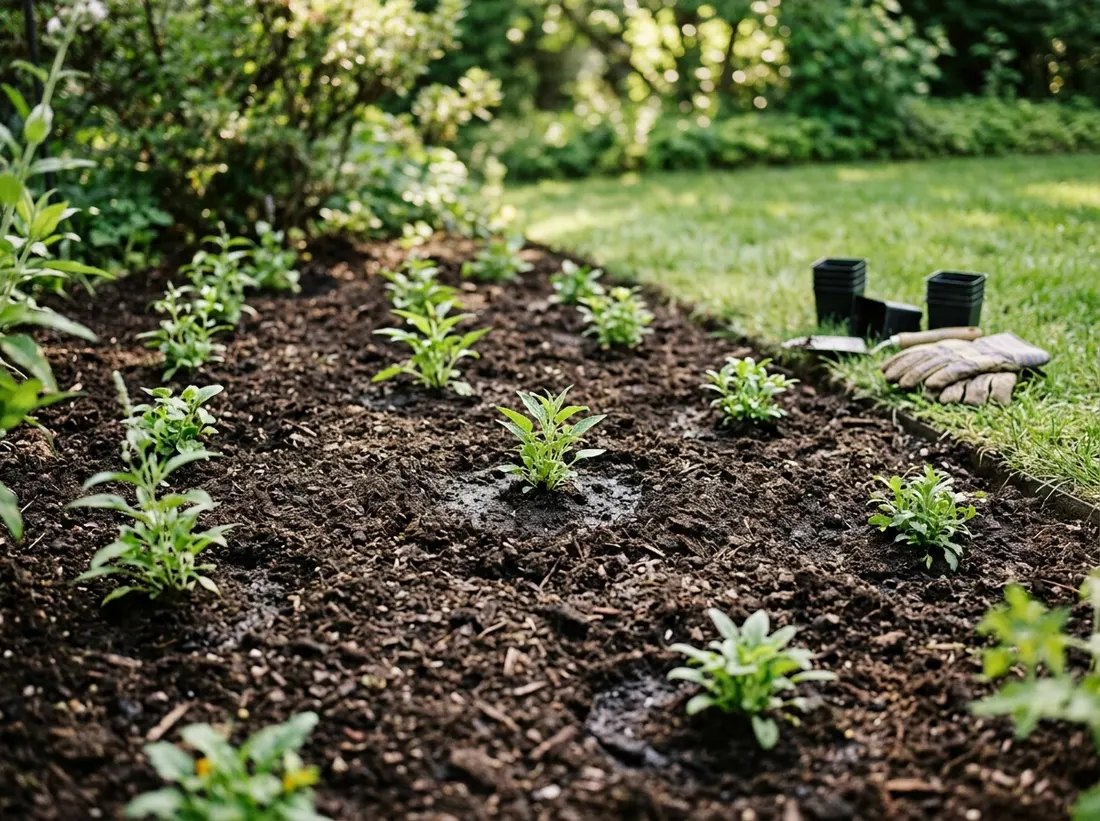
Space plants according to their mature spread, not their size at planting, since a bed that looks sparse in May can turn into a crowded, airflow-choked mess by August if plants are set too close. Check the tag or seed packet for mature width and use that number, not a guess, spacing taller background plants 12 to 18 inches apart and shorter border plants 6 to 10 inches apart depending on the specific variety.
6. Plan the Layout by Height
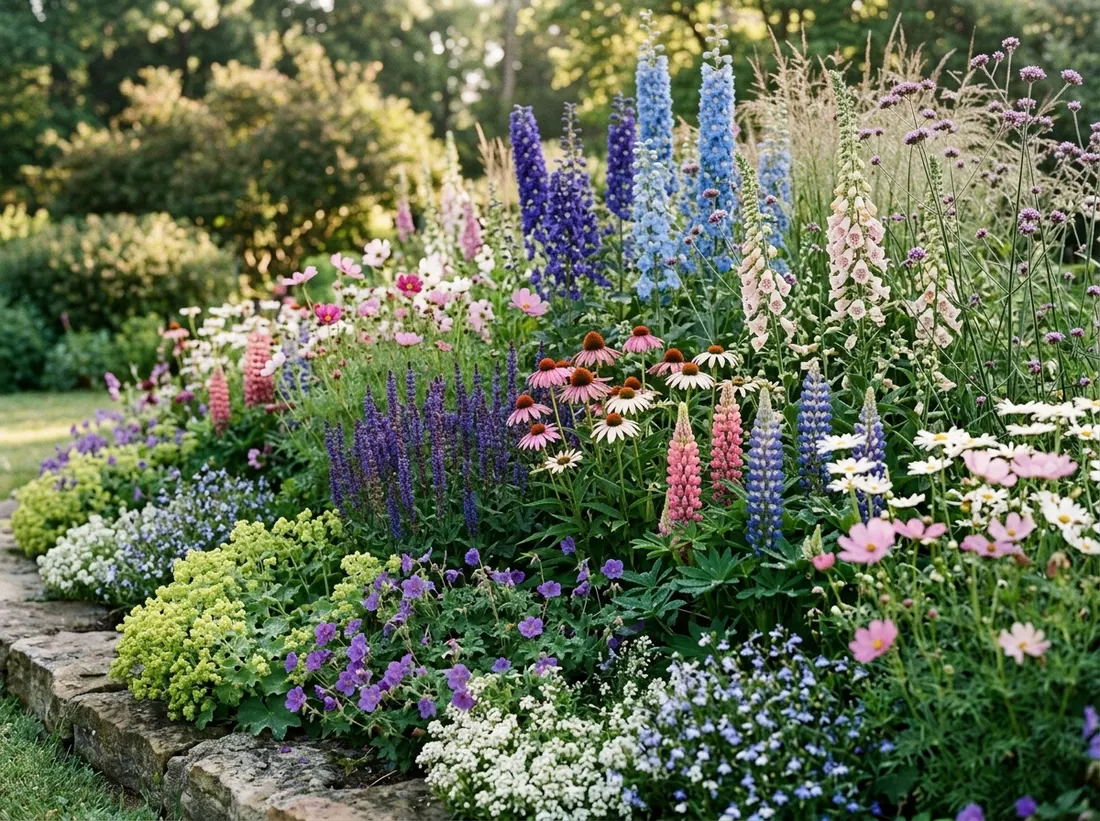
Arrange the bed with taller plants toward the back or center, depending on whether it’s viewed from one side or all around, and shorter plants toward the front or edges. This keeps every plant visible instead of shorter flowers getting hidden behind taller neighbors. A rough rule of thumb: background plants over 24 inches, midground plants 12 to 24 inches, and edging plants under 12 inches, layered in that order from back to front.
7. Prepare the Bed’s Edges and Borders
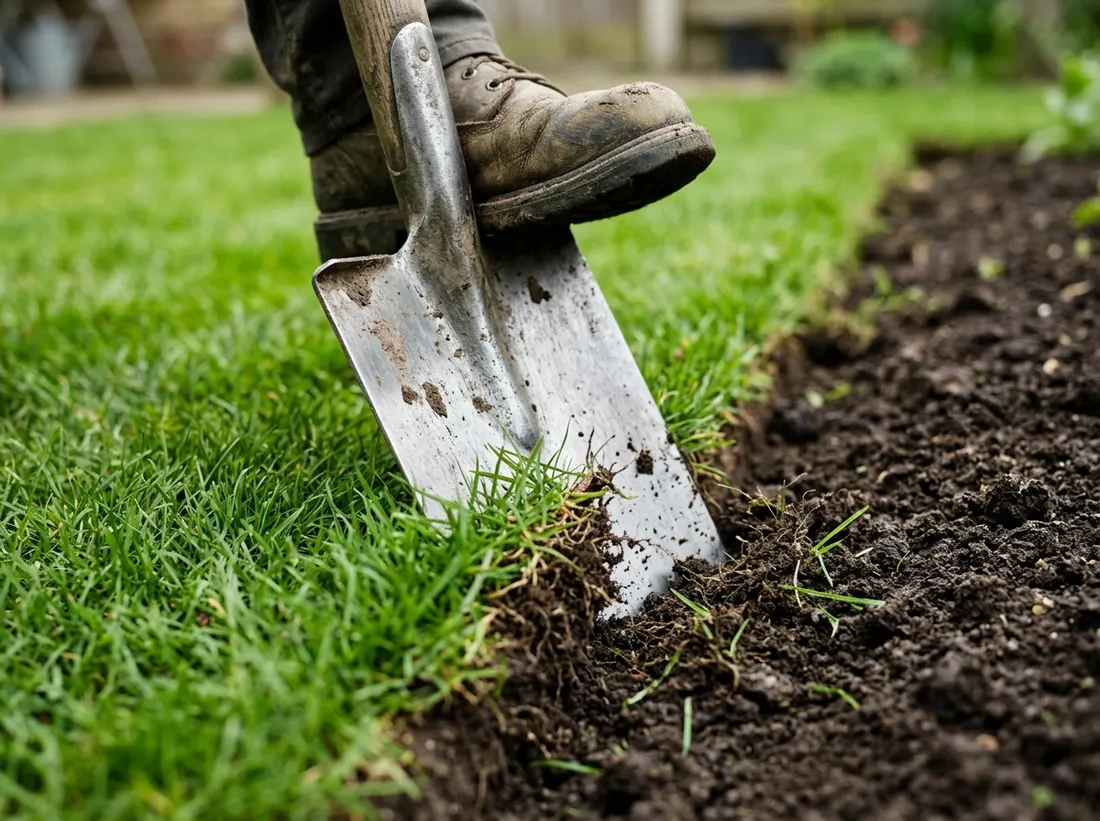
Define the bed’s outline with a spade-cut edge, physical edging material, or a mulched border before planting, since a clear boundary keeps grass from creeping in and makes the whole bed read as intentional rather than accidental. This step is easiest to do before any plants go in, since working around established plants to fix a sloppy edge later is far more tedious.
8. Plant at the Right Time for Your Climate
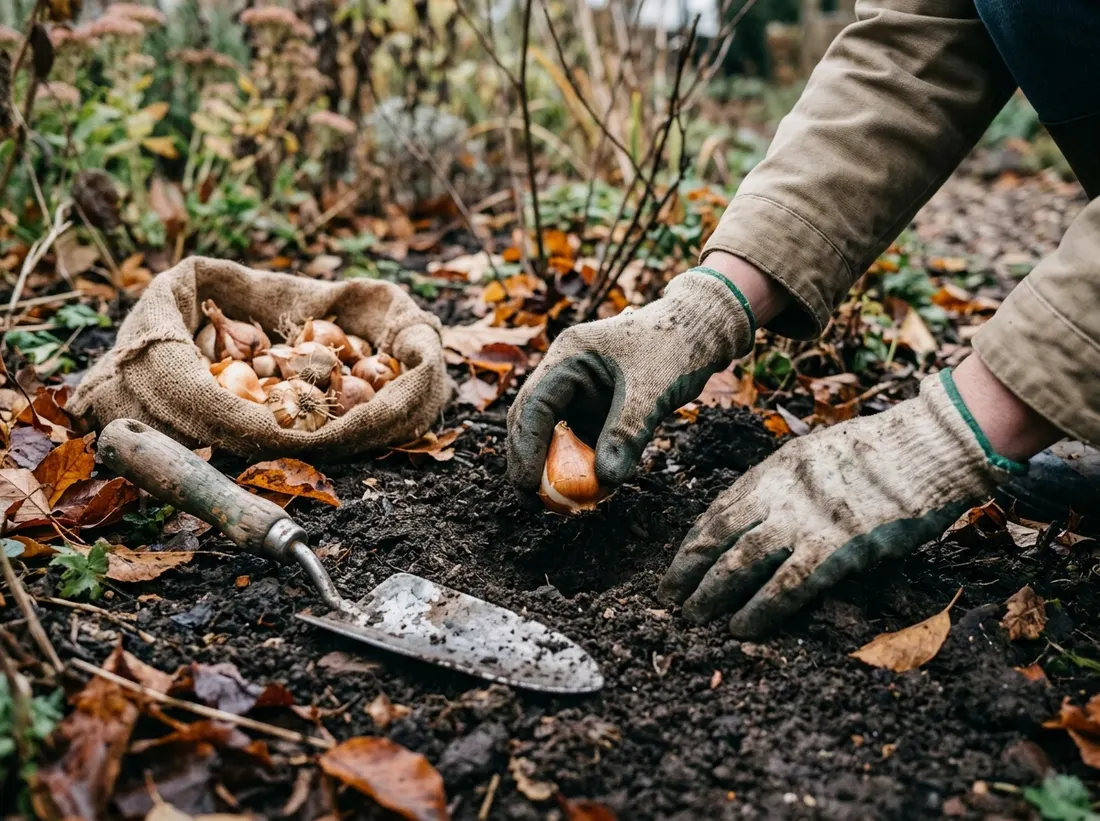
Timing depends heavily on your specific climate zone, so check your local frost dates rather than following a generic calendar date. Hardy bulbs generally go in the ground in fall, six weeks before the ground freezes, while most annuals and tender perennials go in after the last spring frost has passed. Cool-season flowers like pansies and snapdragons tolerate a light frost and can go in a few weeks earlier than heat-loving annuals like zinnias and marigolds.
9. Water Deeply After Planting and Through Establishment
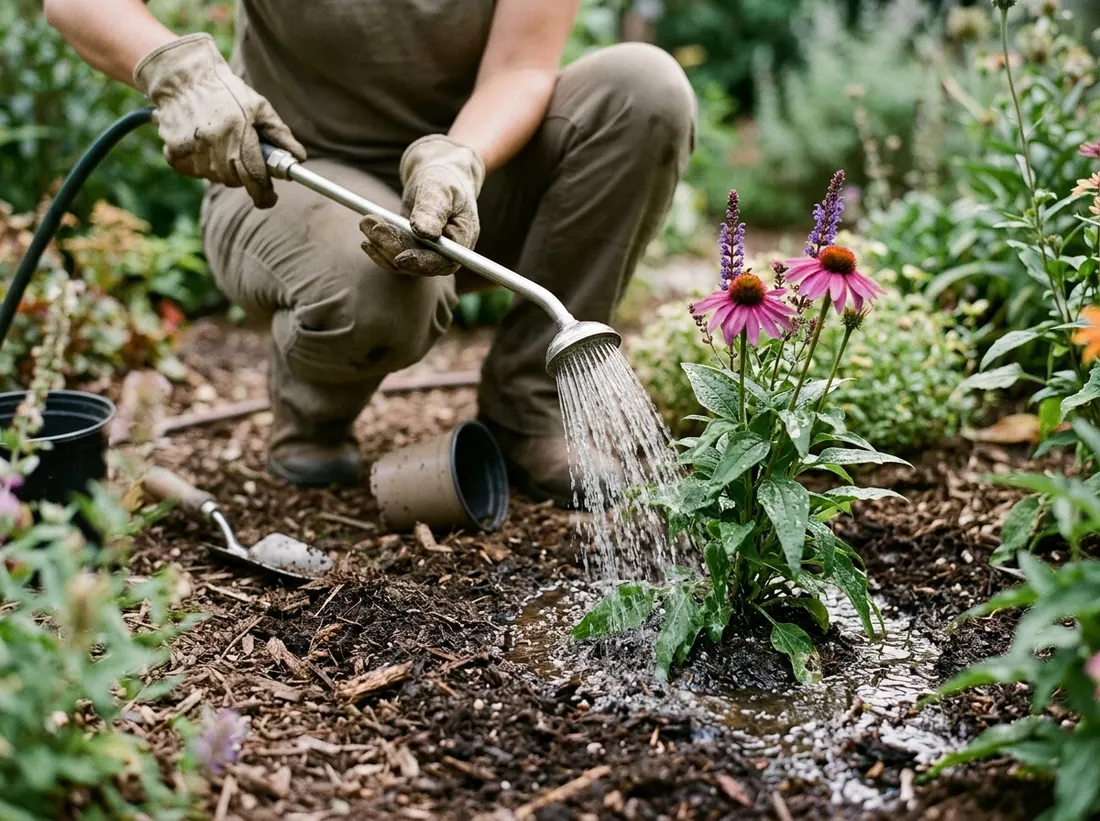
Water new plantings deeply right after they go in the ground, then keep the soil consistently moist, not soggy, for the first two to three weeks while roots establish. After that window, most established flowering perennials need less frequent but deeper watering, roughly once or twice a week depending on rainfall, rather than a light daily sprinkle that only wets the surface.
10. Deadhead and Maintain Through the First Season
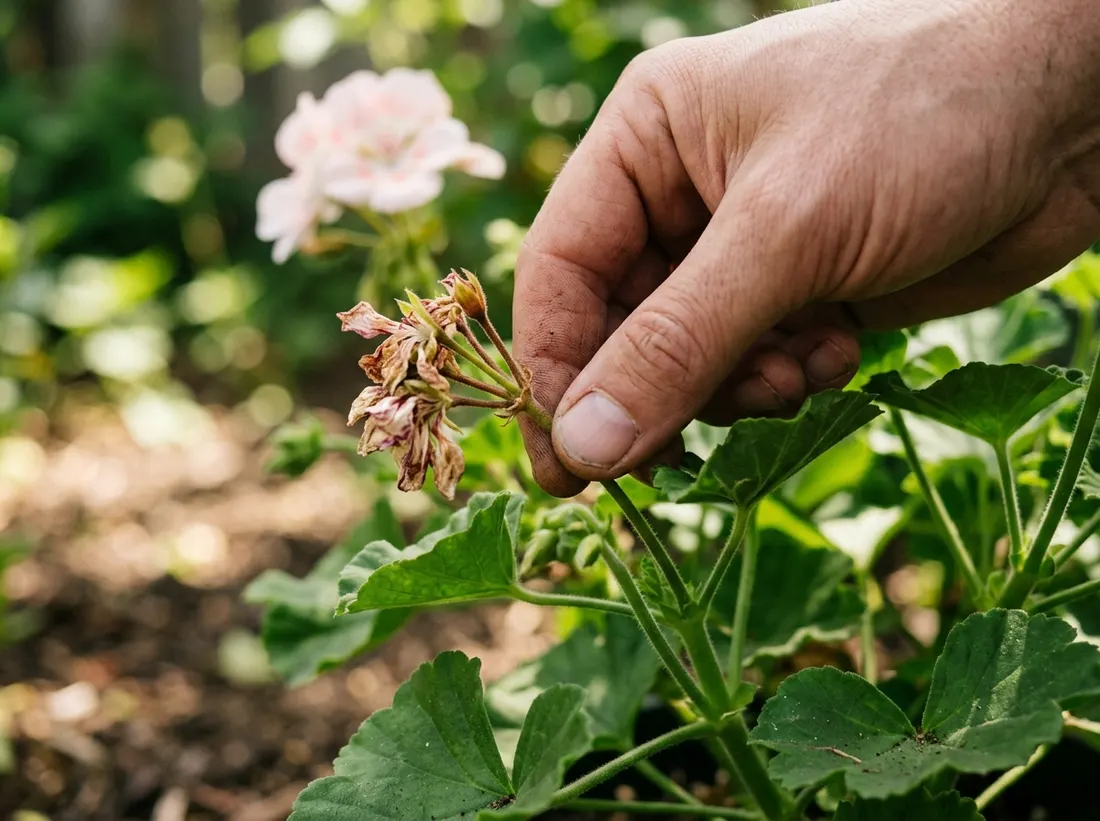
Remove spent blooms regularly through the first season to encourage most annuals and many perennials to keep producing new flowers instead of putting energy into seed production. A simple pinch or snip just below the spent bloom, back to the first set of healthy leaves, takes only a few minutes done weekly. This one habit does more to keep a new flower garden blooming through the full season than almost anything else on this list.
Conclusion
Starting a flower garden comes down to sequence more than skill: assess the sun, fix the soil, plan the color and bloom timing, then choose and space the actual plants. Skip ahead and buy flowers before working through those earlier steps, and you’ll likely end up moving plants around later or watching a bed that never quite fills in right. Work through these ten steps in order for your first bed, and the process gets faster and more intuitive for every bed after it. By the time the first blooms open, the planning stage will feel like it was worth every bit of the wait.
Frequently Asked Questions
How do I start a flower garden from scratch as a beginner?
Start by assessing your site’s actual sun exposure across a full day, then prepare the soil with compost before choosing any plants. Pick a color and bloom-time scheme next, then select bulbs, seeds, or starts based on your patience and budget, and space everything according to mature plant size rather than how it looks at planting time.
Should beginners plant flower seeds or buy starter plants?
Starter plants from a nursery are usually easier for a first flower garden since they give you an immediate, filled-in look and a head start on blooming that season. Seeds cost less and offer far more variety, but need more patience, often six to ten weeks between sowing and the first bloom.
How far apart should flowers be planted?
Spacing depends on the specific plant’s mature width, not its size at planting, generally 12 to 18 inches for taller background flowers and 6 to 10 inches for shorter border plants. Always check the seed packet or plant tag for the exact mature spread rather than guessing. Planting too close feels efficient at first, but it leads to crowded growth and poor airflow, which raises the risk of fungal problems later in the season.
When is the best time to plant a flower garden?
Timing depends on your climate and the specific plant type. Hardy bulbs go in the ground in fall, roughly six weeks before the ground freezes, while most annuals go in after your area’s last spring frost date, which varies significantly by region. Cool-season flowers like pansies and snapdragons tolerate a light frost and can go in a couple of weeks earlier than heat-loving annuals such as zinnias and marigolds.
How often should new flower plantings be watered?
Water deeply right after planting, then keep the soil consistently moist for the first two to three weeks while roots establish. After that, most established flowering plants need deeper watering once or twice a week rather than a light daily sprinkle, adjusted for your local rainfall. Watering at the soil level instead of overhead also keeps foliage drier, which helps avoid fungal issues in humid climates.
Do I need to deadhead flowers to keep them blooming?
Deadheading isn’t strictly required, but it makes a real difference for most annuals and many perennials, since removing spent blooms stops the plant from putting energy into seed production and encourages it to keep flowering instead. A quick weekly pinch or snip just below the faded bloom is usually enough to keep a first-season bed producing new flowers.