13 Steps to Plan Your Garden Before You Start Digging
There’s a specific kind of regret that shows up around July: a garden bed in the wrong spot, plants that needed twice the space they got, or a whole section that never got enough sun to produce anything. I’ve seen it happen to first-time gardeners who skip straight from “I want to start a garden” to buying seeds and turning soil the same weekend. Learning how to start a garden the right way means separating the thinking from the doing, and doing the thinking first. Every step in this planning guide happens before a shovel touches the ground: picking your site, mapping its sun, setting a budget, sketching a layout, and building a tool checklist. None of it takes more than a notebook and an afternoon or two, but skipping it is exactly what causes most of the regrets gardeners mention after their first season. Once you’ve worked through these thirteen steps, you’ll be genuinely ready to dig. Start with the single decision that shapes everything else: where the garden goes.
1. Choose Your Garden Site First
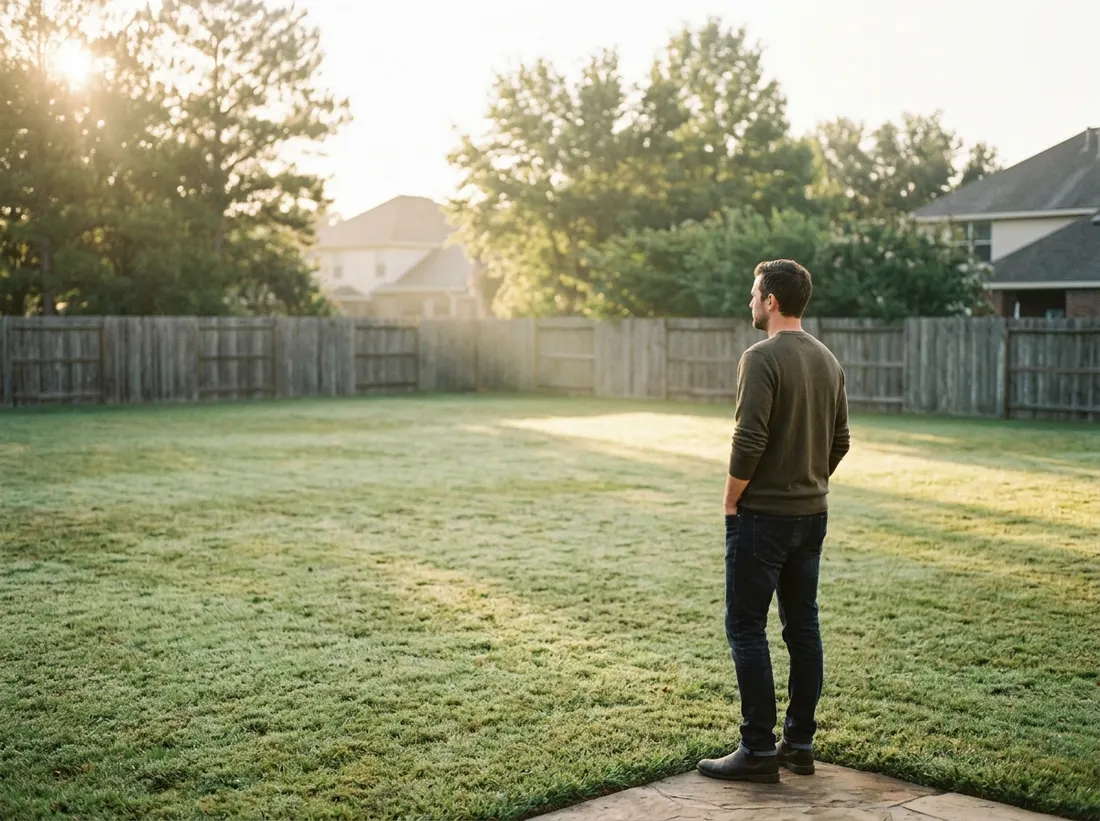
Every other decision in this list depends on where your garden physically sits, so settle this before anything else. Walk your yard and look for a spot that’s reasonably flat, drains well after rain instead of holding puddles, and sits within reach of a hose or spigot. Avoid low spots where water collects and areas directly under large trees, since roots and shade both compete with vegetables. If your only realistic option is a patio or balcony, that’s fine too; it just means your later decisions will lean toward containers instead of ground beds.
2. Map the Sun Across Your Chosen Spot
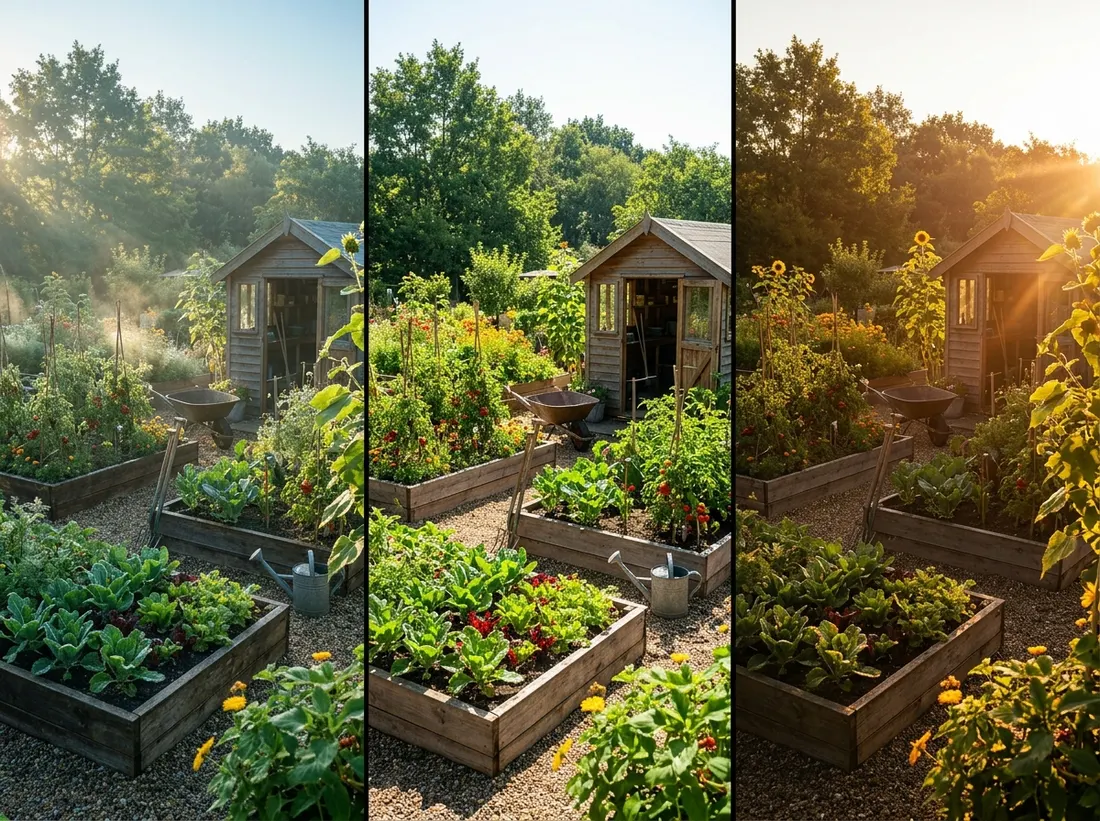
Watch your chosen site at three points in the day, morning, midday, and late afternoon, over the course of a week if you can, and note how many hours of direct sun it gets. Most fruiting vegetables like tomatoes, peppers, and squash need at least 6 hours of direct sun, while leafy greens and herbs can tolerate partial shade with 3 to 4 hours. Sun mapping matters more in spring, since trees that are bare in March can fully shade a bed by June once they leaf out. Write down what you observe rather than trusting memory once the growing season starts.
3. Check Your Local Frost Dates
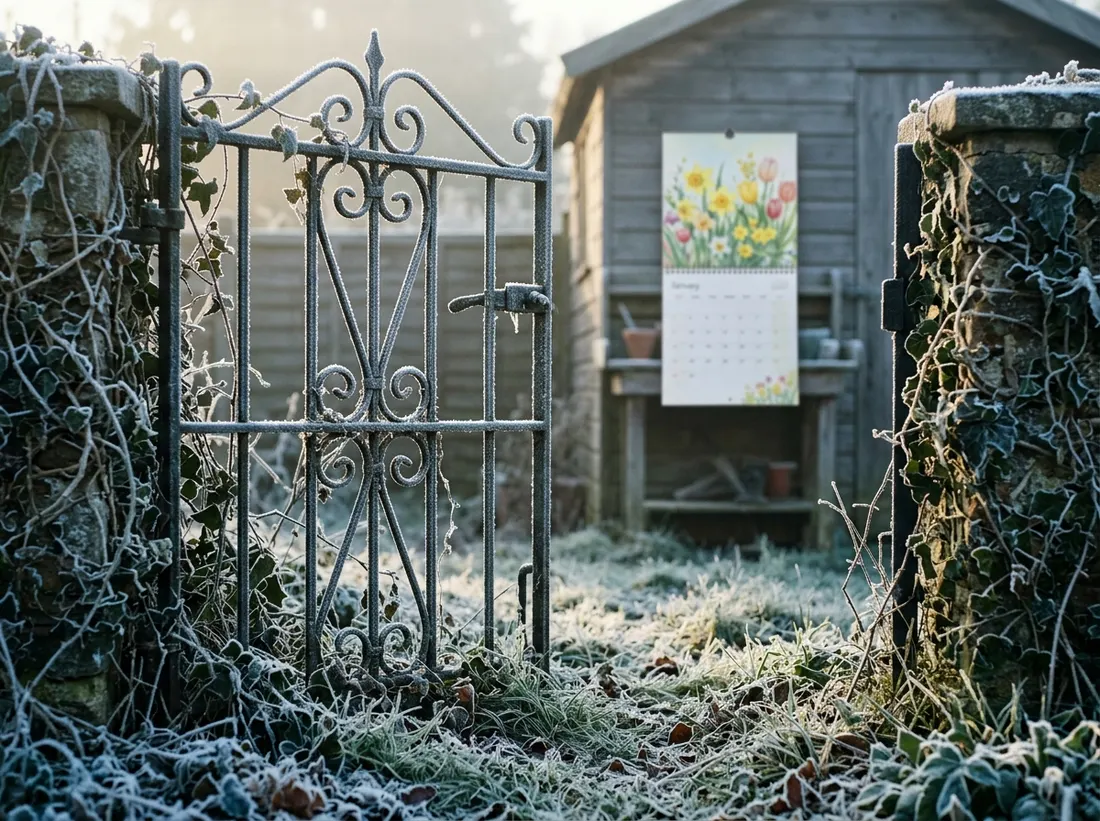
Your local average last spring frost date and first fall frost date determine your entire growing calendar, so look these up before planning anything else time-sensitive. Frost dates vary widely by region, a gardener in a warm coastal climate might have no frost at all, while a northern climate might have a frost-free window of only 4 to 5 months, so never assume a date you’ve seen online applies to your specific area. Your local agricultural extension office or a regional gardening resource is the most reliable source for this number. Keep this date written down alongside your layout notes, since it affects both what you grow and when.
4. Decide What You Actually Want to Grow
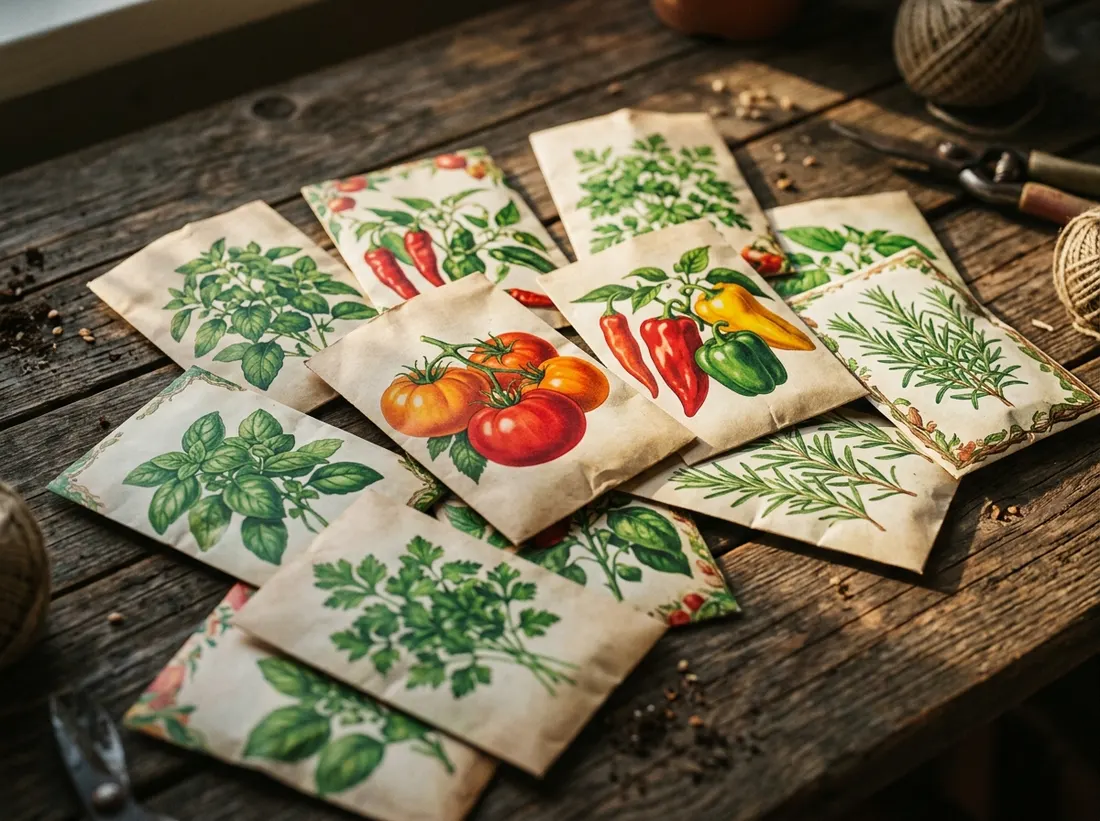
Make a list of vegetables and herbs your household actually eats before you plan bed sizes or shapes, since the crops you choose determine how much space, sun, and support structure you’ll need. A plan built around tomatoes, peppers, and herbs looks very different from one built around squash, corn, and pumpkins, which need far more room to sprawl. Keep the first-year list modest, 5 to 8 crops is plenty, since a long wish list is one of the fastest ways to end up with more garden than you can manage.
5. Set a Realistic Budget Before You Shop
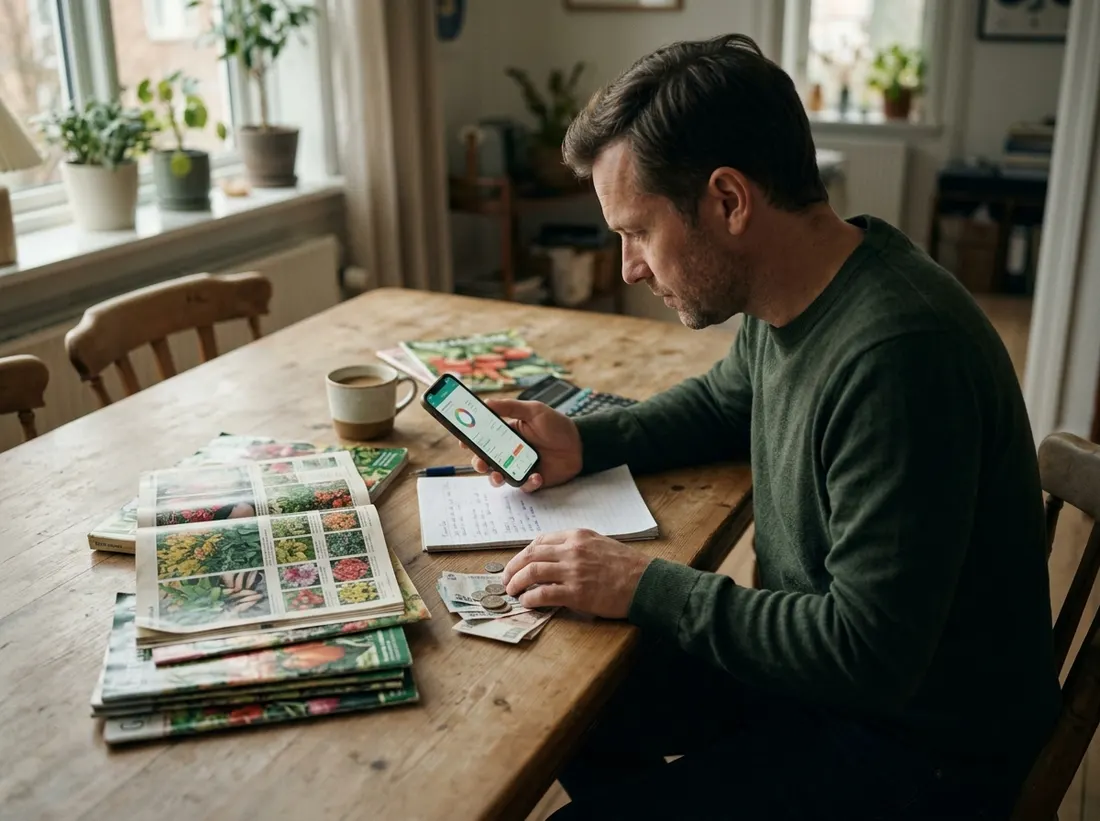
Decide roughly how much you’re willing to spend before you start pricing lumber, soil, seeds, and tools, since garden costs add up faster than most beginners expect once raised bed materials and soil amendments enter the picture. A basic in-ground plot costs the least since it uses your existing soil, while raised beds and quality potting soil for containers cost more upfront but can save effort later. Setting a number first keeps you from scaling the plan up mid-project once you’re already committed to a design that costs more than you meant to spend.
6. Decide Between In-Ground Beds, Raised Beds, or Containers
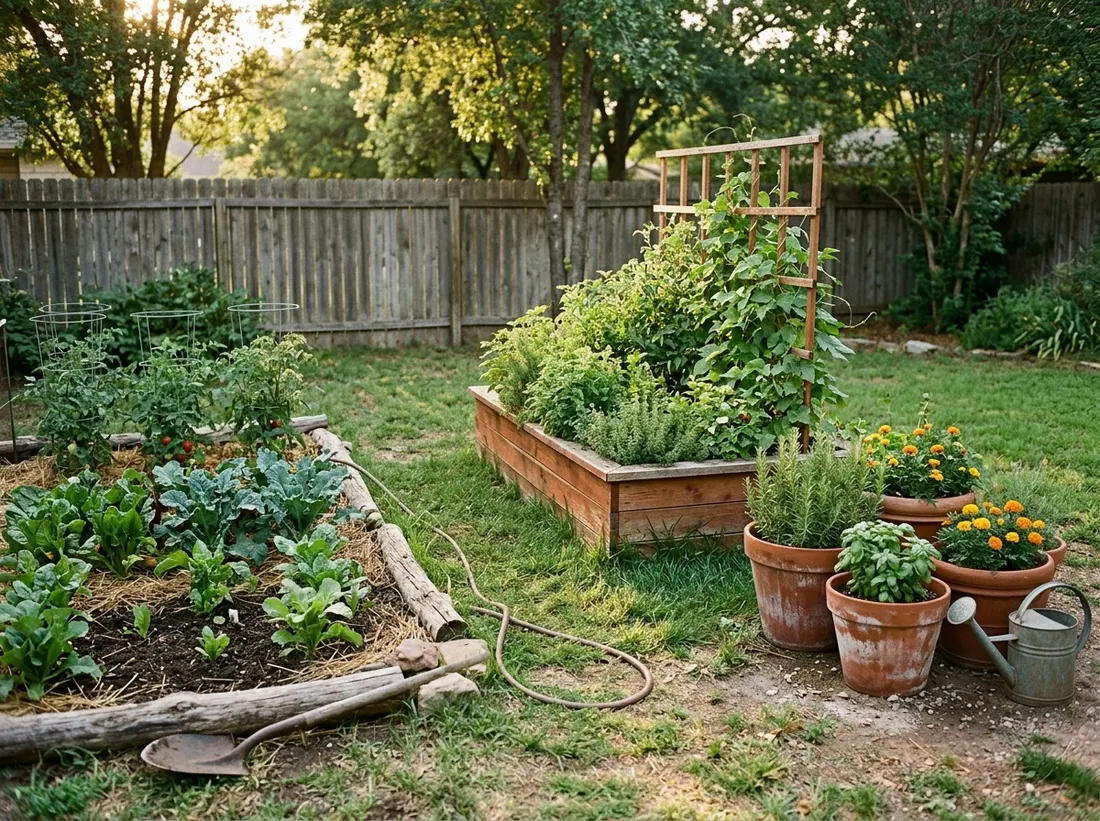
The answer depends mostly on your existing soil and how much control you want over it. In-ground beds cost the least and work well if your native soil drains reasonably well and isn’t heavily compacted. Raised beds solve poor or rocky soil by letting you fill a frame with a better mix, and they’re easier on the back and knees. Containers and grow bags suit patios, balconies, or rented properties where digging isn’t an option at all. Many first gardens end up mixing all three once the layout is finalized.
7. Test or Assess Your Soil
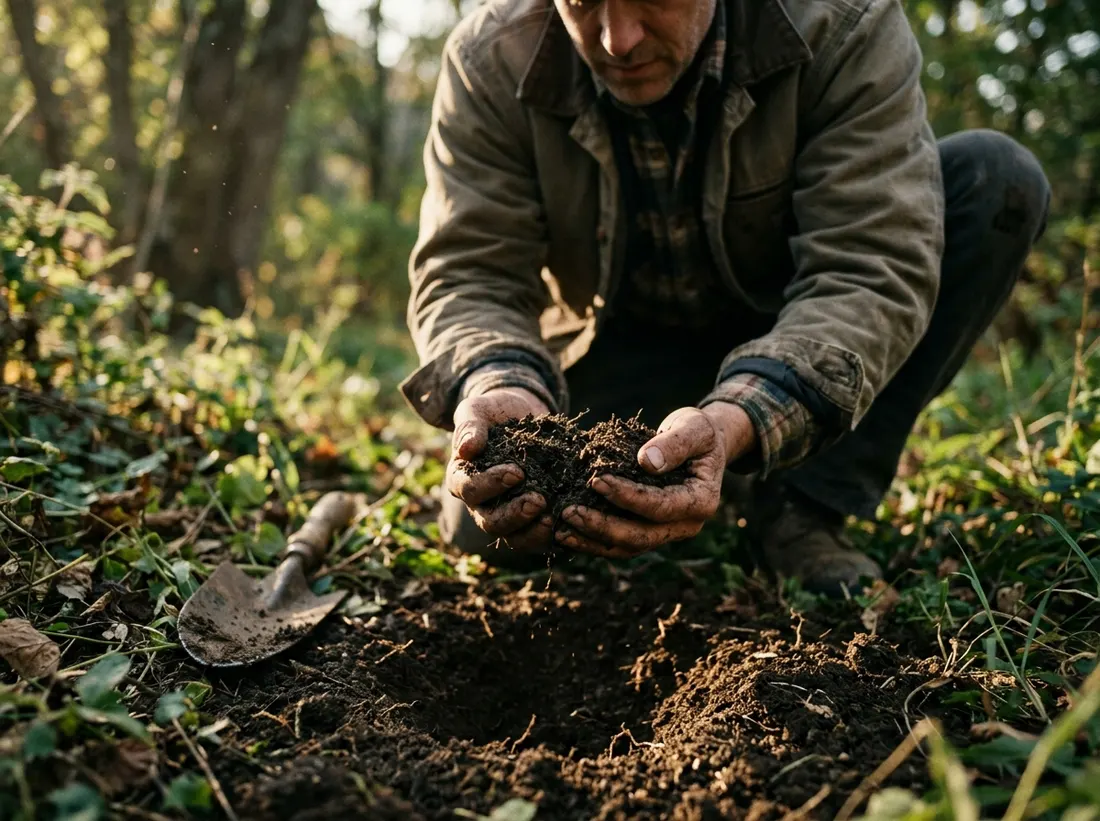
If you’re planning in-ground beds, get a basic sense of your soil before committing to the site: dig a small hole, check whether it drains within a few hours after watering, and note the color and texture. A simple home soil test kit or a sample sent to your local extension office will tell you your soil’s pH and major nutrient levels, which matters since most vegetables prefer a pH between 6.0 and 7.0. Raised beds and containers sidestep this step almost entirely, since you control the mix from the start.
8. Sketch a Rough Layout on Paper
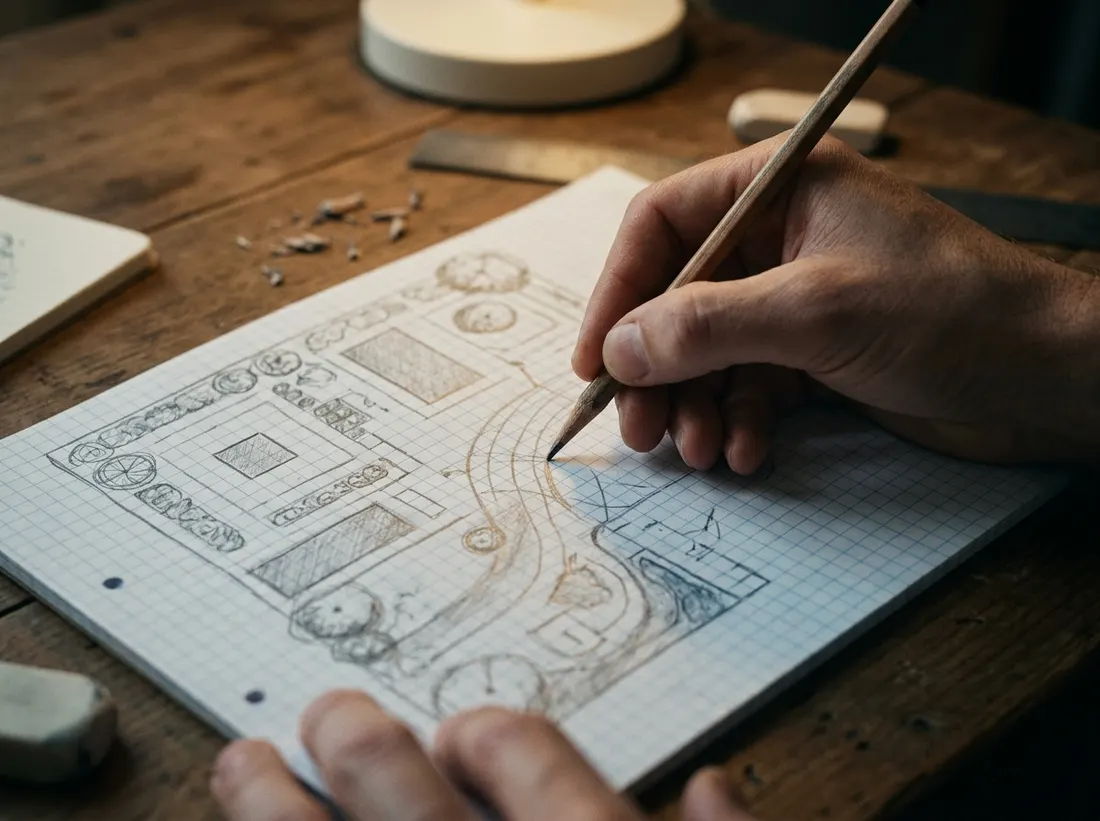
Draw your chosen site to a rough scale, even a simple grid where each square equals a foot, and sketch where beds, paths, and any trellis or structure will go. This step catches problems a mental plan misses, like a bed that leaves no room for a path, or a layout that puts tall plants where they’ll shade shorter ones. Sketch two or three versions if you’re unsure, since comparing options on paper takes minutes and saves you from redoing physical work later.
9. Plan Your Water Source and Access
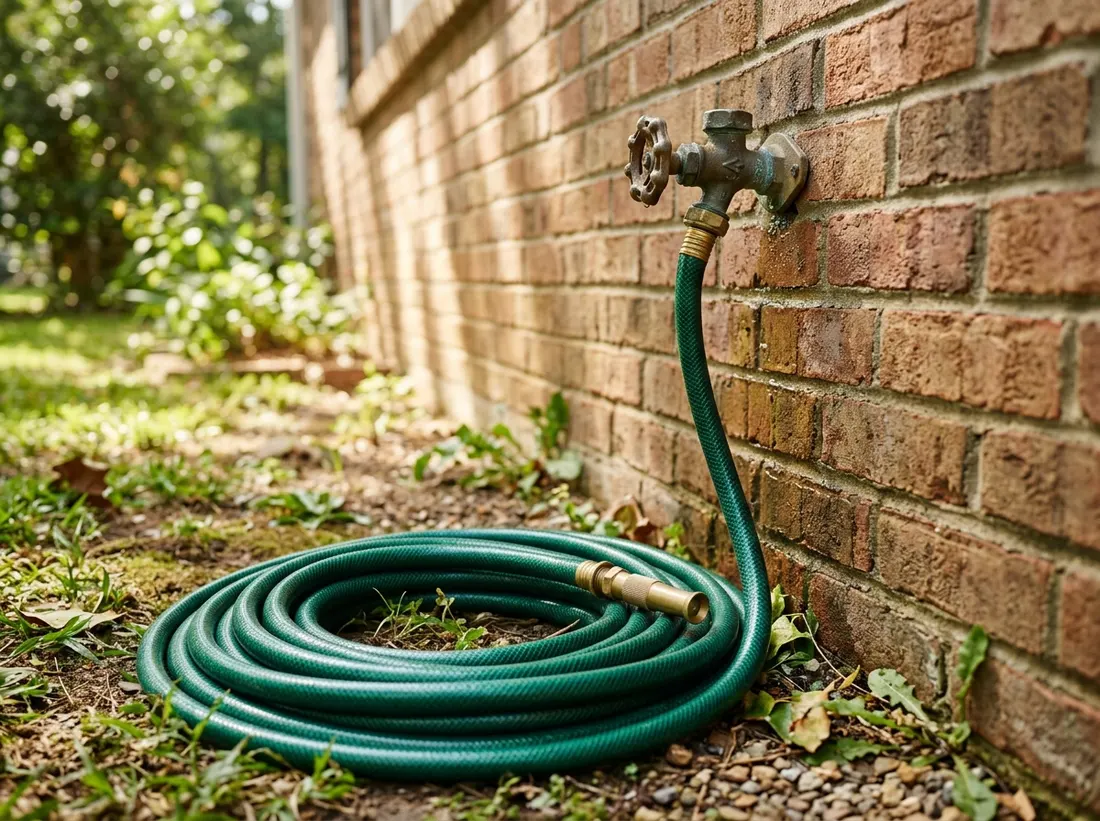
Note how far your planned garden site sits from an outdoor spigot, and whether you’ll water by hand, hose, soaker line, or drip irrigation. A layout more than 50 feet from a water source tends to get watered less consistently, which leads to more blossom end rot, cracked tomatoes, and stunted growth than most other single factors. Decide on your watering method during the planning stage, since it affects how you’ll space beds and whether you need to budget for hose length or irrigation supplies.
10. Make a Tool and Supply Checklist
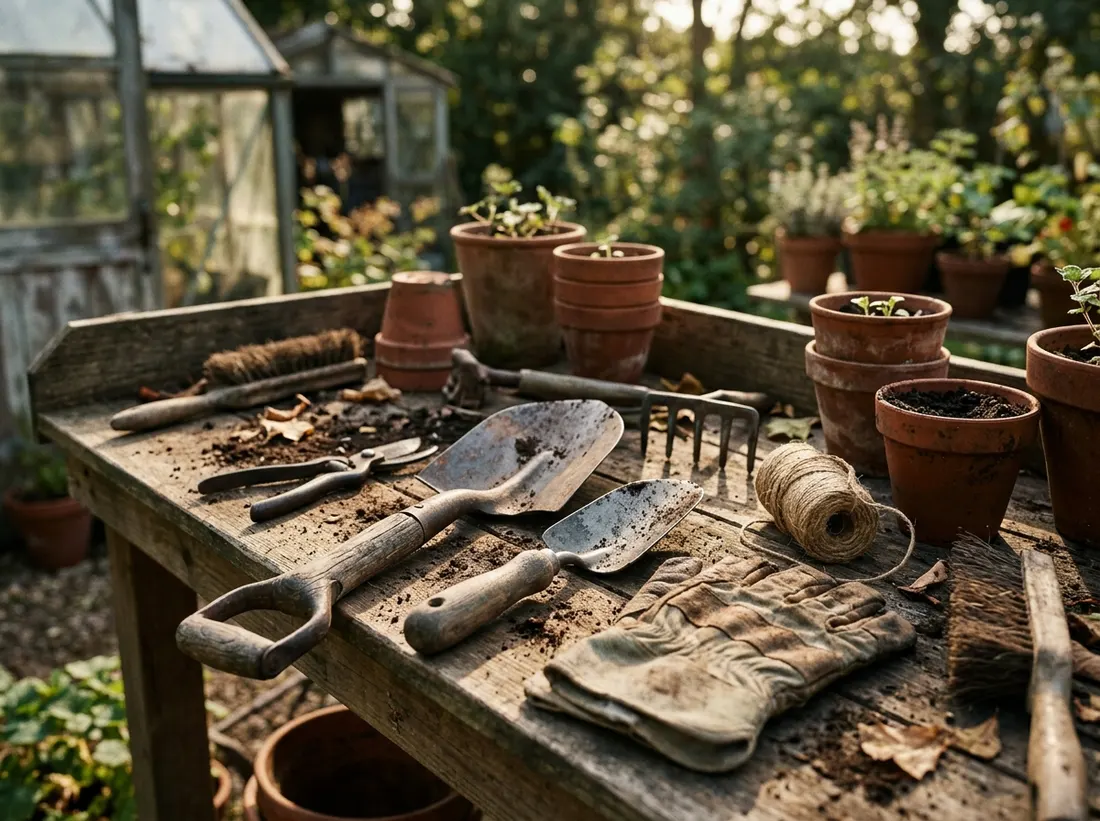
List what you’ll actually need before digging day: a spade or shovel, a hand trowel, a rake, work gloves, a hose or watering can, and whatever bed-building materials your layout calls for. Add seed-starting supplies if you’re growing from seed rather than transplants, and stakes or trellis materials for anything that climbs. Checking this against what you already own before shopping prevents the common experience of standing at a garden center without a clear list and buying either too much or the wrong thing entirely.
11. Check Local Regulations or HOA Rules
If you rent, or live somewhere with a homeowners association, check whether there are rules about raised bed height, front-yard vegetable plots, or fence-line trellises before you build anything permanent. Some municipalities also have rules around rainwater collection or composting that are worth knowing before you commit to a specific setup. This step takes a phone call or a quick document review and can save you from having to tear out a bed you already built.
12. Plan Your Planting Calendar Around Your Frost Dates
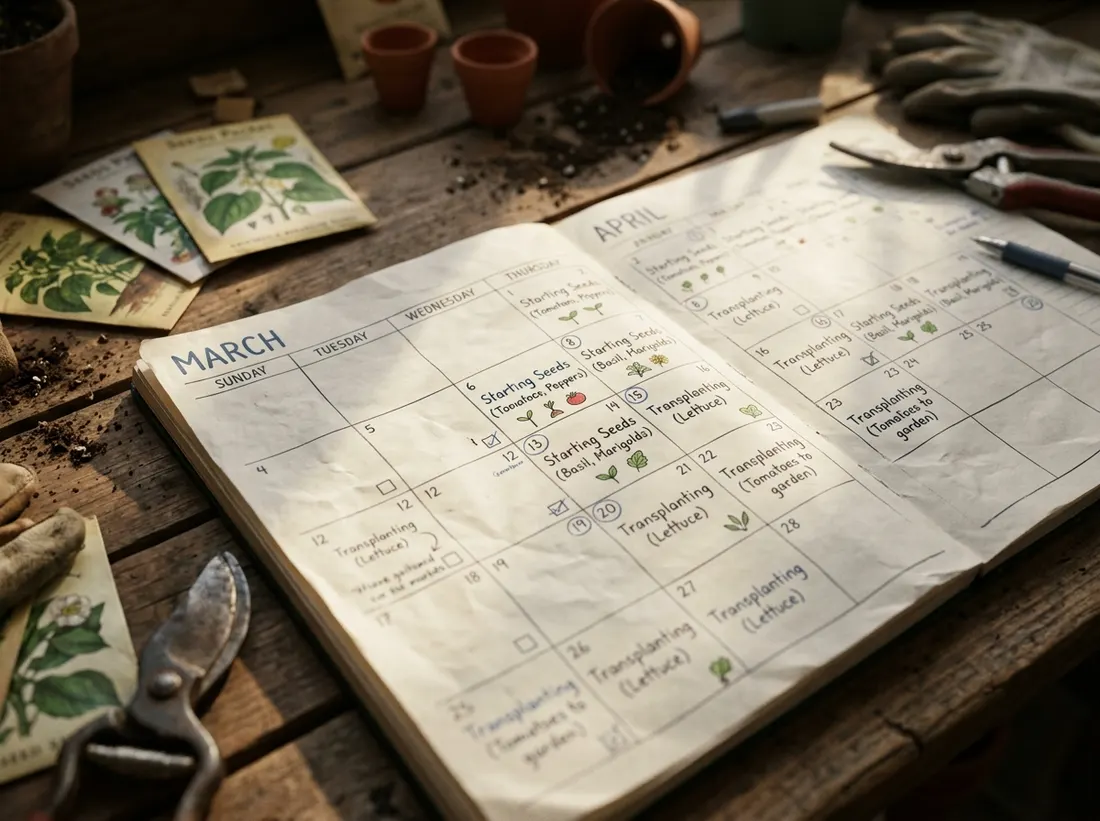
Using the frost dates from step 3, work backward to figure out when to start seeds indoors, when to transplant outside, and when direct-sown crops like beans or carrots can go into the ground. Cool-season crops like lettuce and peas often go in a few weeks before your last frost date, while warm-season crops like tomatoes and peppers wait until after it. Write this calendar down next to your layout sketch, since planning timing on paper now prevents a rushed, disorganized planting week later.
13. Decide How Much Time You Can Commit Weekly
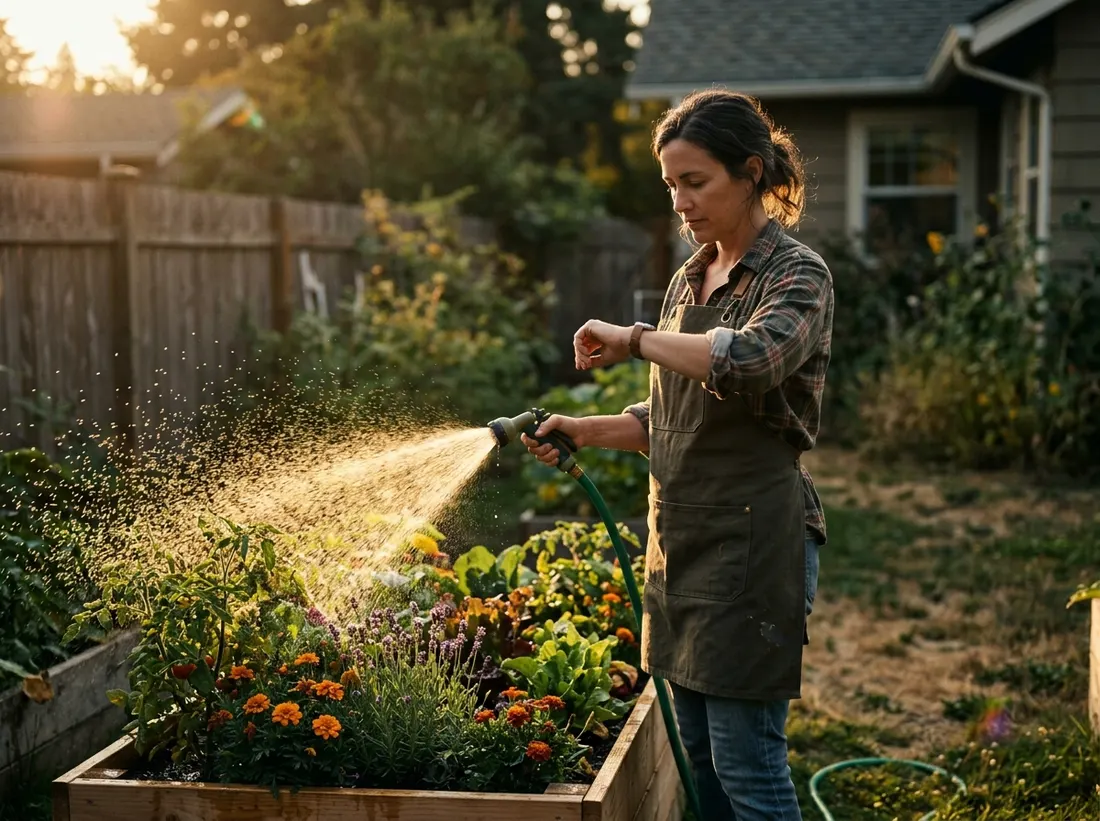
Be honest about how many hours a week you can realistically spend watering, weeding, and checking on plants, since this number should shape the size of your first garden more than any other factor on this list. A small garden that gets consistent attention outperforms a large one that gets neglected during a busy month. If you’re unsure, plan smaller for year one; you can always expand once you know your real routine.
Conclusion
Learning how to start a garden well comes down to doing the thinking before the digging: knowing your site, your sun, your frost dates, your budget, and your realistic time commitment before a single tool touches the soil. These thirteen steps take a few hours spread across a week or two, and that time pays off directly in fewer regrets once the growing season is underway. Once your site is chosen, your layout is sketched, and your tool list is ready, you’ve done the real planning work. The digging itself is the easy part.
Frequently Asked Questions
What is the first step in planning a garden?
The first step is choosing your garden site, since every later decision, bed size, layout shape, watering plan, depends on where the garden physically sits. Look for a spot that drains well, sits within reach of water, and gets enough sun for what you want to grow. Only after the site is settled does it make sense to move on to sun mapping, budgeting, and sketching a layout.
How do I know how much sun my garden site gets?
Check your chosen spot at three points in the day, morning, midday, and late afternoon, ideally over a full week, and count how many hours it receives direct, unobstructed sunlight. Most fruiting vegetables need at least 6 hours of direct sun, while leafy greens tolerate partial shade with 3 to 4 hours. Sun mapping in early spring can be misleading if nearby trees are still bare, so account for how much shade they’ll cast once fully leafed out.
Do I need to test my soil before starting a garden?
Testing your soil is worthwhile if you’re planning in-ground beds, since it tells you your pH and major nutrient levels before you commit to a site. Most vegetables prefer a pH between 6.0 and 7.0, and a simple home kit or a sample sent to your local extension office will give you that number. If you’re using raised beds or containers filled with a purchased soil mix, this step matters far less since you control the growing medium directly.
How much does it cost to start a garden?
Costs vary widely depending on whether you choose in-ground beds, raised beds, or containers, with in-ground plots costing the least since they use your existing soil and raised beds or containers costing more for lumber, soil, and materials. Setting a budget before shopping for lumber, soil, and tools keeps costs from creeping up once you’re partway through building. Many first-time gardeners spend more than expected specifically because they didn’t set a number before buying raised bed materials.
Should I start with raised beds, in-ground beds, or containers?
This depends mainly on your soil and how much control you want over it. Raised beds suit poor, rocky, or heavily compacted soil since you fill the frame with a better mix. In-ground beds cost less if your native soil drains reasonably well. Containers suit patios, balconies, or rented spaces where digging isn’t possible at all, and many gardens end up combining all three.
How far in advance should I plan my garden before planting?
Start planning at least 4 to 6 weeks before your local last frost date, since that gives enough time to sketch a layout, gather tools and materials, and start seeds indoors if your crop list calls for it. Some steps, like checking HOA rules or building raised beds, benefit from even more lead time. Planning further ahead also gives you room to compare a couple of layout sketches instead of committing to the first idea you draw.