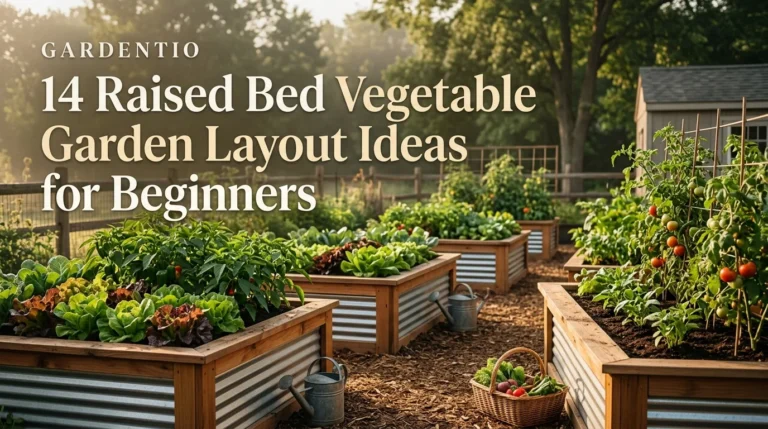

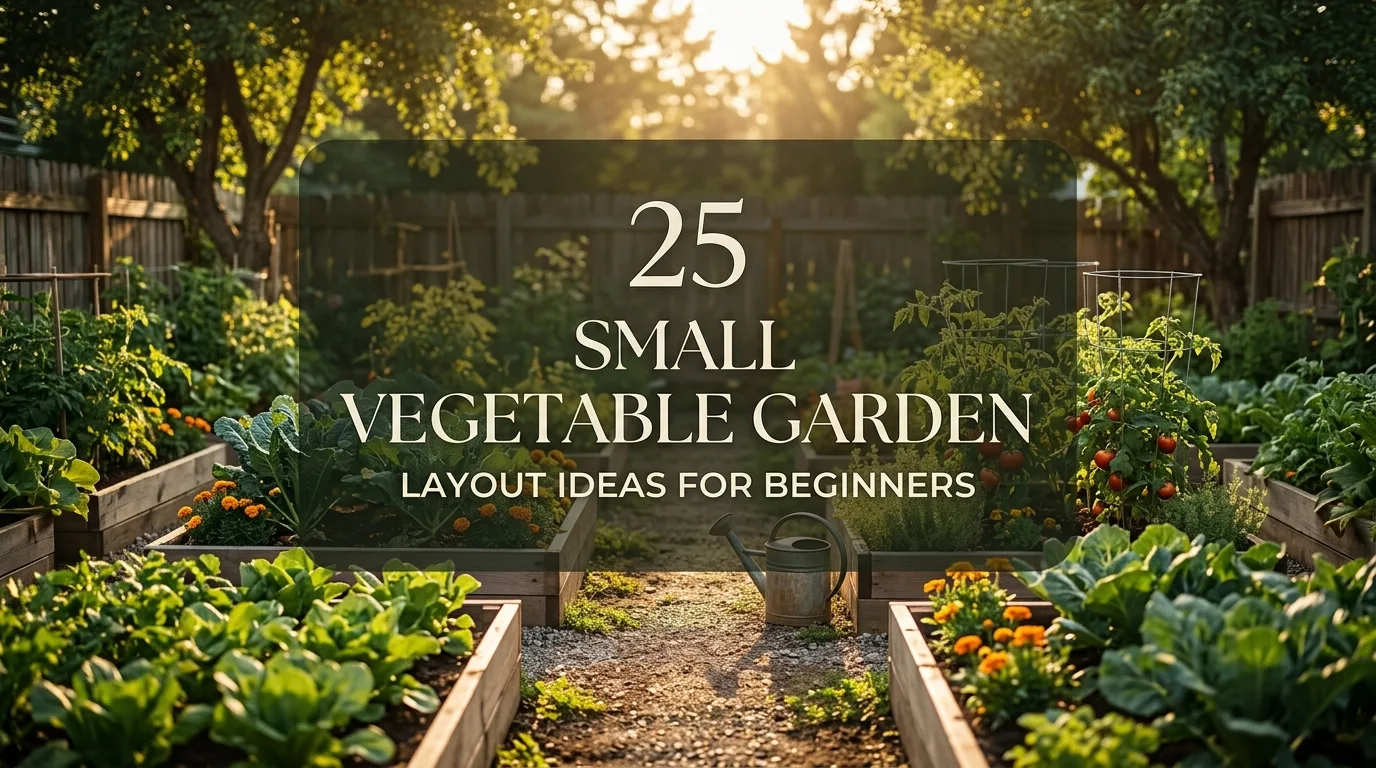
25 Small Vegetable Garden Layout Ideas for Beginners
A small vegetable garden layout can turn from an exciting idea into a frustrating mess of overcrowded plants and paths you can barely walk through if you skip the planning step. I’ve watched plenty of first-time gardeners buy seeds first and figure out the layout later, then spend the whole summer stepping over squash vines just to reach their tomatoes. The truth is that a good small vegetable garden layout is less about picking a pretty design and more about making a series of small, practical decisions in the right order: how much space you actually have, how much sun it gets, how many beds you can keep up with, and what shape fits your yard instead of someone else’s. This guide walks you through that decision process step by step, from measuring your space to sketching your first layout and adjusting it once you’ve actually grown something in it. By the end, you will have a clear way to choose a layout that fits your space and your first season, instead of copying a plan that was never built for your backyard. Start with the measuring tape, not the seed catalog.
1. Measure Your Space Before You Decide Anything
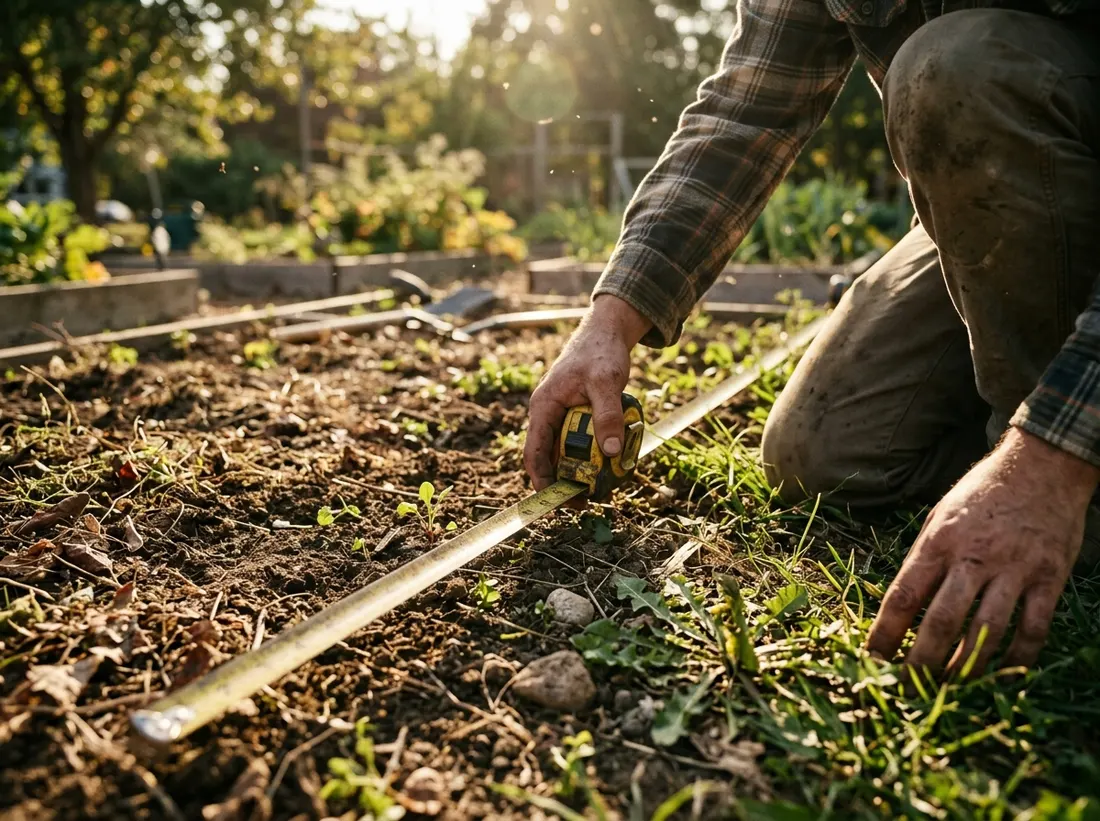
Walk your yard with a tape measure and write down the actual usable width and length, not a rough guess. Most layouts fail before they start because the gardener imagined a bigger space than they have. A 10 by 10 foot area is plenty for a beginner, and even a 6 by 8 foot corner grows real food.
2. Test How Much Sun the Area Actually Gets

Most fruiting vegetables like tomatoes and peppers need at least 6 hours of direct sun, so check your spot in the morning, at midday, and in late afternoon before committing. A spot bright at noon can sit in shade by 4 p.m. once a nearby tree leafs out. Let a narrow sunny spot decide your layout instead of forcing a square bed into it.
3. Decide How Many Beds You Can Realistically Manage
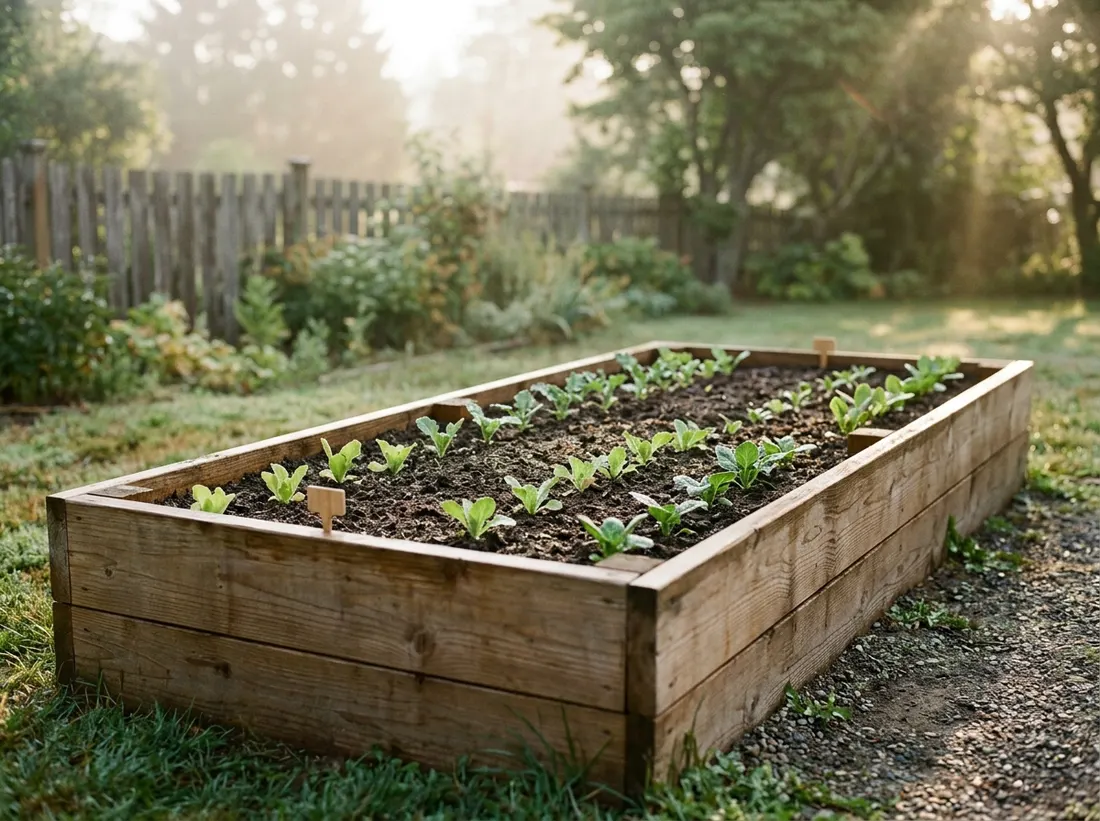
Start with one or two beds in your first year rather than four or five, since watering, weeding, and pest checks multiply fast across several beds. A single 4 by 8 foot raised bed or two 3 by 6 foot beds is enough to learn how much time a garden actually takes. Add another bed next spring once you know your real schedule.
4. Choose Bed Shape Based on Your Yard, Not Pinterest
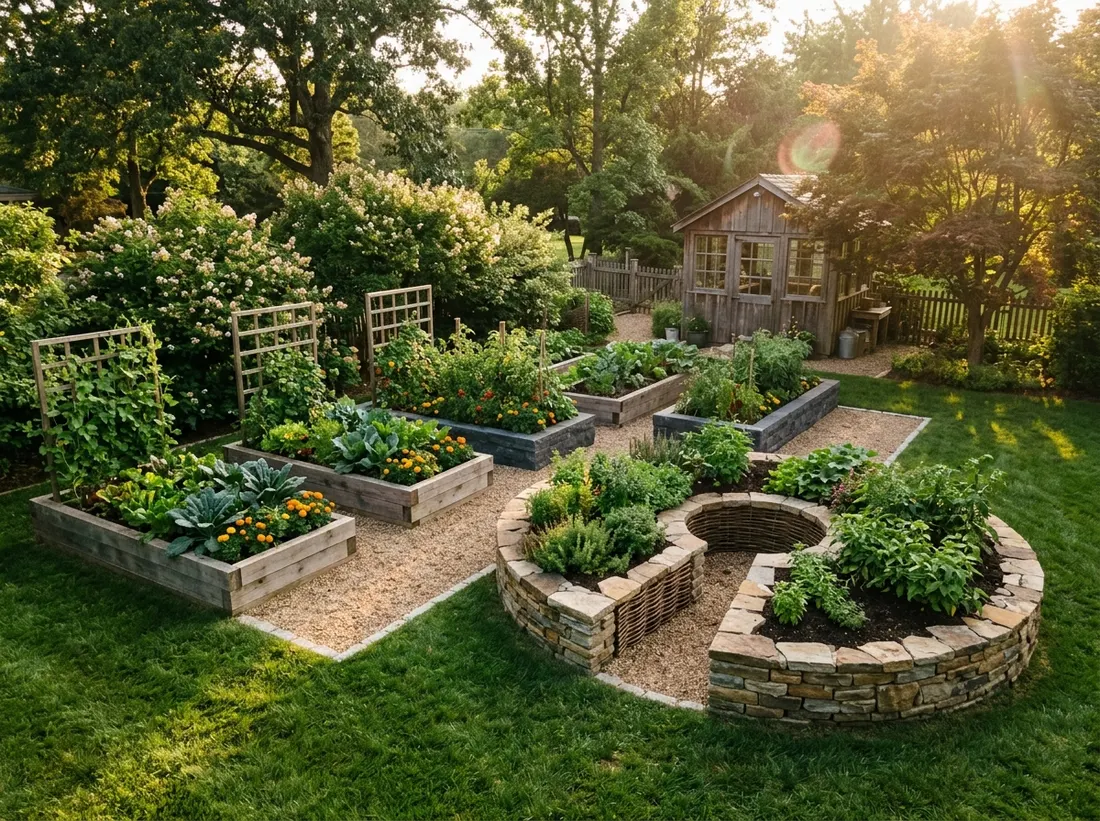
Rectangular beds are the easiest shape to build, plant, and water evenly, so default to a rectangle unless your yard genuinely calls for something else. A curved or keyhole bed looks appealing in photos, but it wastes usable growing space and takes longer to build well. If your space is narrow, use a long, thin rectangle rather than a square bed turned sideways.
5. Set Path Width Before You Set Bed Width
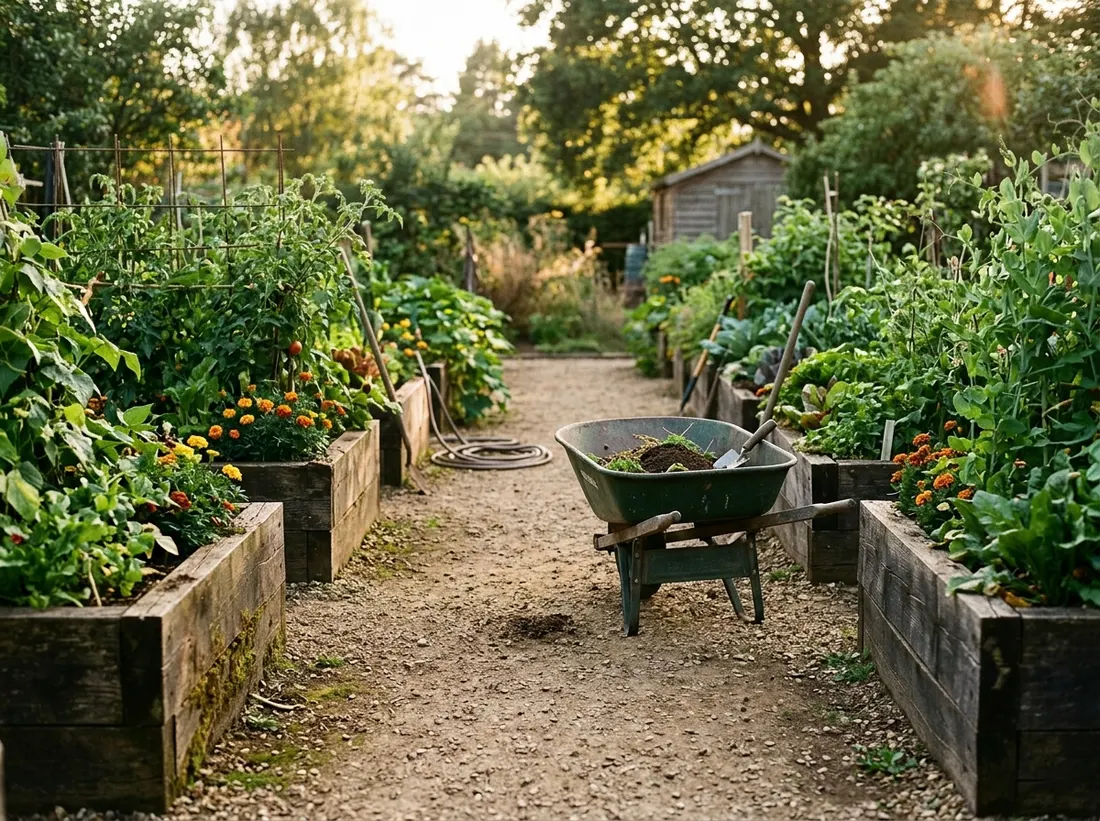
Plan paths at least 18 to 24 inches wide, and 30 to 36 inches if you’ll use a wheelbarrow, before you finalize bed width. Beginners often make beds as wide as possible and treat paths as an afterthought, then trample soil reaching the middle. A bed should never be wider than 4 feet if you walk around it, or 2 to 3 feet against a wall.
6. Start With a Single 4×8 Raised Bed
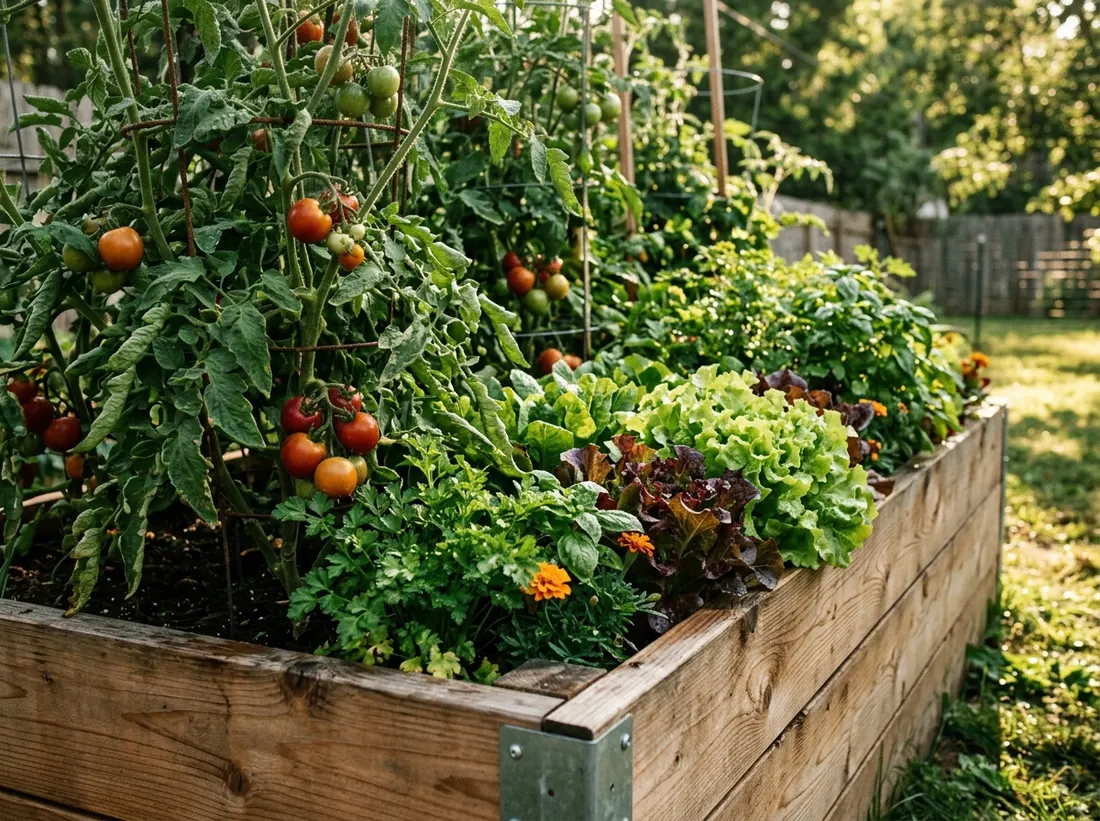
A single 4 by 8 foot raised bed is one of the most forgiving layouts for a first vegetable garden because it’s small enough to water and weed in under 15 minutes a day. Fill it with topsoil, compost, and a bagged raised bed soil blend, and start planting within a weekend. This size fits roughly 10 to 15 plants.
7. Try a Simple Straight Row Layout
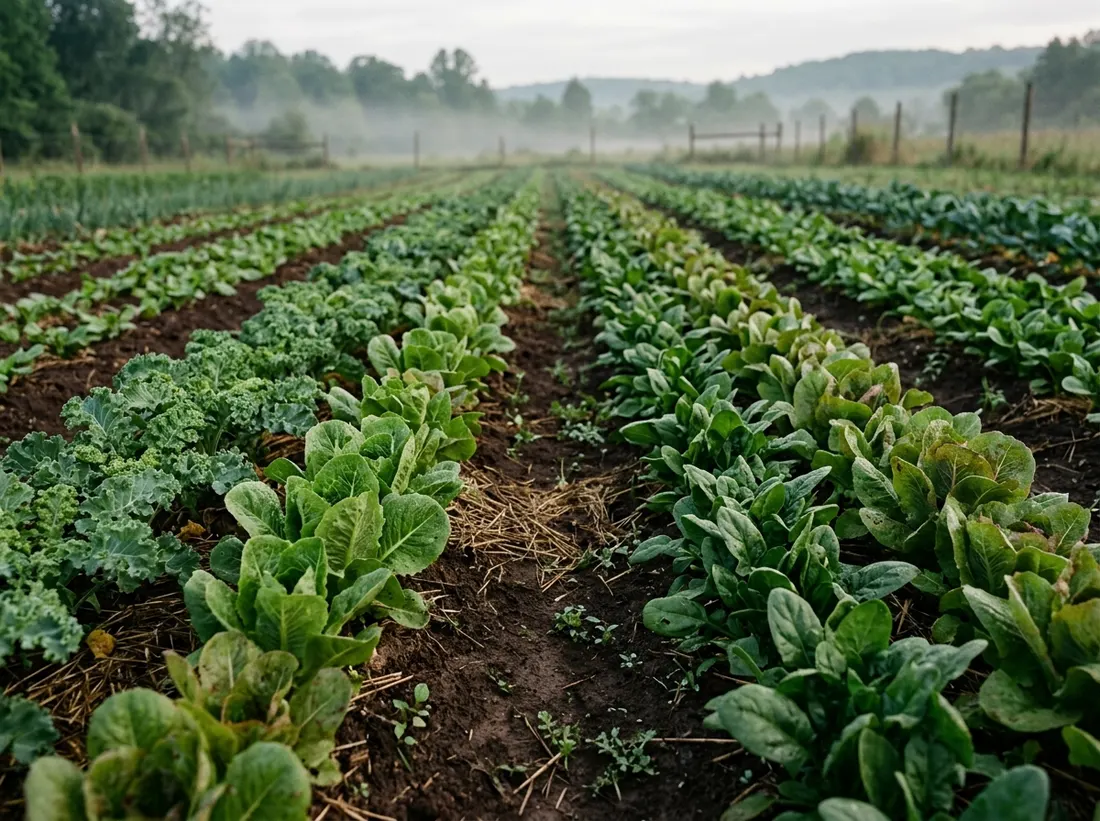
A straight row layout, with paths between every one or two rows, works well if your space is longer than it is wide, like a strip along a fence. Rows make every plant easy to reach without stepping on soil, and they make crop rotation simple. Space rows 12 to 18 inches apart for compact crops, and wider for sprawling plants like squash.
8. Use a Square Foot Grid for a Tiny Yard
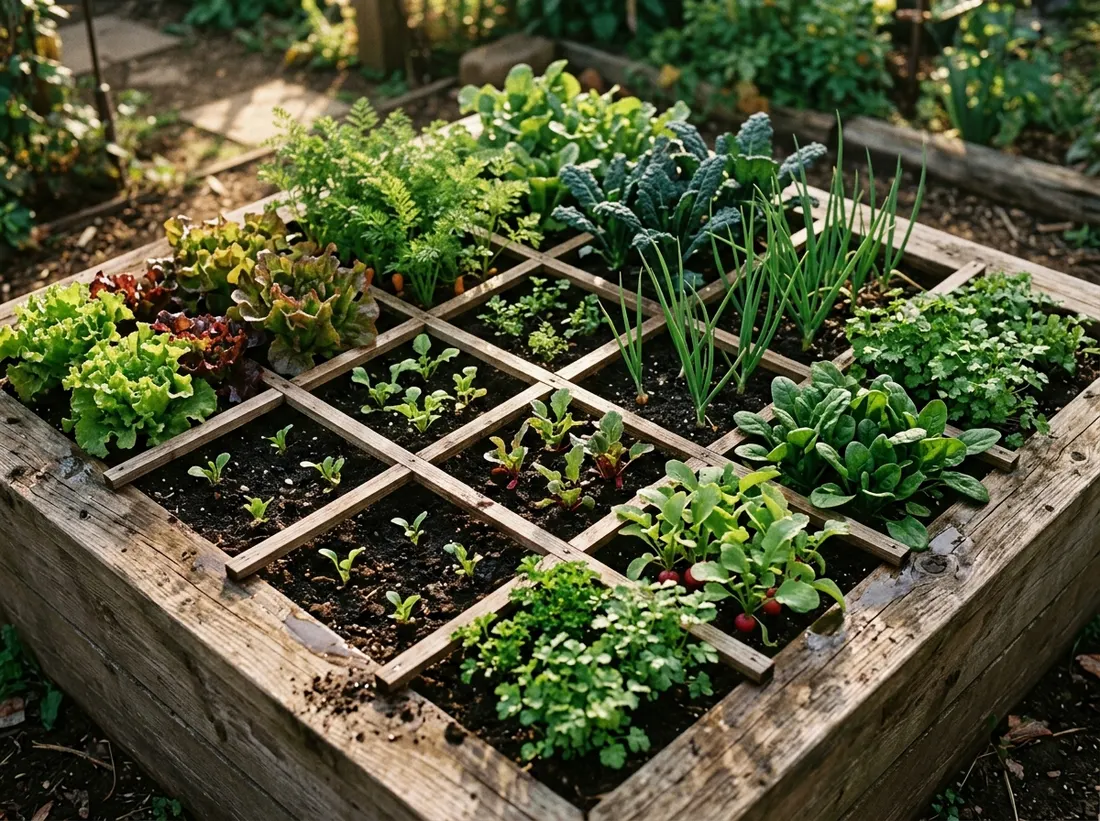
Square foot gardening divides a bed into 1 foot squares, with each planted to a set density (one tomato per square, four lettuce plants per square, nine bush beans per square), making it one of the most space-efficient layouts for a yard under 100 square feet. A single 4 by 4 foot grid gives you 16 squares of usable variety.
9. Build an L-Shaped Layout Along a Fence Line
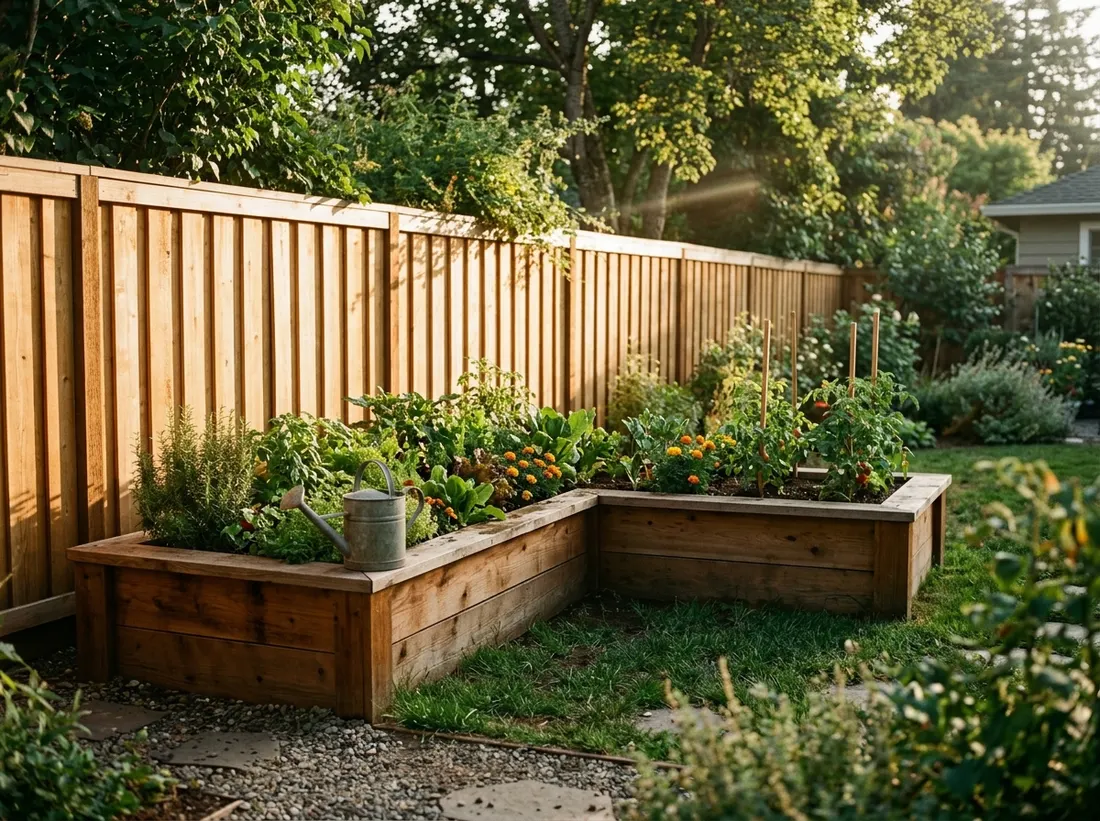
An L-shaped layout follows two adjoining sides of a yard, typically a fence and a side wall, and suits a space that isn’t one open rectangle but two connected strips. Use the fence line for vining crops like beans or cucumbers on a trellis, and the shorter leg for lower-growing vegetables that won’t get shaded.
10. Try a U-Shaped Kitchen Garden Near the Door
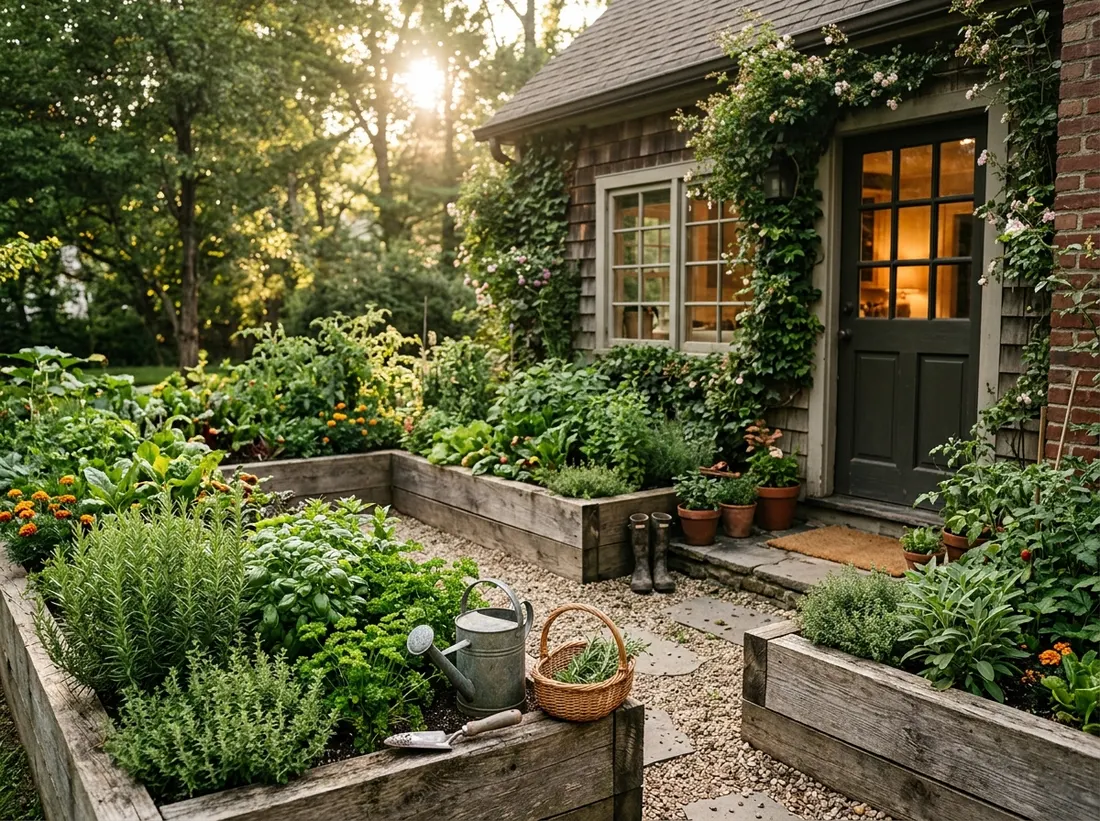
A U-shaped layout, with beds forming three sides around a small open center, puts everything within a few steps of your kitchen door, which matters more than it sounds once you’re grabbing herbs mid-recipe. This works best in a space roughly 8 by 8 feet or larger. Keep the tallest plants on the back leg so they don’t shade the sides.
11. Use a Keyhole Bed for Easy Reach From One Spot
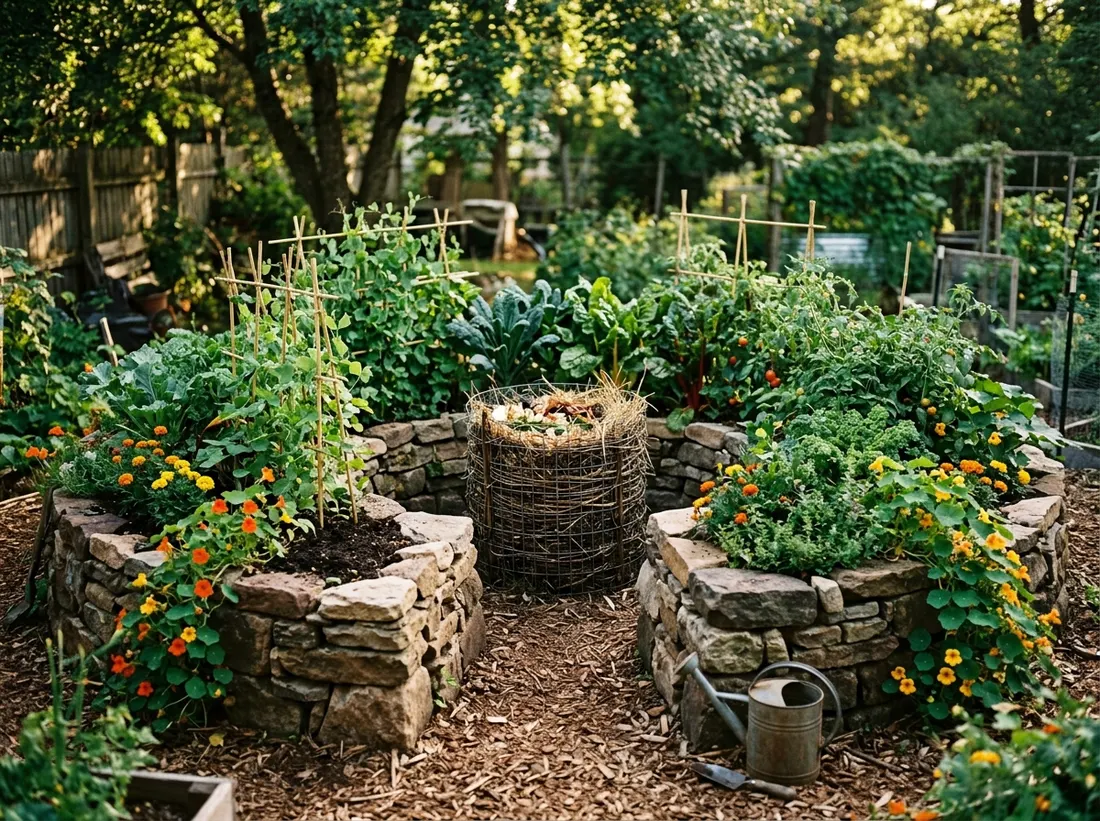
A keyhole bed is a round or horseshoe-shaped bed with a small notch cut into one side so you can step into the center and reach every plant without stretching. This suits gardeners with limited mobility, since a bed roughly 6 feet across gives full reach from one spot. It takes more effort to build than a rectangle, so treat it as a second-season project.
12. Go With Grow Bags or Containers on a Patio
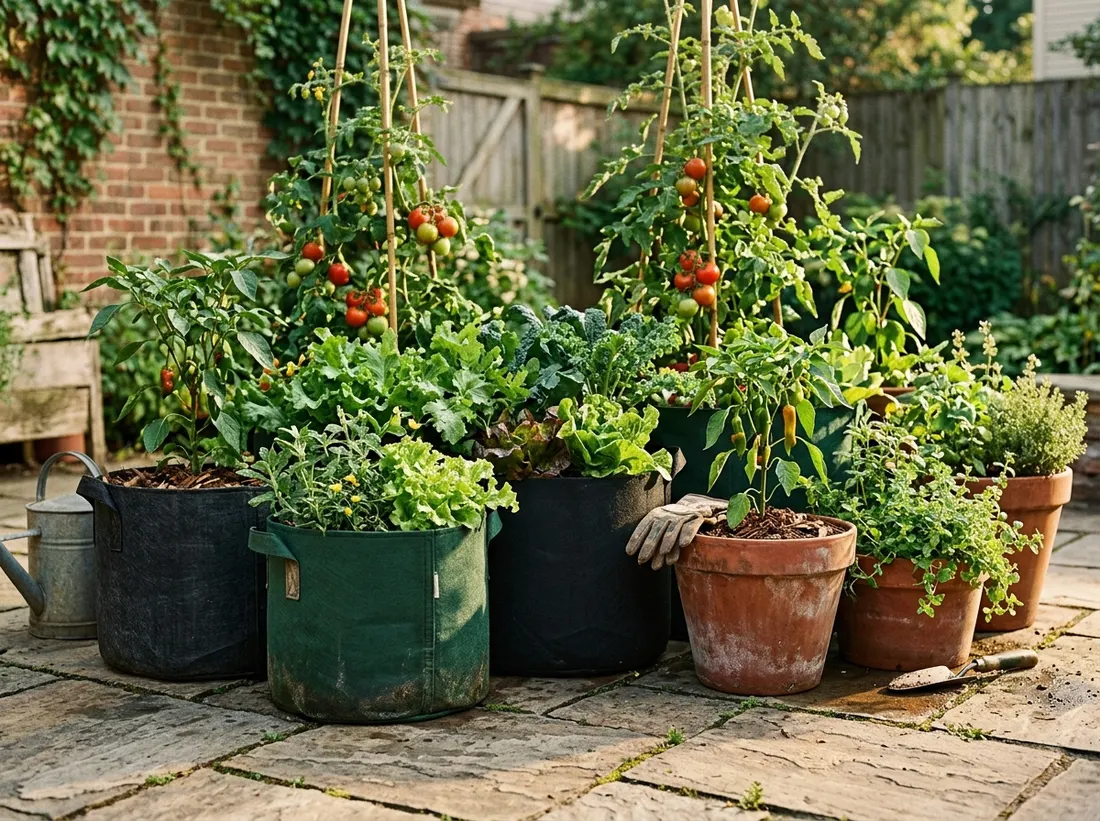
If you have a patio, balcony, or poor soil, a container layout using 10 to 20 gallon grow bags or large pots skips bed-building entirely and lets you start growing the same week. Group containers by water needs, tomatoes and peppers together, lettuce and herbs together. Leave at least a foot between large containers for sun and airflow.
13. Stack a Vertical Layout Against a Sunny Wall
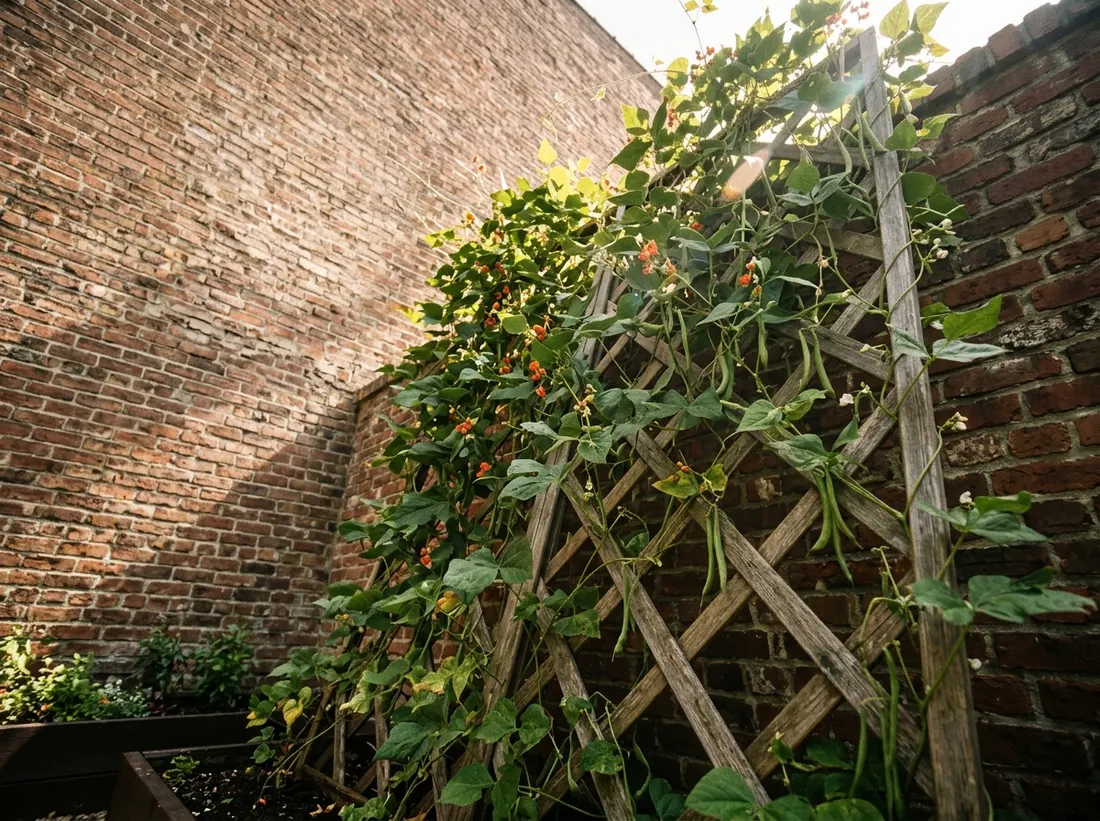
A vertical layout uses a trellis, wall-mounted planters, or a tiered stand against a south-facing wall to grow upward instead of outward, which can double your growing area in a footprint as narrow as 2 feet deep. This suits vining crops like cucumbers and pole beans. Anchor any trellis securely, since a loaded bean vine in late summer is heavier than it looks.
14. Terrace a Layout on a Sloped Yard
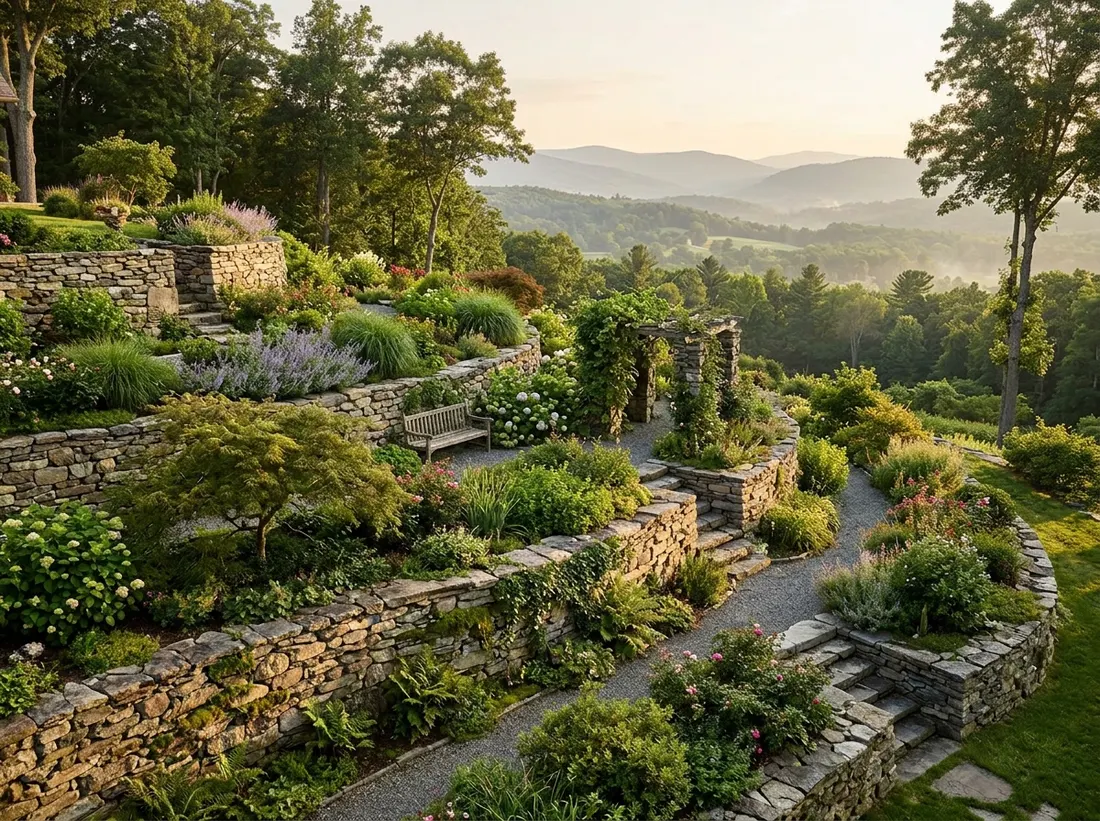
If your yard slopes, terracing with low retaining walls or stacked raised beds turns unusable hillside into flat, plantable steps, and it stops water and soil from washing downhill in the rain. Each terrace should be at least 2 feet deep, and terraces work best running across the slope rather than up it.
15. Reserve a Corner Layout for Perennial Vegetables
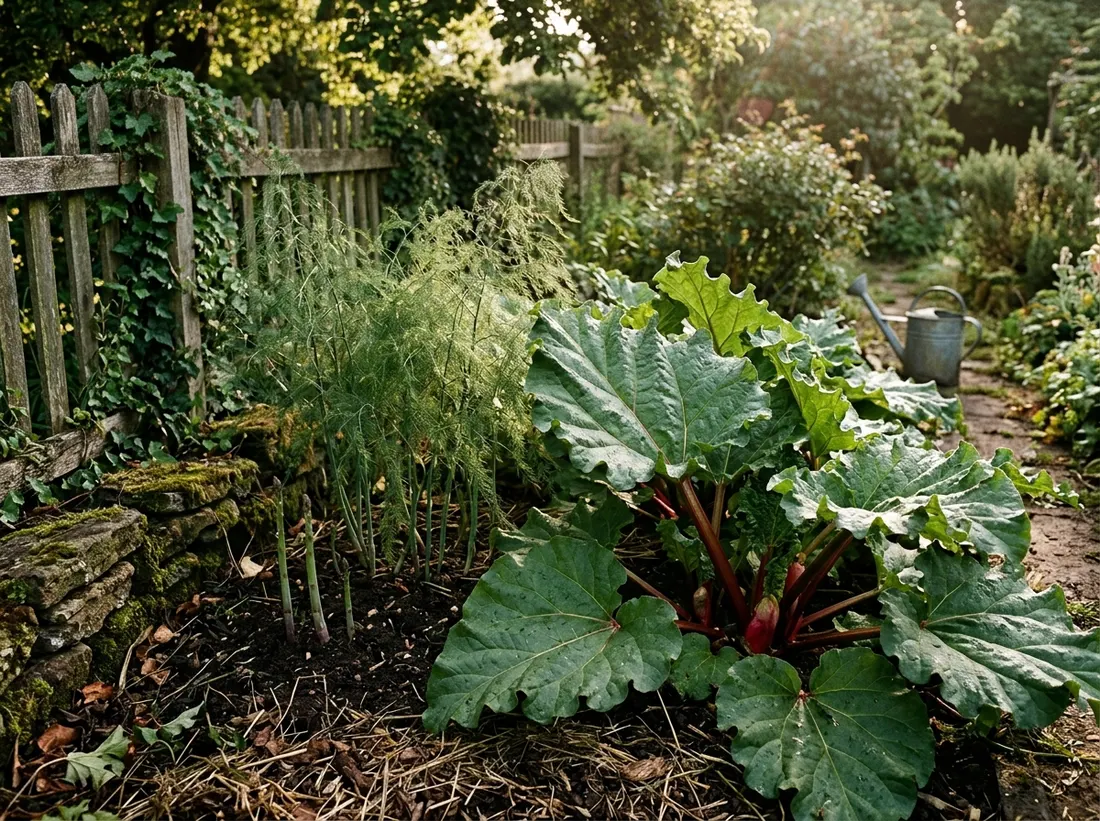
Asparagus, rhubarb, and perennial herbs like oregano and thyme come back year after year and shouldn’t sit in a bed you till or rearrange annually, so give them a dedicated corner from the start. A 3 by 3 foot corner is enough room for a perennial patch. Mark the corner clearly, since dormant roots are easy to dig into by accident.
16. Mix Raised Beds and In-Ground Rows
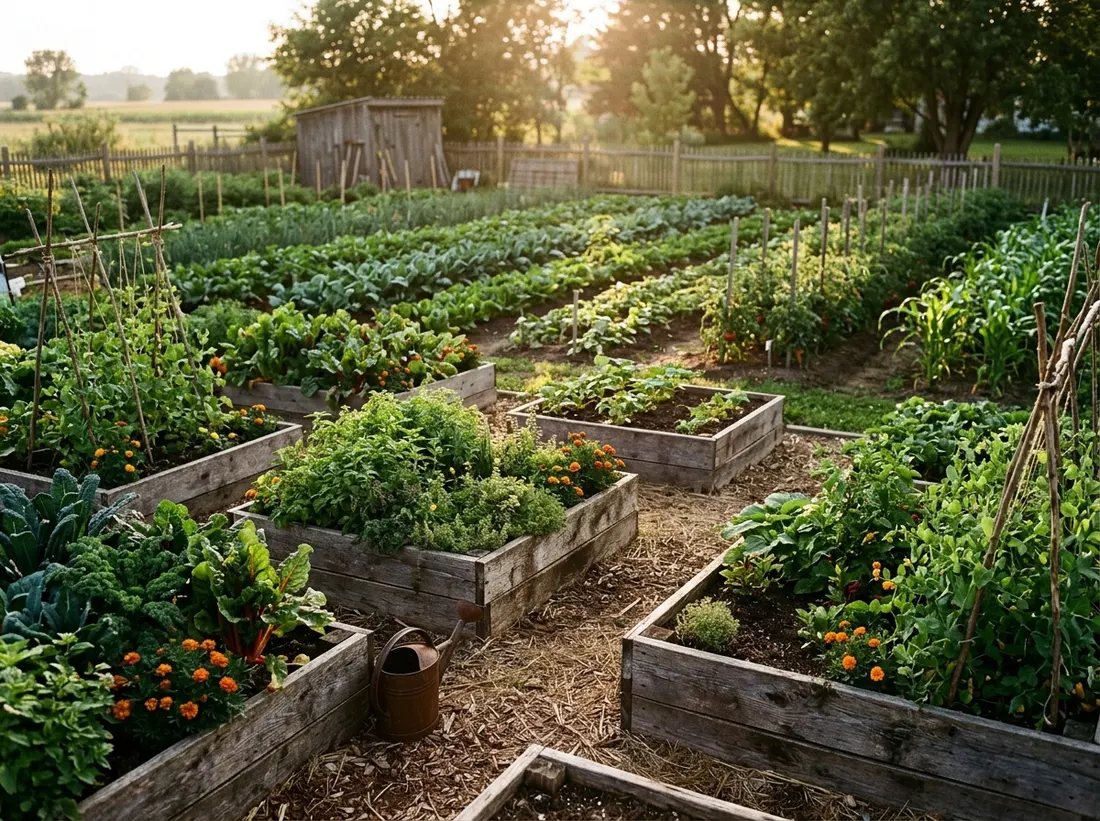
You don’t have to pick one layout style for the whole yard. Many small gardens work well with one or two raised beds near the house for herbs and salad greens, and an in-ground row farther back for space-hungry crops like squash or corn. This saves money on lumber and soil and matches each method to the crop it suits.
17. Plan a Narrow Side-Yard Layout
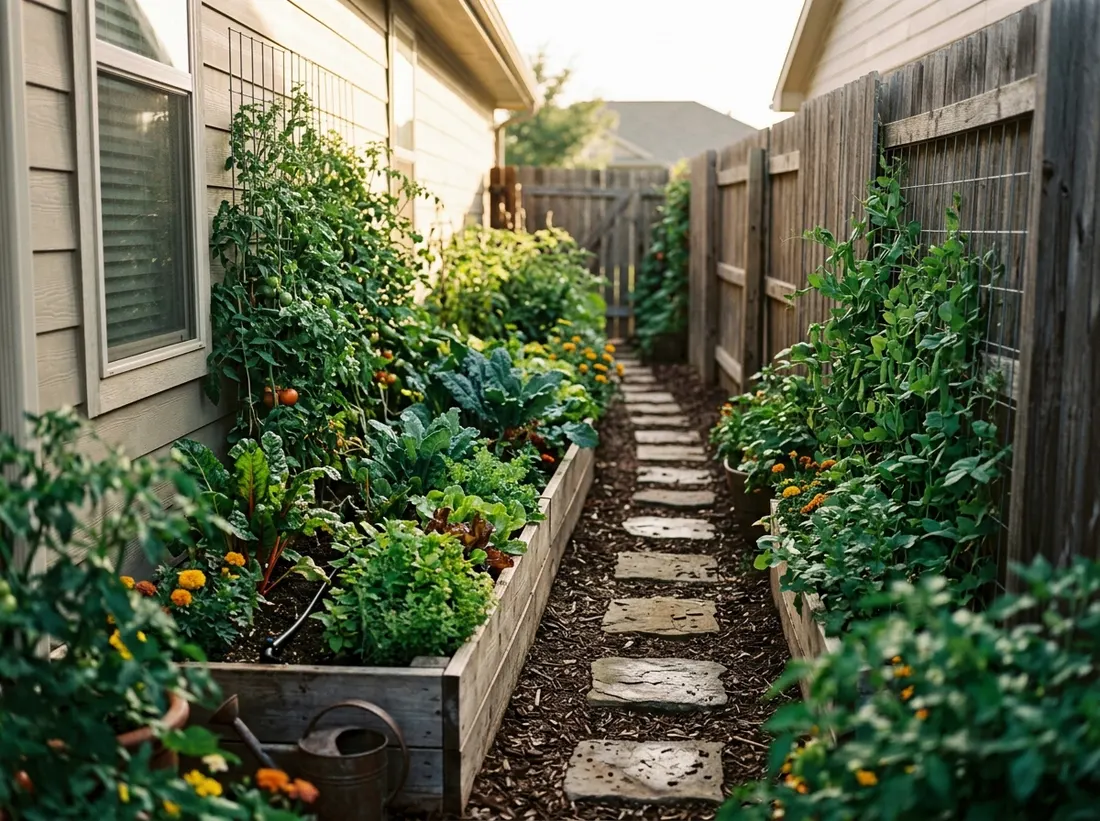
A side yard 3 to 4 feet wide can still grow real food if you run a single narrow bed the length of the space, using the yard’s own width as one edge instead of adding a path on both sides. Stick to compact or vertical crops here, bush beans, herbs, trellised cucumbers, since sprawling squash will take over the walkway.
18. Avoid the Mistake of Planting Too Densely
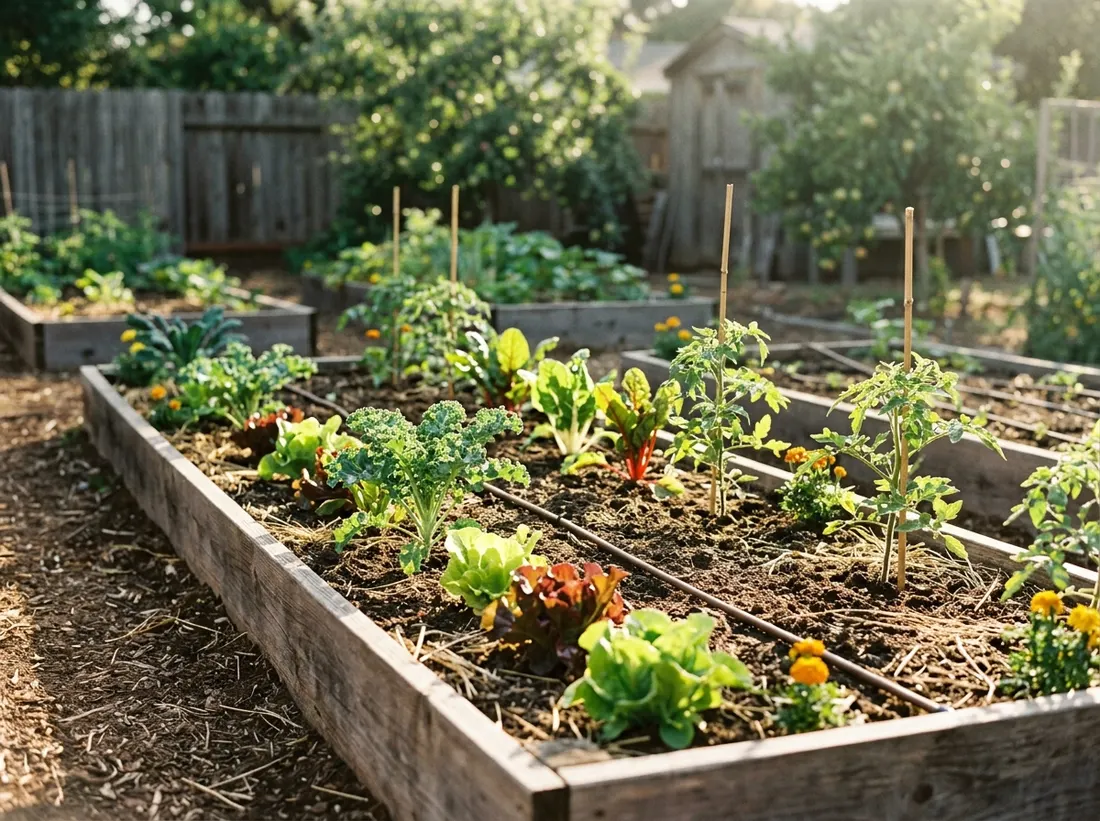
Seed packets list spacing for a reason, and the most common regret first-time gardeners mention is packing plants closer than the tag recommends because the bed looked empty on planting day. A tomato needing 24 inches of space still looks tiny at 6 inches tall, but by August it needs every inch of that gap for airflow.
19. Avoid the Mistake of Ignoring Mature Plant Size
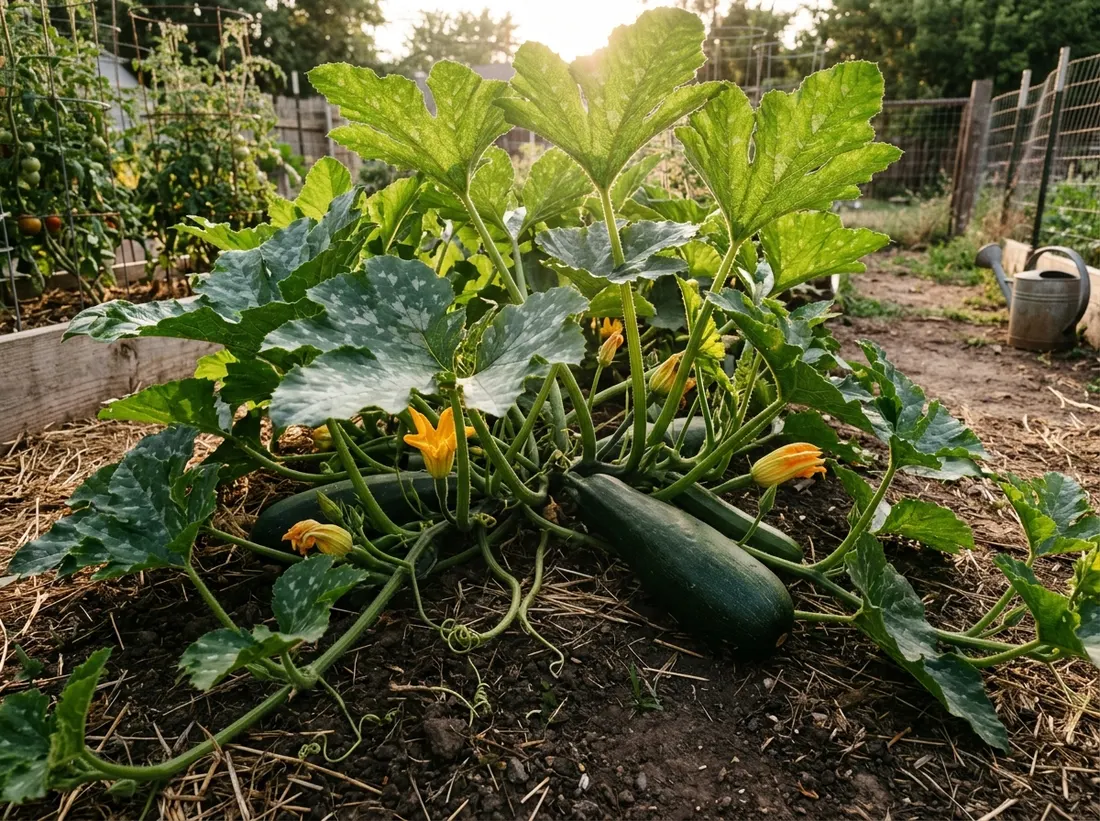
Zucchini, pumpkins, and other sprawling squash can spread 4 to 6 feet in every direction by midsummer, so a layout that looks generously spaced in May can be overrun by July if you didn’t plan for mature size. Give sprawling crops their own section or train them onto a trellis instead of tucking them between smaller plants.
20. Avoid the Mistake of Skipping Water Access
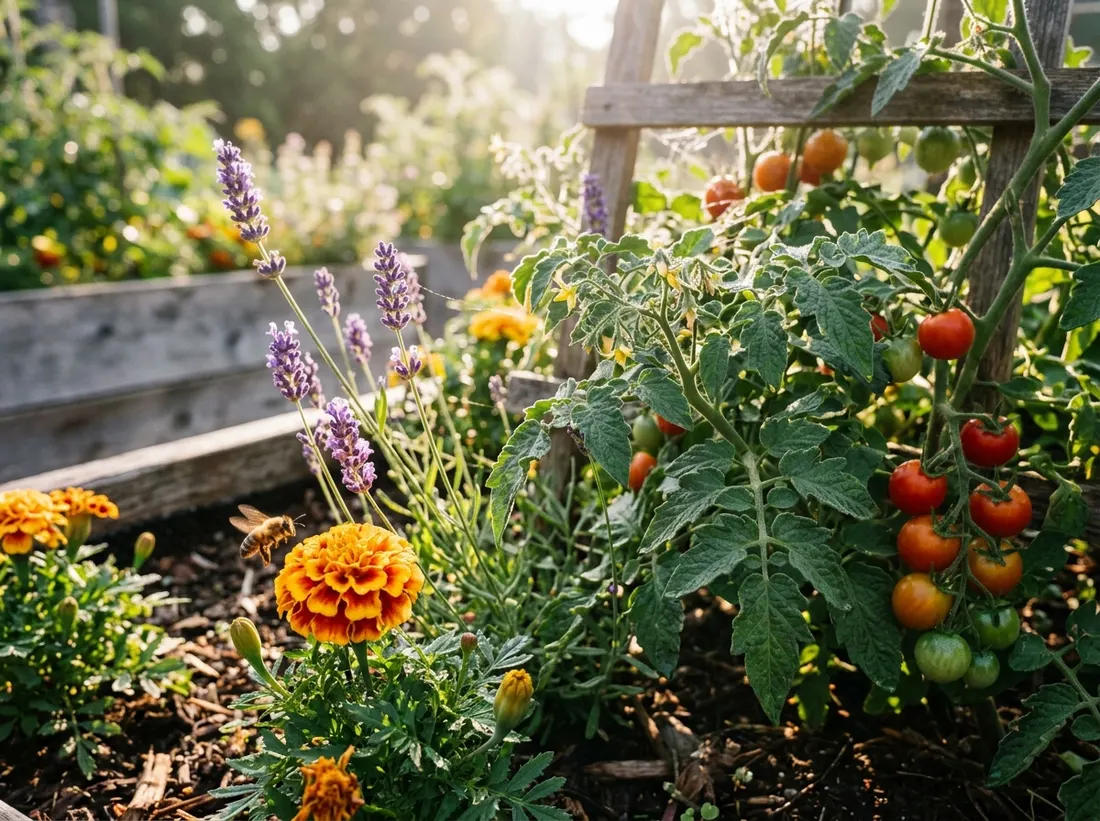
A layout that looks perfect on paper falls apart if the hose can’t reach it or you’re hauling watering cans across the yard every evening. Plan your layout within hose length of a spigot, or budget for a soaker hose before finalizing bed placement. Inconsistent watering causes more blossom end rot and cracked tomatoes than most other single factors.
21. Leave Room for Succession Planting
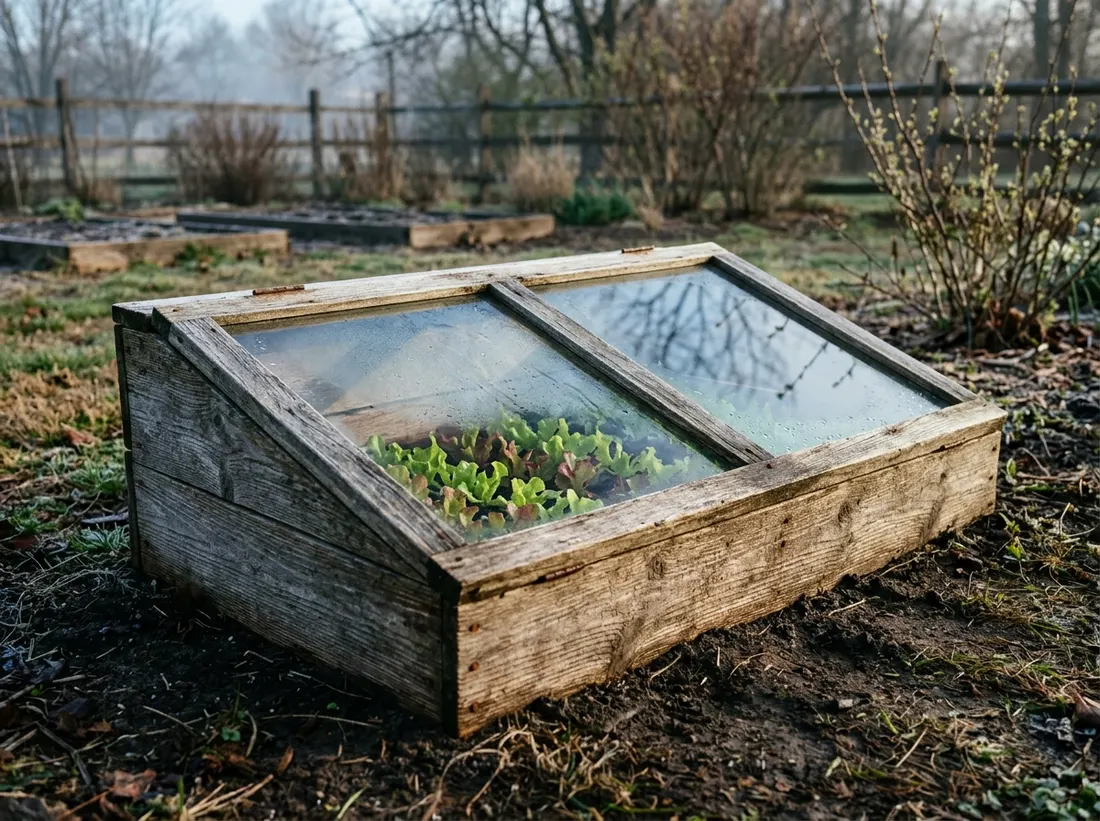
Reserve at least one small section, even just 2 by 4 feet, for quick crops like radishes, lettuce, and bush beans you can replant every few weeks instead of planting once and leaving the space idle after harvest. This keeps a small layout producing continuously from spring through fall.
22. Group Plants by Water Needs, Not Plant Type
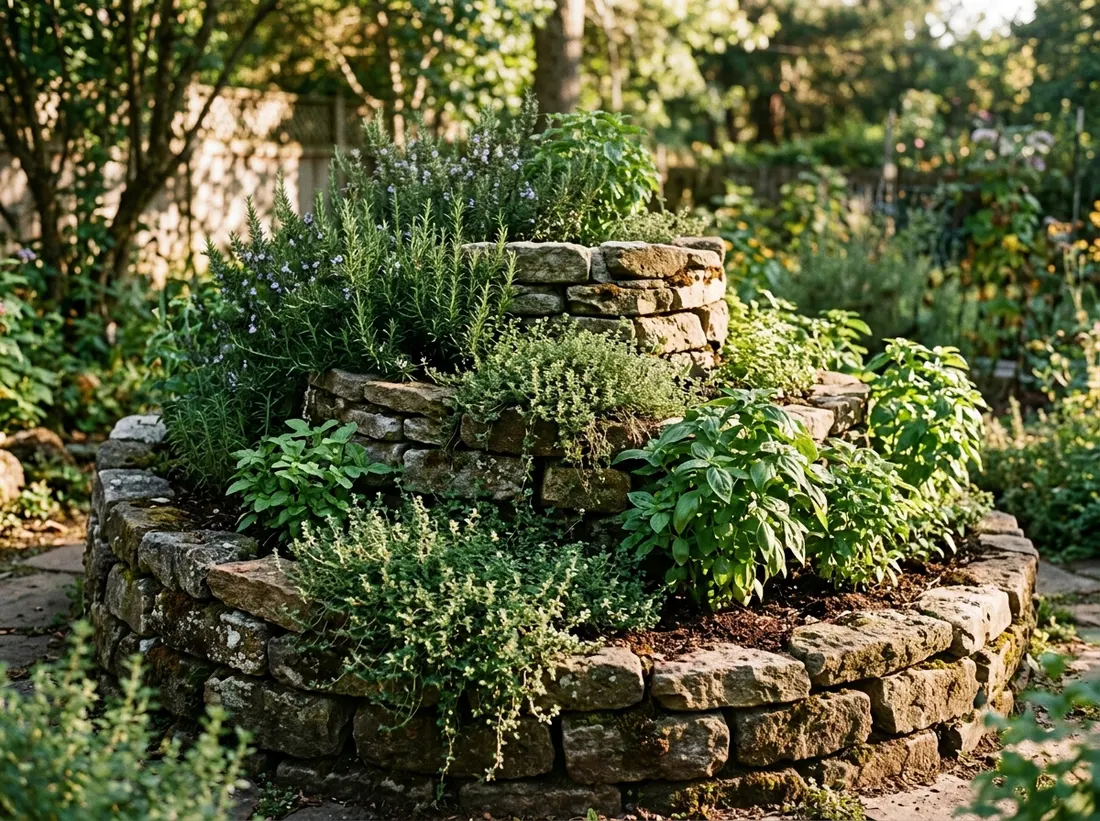
Tomatoes and peppers prefer soil that dries slightly between waterings, while lettuce and cucumbers want consistent moisture, so a layout that separates plants by water needs rather than plant family makes watering far less of a guessing game. Put drought-tolerant herbs like rosemary in their own corner away from thirstier crops.
23. Decide What to Grow First Before Finalizing the Layout
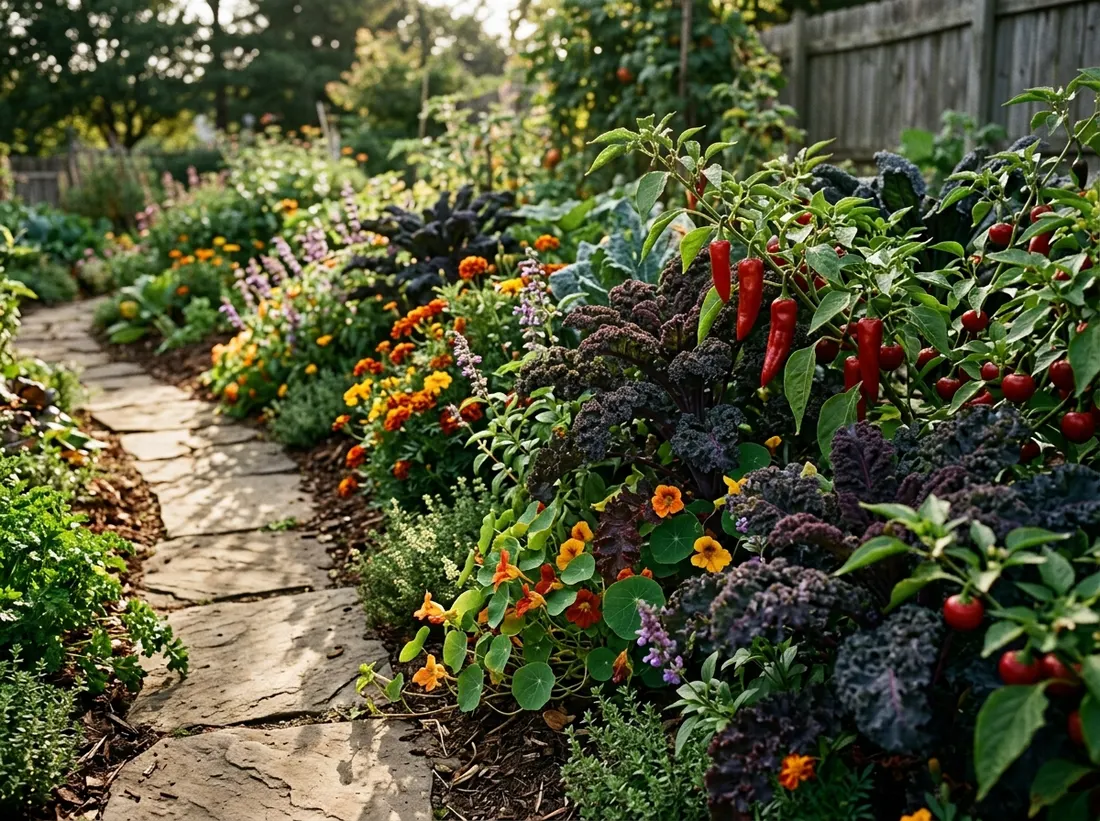
Pick 4 to 6 vegetables your household actually eats before you draw a single line for your layout, since the plants you choose determine how much space, sun, and trellising you need. A layout built around tomatoes and herbs looks completely different from one built around squash and corn.
24. Sketch Two Layout Options Before You Build
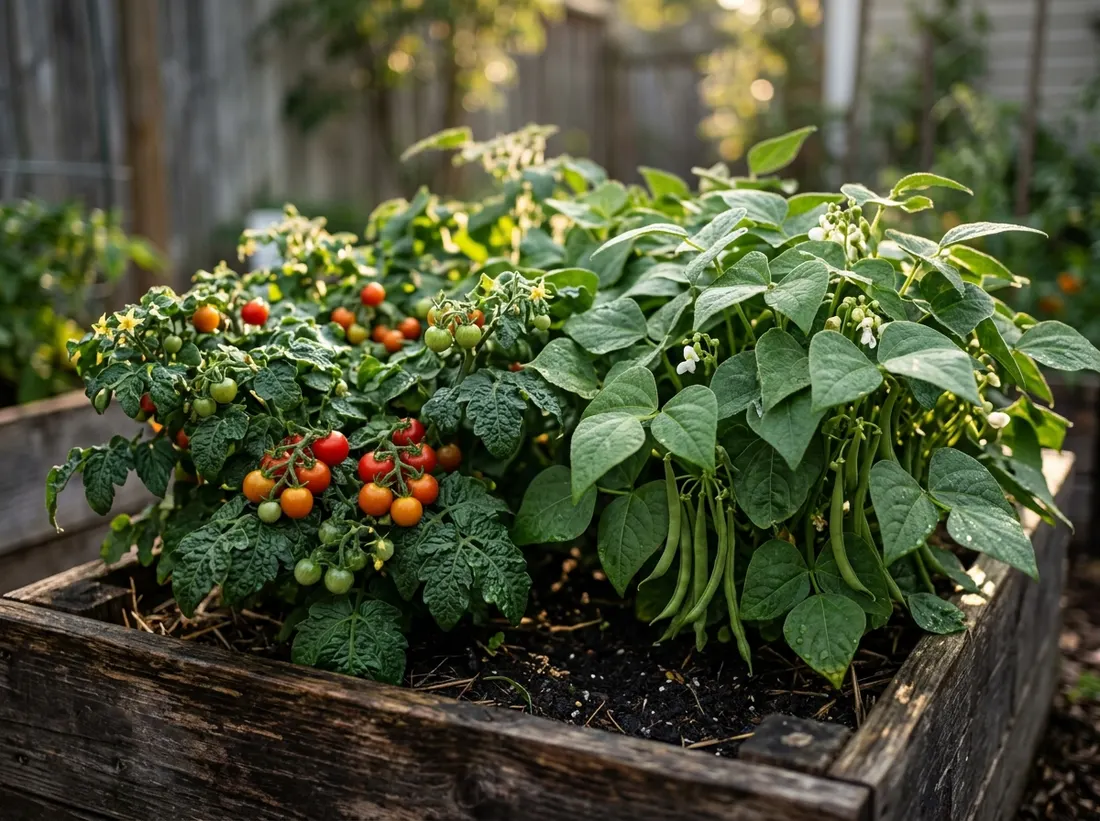
Draw your yard to a rough scale on paper, even a simple grid where each square equals a foot, and sketch two different layout options before building anything. Comparing a row option against an L-shaped or grid option on paper takes 20 minutes and can save a full weekend of rebuilding a bed that doesn’t work.
25. Adjust Your Layout After the First Season

Your first layout will not be perfect, and that’s normal; almost every gardener redraws their plan after one full season of using it. Note which beds got too much shade, which paths were too narrow, and which crops needed more room, then adjust the layout the following spring instead of rebuilding from scratch.
Conclusion
A small vegetable garden layout comes together through a series of decisions, not a single perfect plan you get right on the first attempt. Measure your space honestly, respect how much sun it really gets, start smaller than feels exciting, and let your yard’s actual shape guide whether you build rows, an L-shape, a grid, or containers. The mistakes covered here, dense planting, ignoring mature plant size, and skipping water access, account for most of the regrets first-time gardeners mention. Sketch your options, build the simplest version first, and treat next season as your chance to adjust.
Frequently Asked Questions
What is the best layout for a small vegetable garden?
The best layout is one or two raised beds no wider than 4 feet, arranged in a simple rectangle with paths at least 18 inches wide. This shape is the easiest to build, plant, and reach into without stepping on soil. For yards under 100 square feet, a square foot grid or container layout often fits more variety into less space. The right choice depends on your yard’s shape, sun, and how many beds you can maintain.
How much space do I need for a small vegetable garden?
A workable small vegetable garden can start in as little as 16 square feet, a single 4 by 4 foot bed, and still produce a meaningful harvest of herbs, lettuce, and a couple of tomato plants. A 4 by 8 foot bed, about 32 square feet, gives room for 10 to 15 plants. Container gardens on a patio can work in even less space, since pots don’t need a dedicated bed at all.
How do I decide how many raised beds to start with?
Start with one or two raised beds in your first year, since each additional bed adds real time for watering, weeding, and pest checks. A single 4 by 8 foot bed is enough to learn how much upkeep a vegetable garden actually takes. Once you know your weekly time budget from a full season, add another bed the following spring.
What is the biggest layout mistake beginners make?
The biggest mistake is planting too densely, spacing plants by how empty the bed looks on planting day instead of by the mature size listed on the tag. A transplant needing 24 inches of space still fits in a 6 inch gap in May, but by midsummer that crowding blocks airflow and raises disease risk. Follow the tag’s spacing guidance even when the bed looks sparse at first.
Should I use raised beds, in-ground rows, or containers for a small garden?
Raised beds work best if your native soil is poor or hard to dig, since you control the soil mix from the start. In-ground rows cost less and suit yards with decent soil and room for wider crops. Containers make sense for patios or rented spaces where you can’t dig at all. Many small gardens mix all three, matching each method to the spot and crop it suits.
How do I fit a vegetable garden into an oddly shaped yard?
Let the yard’s actual shape decide the layout instead of forcing a square design into a space that isn’t one. A narrow side yard works well as a single long bed, a sloped yard works well terraced, and a sunny corner can host an L-shaped layout that follows the two available edges. Measuring your specific space before sketching anything keeps the layout realistic.