
14 Raised Bed Vegetable Garden Layout Ideas for Beginners
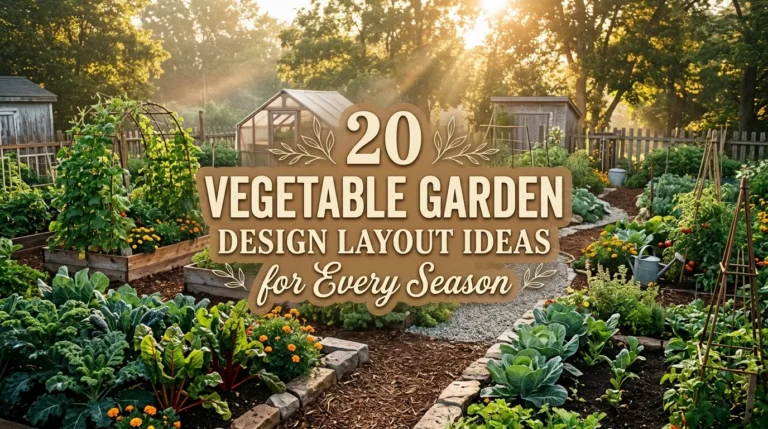
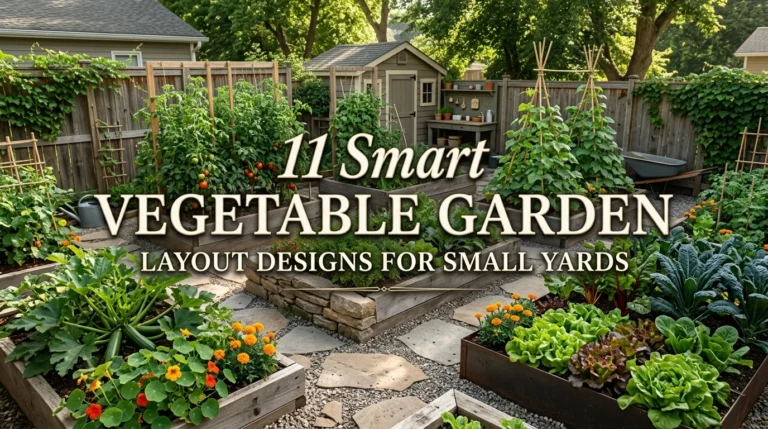
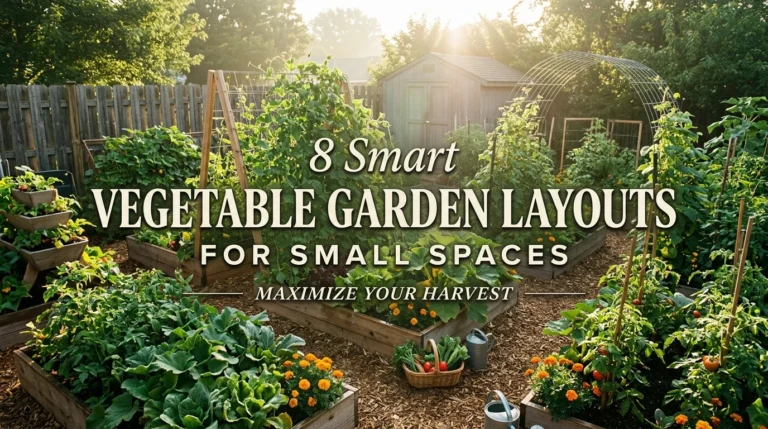
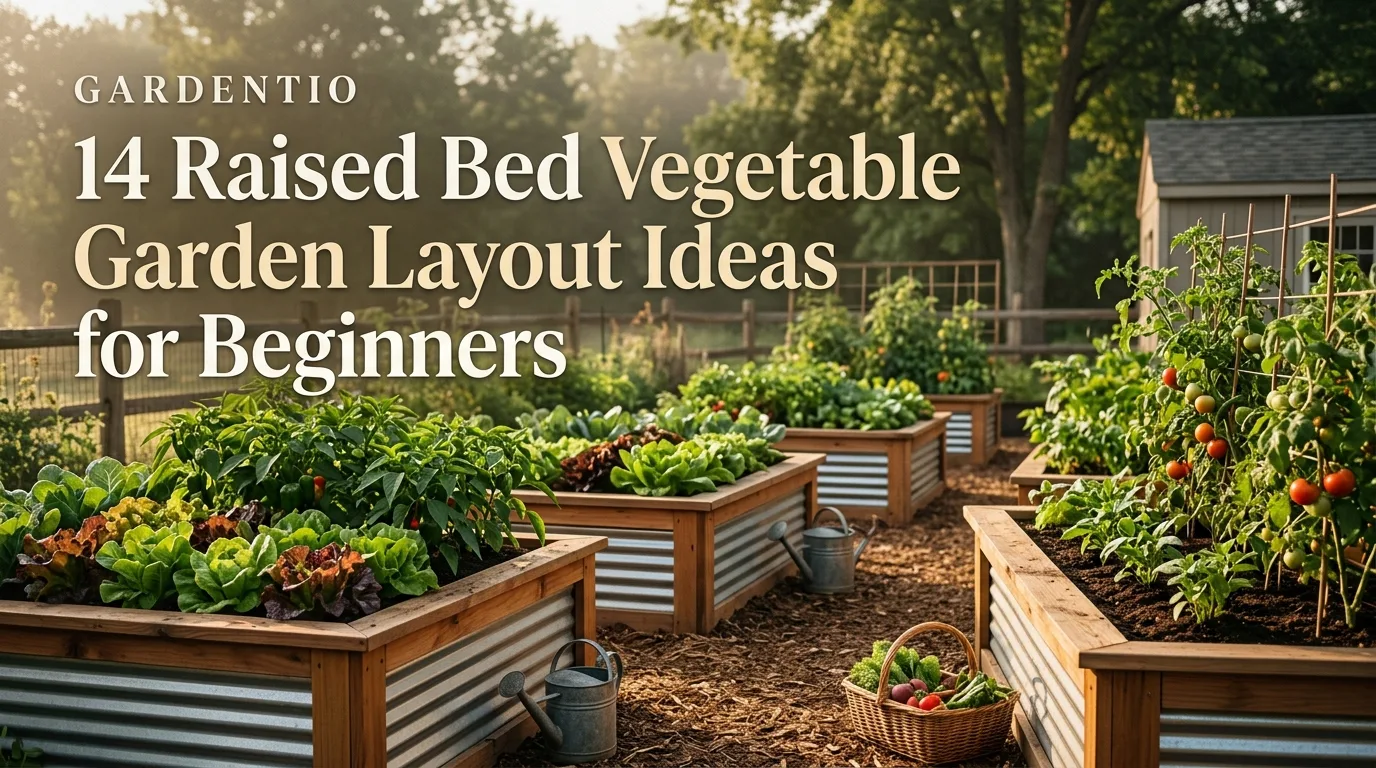
Planning a raised bed vegetable garden layout for the first time can feel more confusing than it should. Most guides assume you already know which wood to buy, how deep the bed needs to be, and how many plants will actually fit without turning into a tangled mess by midsummer. I have noticed that this confusion almost always comes down to one thing: raised beds follow different rules than in-ground rows. Spacing gets tighter, soil has to be built rather than dug, and the layout inside and between beds affects everything from watering to harvest access. This article walks through practical, beginner-friendly ways to plan your beds, from choosing materials and heights to filling them with the right soil mix and arranging plants so nothing gets crowded out. Once you see how the pieces fit together, building your first bed feels a lot less intimidating, and that starts with picking a height that actually suits what you want to grow.
1. Choose the Right Raised Bed Height for Your Crops
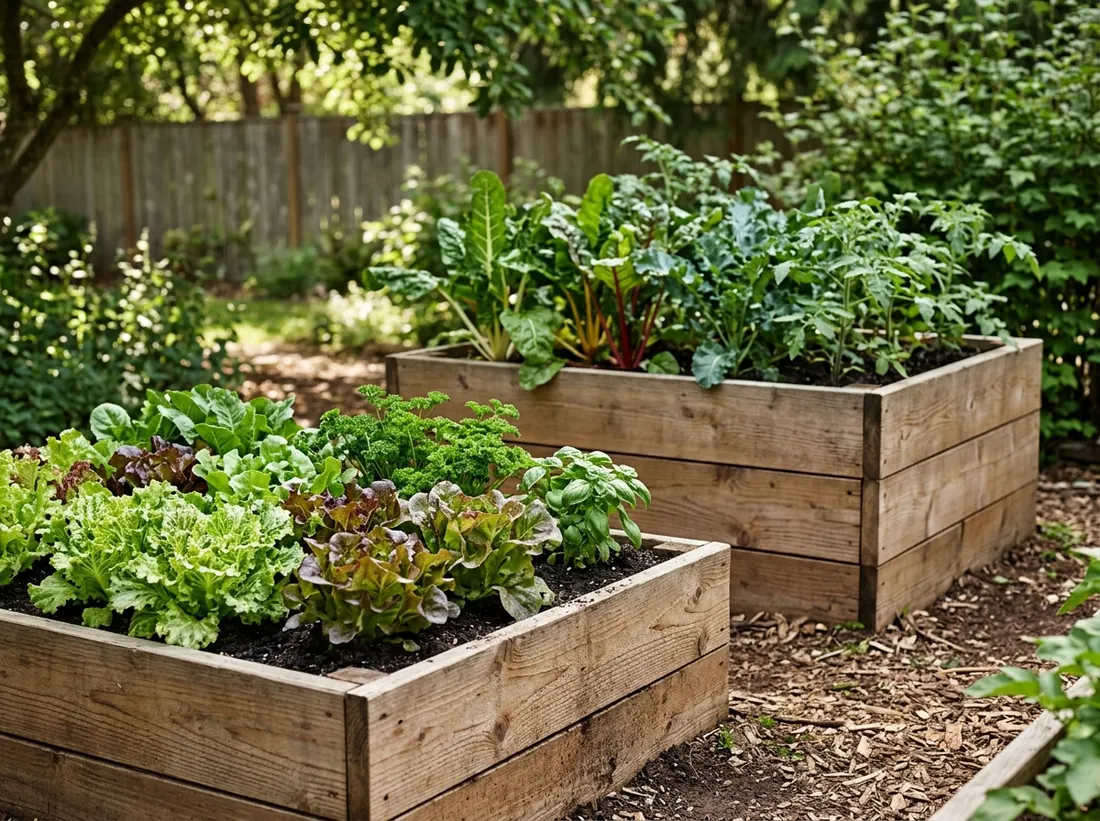
A raised bed does not need to be deep to grow most vegetables well. A height of 10 to 12 inches works for lettuce, beans, peppers, and herbs, since their roots stay fairly shallow. Root crops like carrots and potatoes do better in beds 14 to 18 inches deep, giving roots room to expand without hitting compacted native soil underneath. If you plan to kneel or use a stool while gardening, a shorter bed keeps material costs down. If bending is hard on your back, a taller bed around 24 to 30 inches lets you garden standing up, though it needs far more soil to fill.
2. Use a 4×8 Foot Bed for Easy Reach
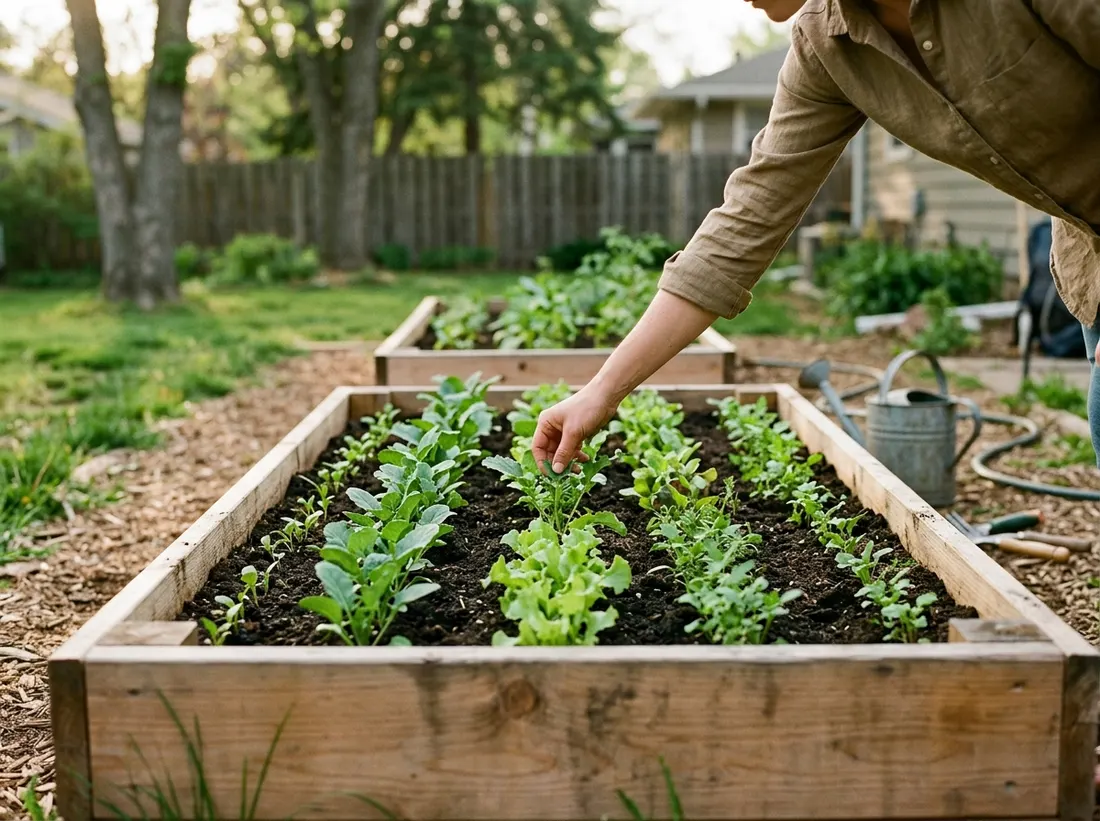
A 4-foot width is the standard for good reason: it lets you reach the center from either side without ever stepping into the soil and compacting it. An 8-foot length fits most beginner layouts without needing to cross a walkway, and it uses standard lumber lengths with minimal cutting. If your yard is tight, a 4×4 foot bed works just as well and is easier to build alone. Avoid beds wider than 4 feet unless you plan to access them from both sides, since compacted soil in the middle undoes a lot of the benefit of raising the bed in the first place.
3. Build Beds from Cedar or Untreated Pine
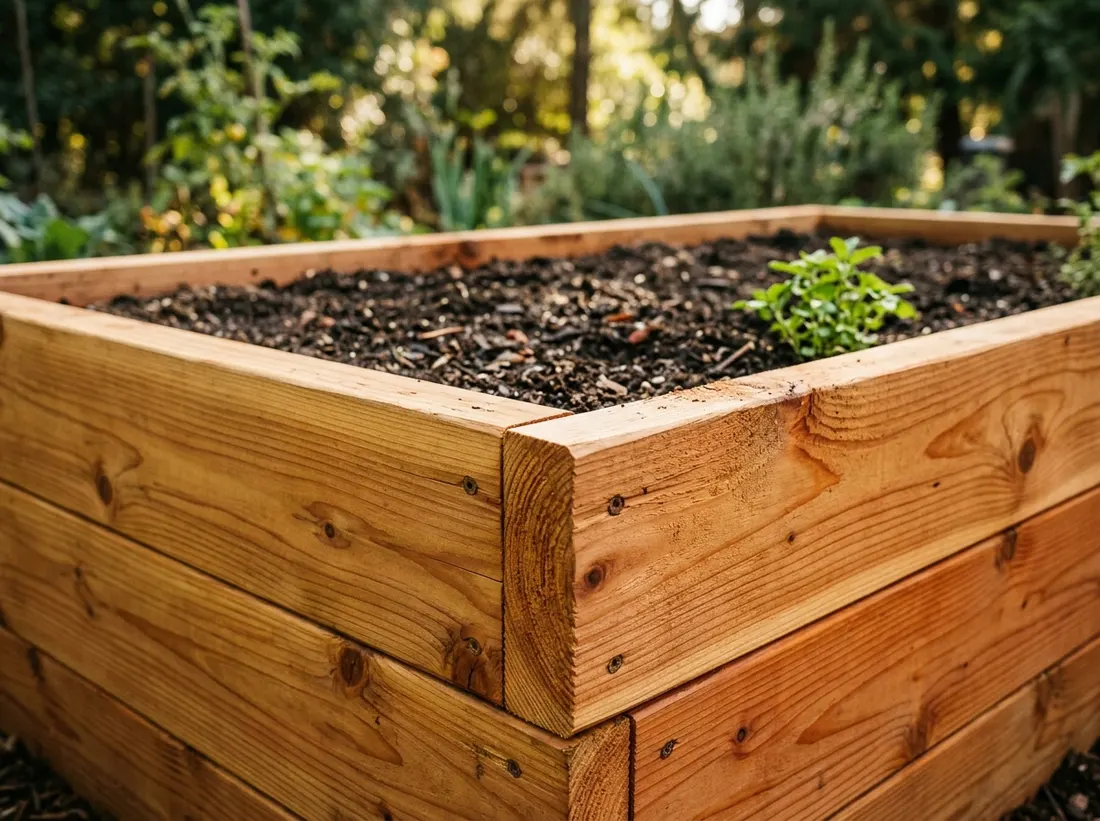
Cedar resists rot naturally and can last 10 to 15 years without chemical treatment, which matters since you are growing food in direct contact with the wood. Untreated pine costs less upfront but breaks down in 5 to 7 years, especially in wet climates. Avoid pressure-treated lumber for food beds unless it is labeled safe for garden use, since older treatments contained chemicals that can leach into soil. Whichever wood you choose, line the inside bottom edge with landscape fabric where the wood meets soil to slow rot without blocking drainage.
4. Try Galvanized Metal Raised Beds for Longevity
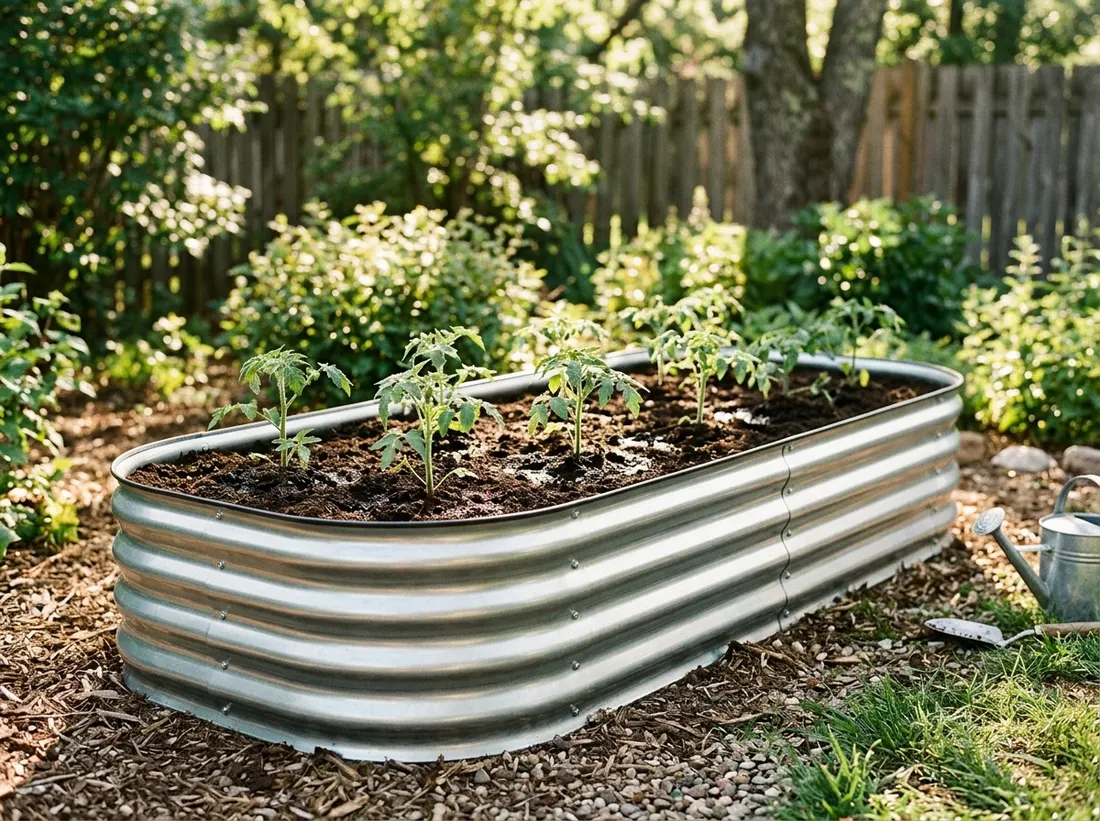
Galvanized steel beds hold up for 20 years or more and will not rot, warp, or attract termites the way wood can. They heat up faster in spring sun, which helps warm-season crops like tomatoes and peppers get an earlier start, but that same heat can stress roots in a hot summer climate, so a thicker soil layer and mulch help buffer the temperature. Metal beds also come in modular kits that assemble in under an hour, which makes them a solid pick for a first-time gardener who wants a build that will not need replacing in a few seasons.
5. Mix a Custom Soil Blend for Raised Beds
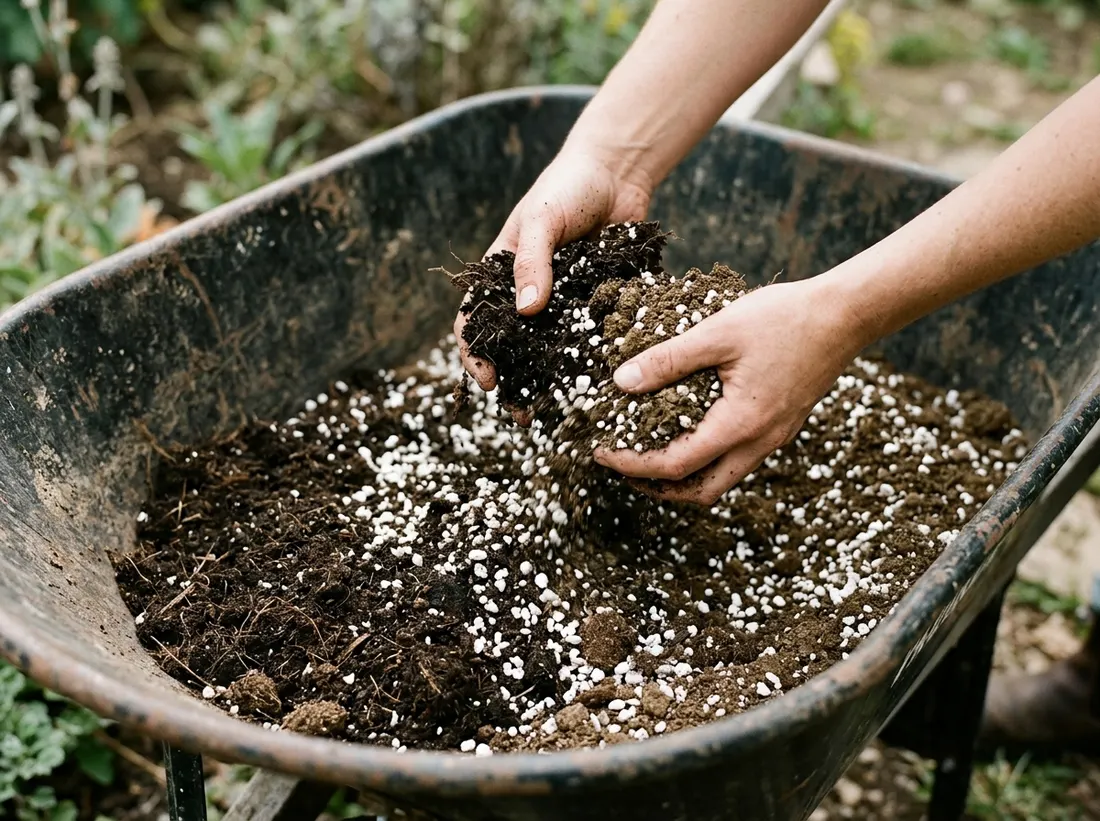
The classic raised bed mix is roughly one-third compost, one-third topsoil, and one-third an aeration material like perlite or coarse sand. This blend drains well while still holding enough moisture and nutrients for heavy feeders like tomatoes and squash. Bagged garden soil alone tends to compact over a season, so mixing in compost every spring keeps texture loose. Skip pure potting mix for a full bed, since it dries out too fast outdoors and gets expensive at that volume. A soil test in year one tells you if you need to adjust pH or add specific nutrients.
6. Use the Square Foot Gardening Grid Inside Each Bed
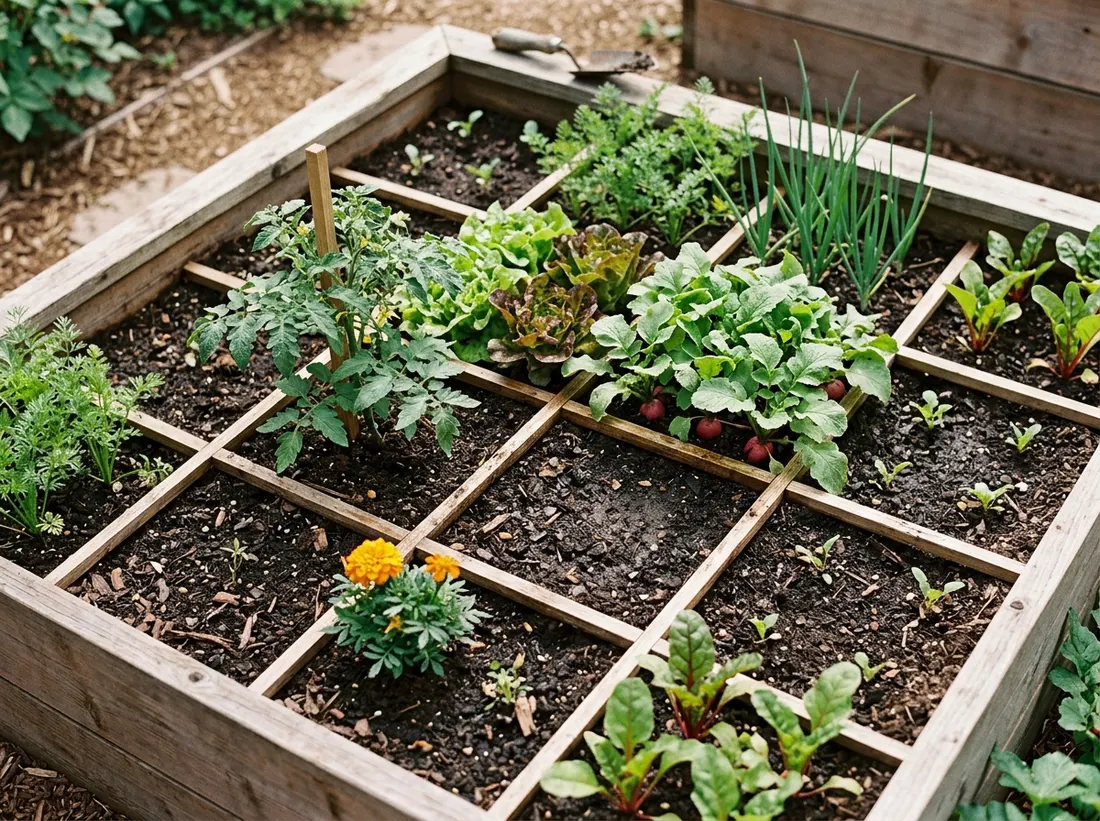
Dividing a bed into 1-foot squares with string or thin wood strips makes spacing almost foolproof for beginners. One square fits one tomato plant, four squares fit lettuce or bush beans, and sixteen squares fit radishes or carrots, based on standard spacing charts. This grid method prevents the overcrowding that trips up most new gardeners, since you plant by square instead of guessing distances by eye. It also makes crop rotation easier the following year, because you already have a visual map of what grew where.
7. Plant in Rows Running North to South
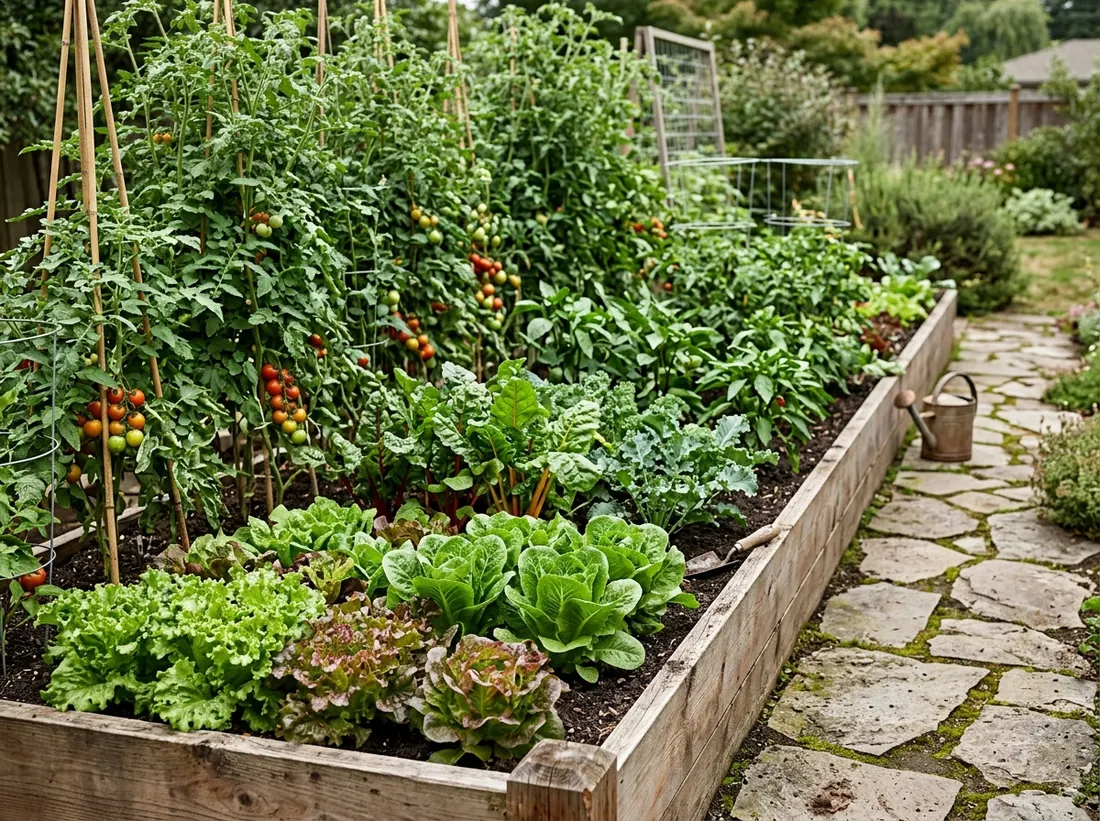
Orienting rows north to south lets sunlight reach both sides of taller plants evenly throughout the day, instead of one side staying shaded. This matters most in a single long bed growing a mix of heights, like corn next to lettuce. If your bed sits against a fence or wall that blocks one direction, prioritize placing your tallest crops on the shaded side so they do not block sun from shorter plants nearby. Rotating this orientation slightly is fine if your yard’s shape forces it, but keep the tallest plants on the north end whenever possible.
8. Group Beds in a U-Shape for a Compact Kitchen Garden
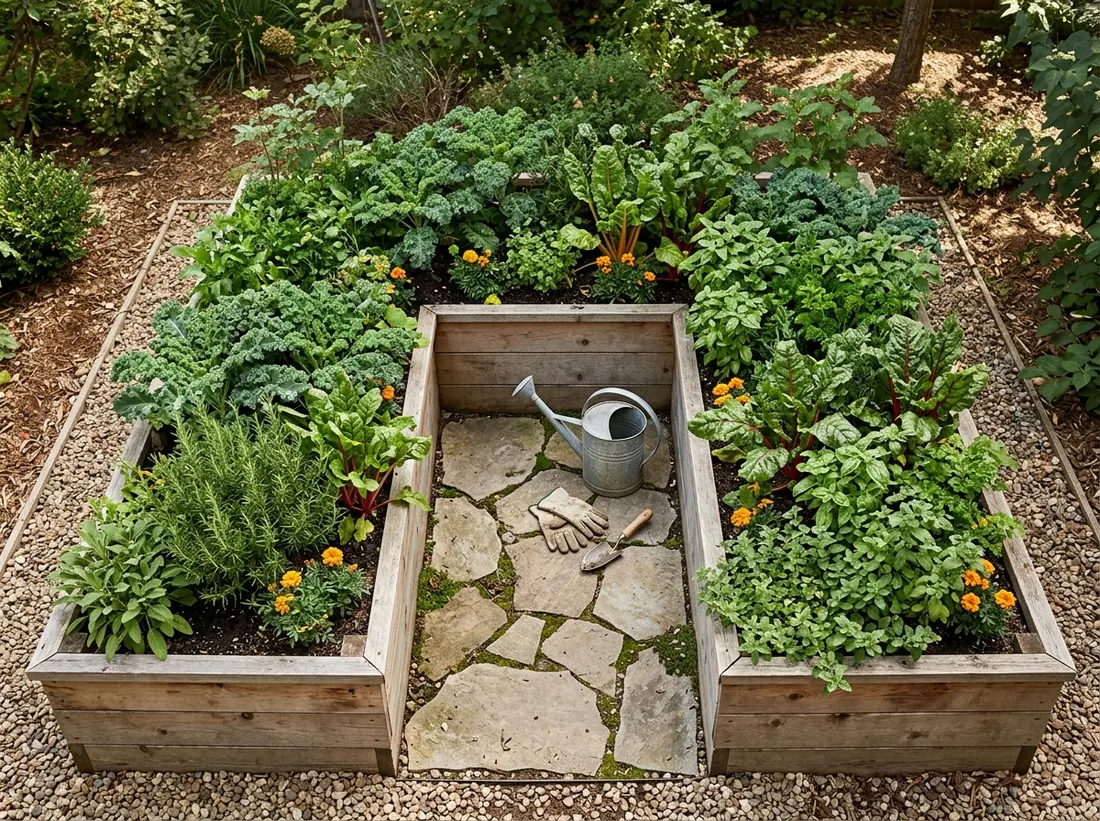
Arranging three or four beds in a U-shape around a central point creates a compact kitchen garden where you can reach every bed without walking far. This layout works well near a back door or patio, since it keeps herbs and quick-harvest vegetables like lettuce and green onions within a few steps of the kitchen. Leave the open end of the U facing your most-used entry path so you are not walking around the whole shape every time you need a handful of basil. A U-shape also cuts down on wasted path space compared to spreading beds out in a straight line.
9. Leave 18 to 24 Inch Paths Between Beds
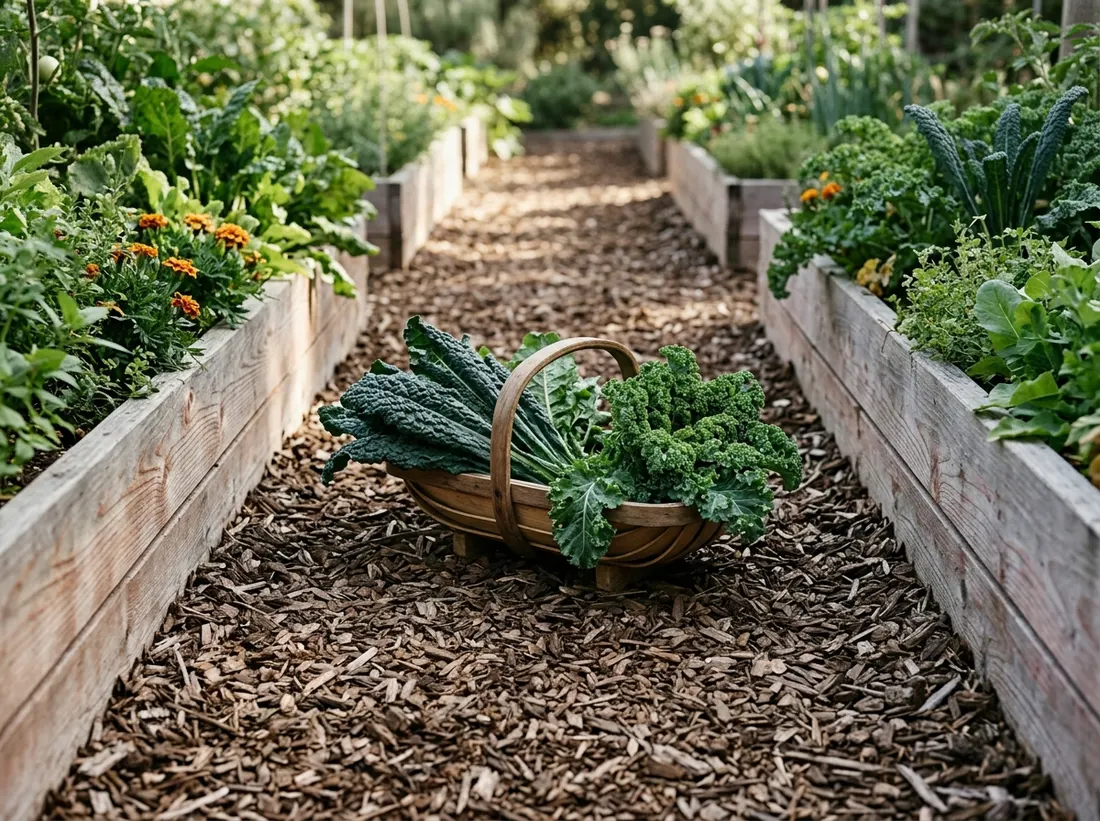
Paths narrower than 18 inches make it hard to kneel, turn a wheelbarrow, or carry a full harvest basket without brushing plants on both sides. A 24-inch path is comfortable for most gardeners and still leaves room for a small cart. Mulch, gravel, or stepping pavers all work as path material, but avoid bare soil, since it compacts and turns muddy after rain. If you plan to bring in a wheelbarrow regularly, widen at least one main path to 30 or 36 inches so it does not have to squeeze between beds.
Spacing Chart by Vegetable Type
Inside a raised bed, spacing per plant differs from in-ground rows because there is no need for wide tractor or tiller paths. Tomatoes need about 18 to 24 inches between plants, peppers and eggplant need 12 to 18 inches, bush beans need 4 to 6 inches, lettuce and spinach need 6 to 8 inches, and root crops like carrots and beets need 2 to 3 inches. Following these distances inside the grid from item 6 keeps airflow good enough to reduce fungal disease while still using the bed’s full space efficiently.
10. Add a Trellis Along the North Side of a Bed
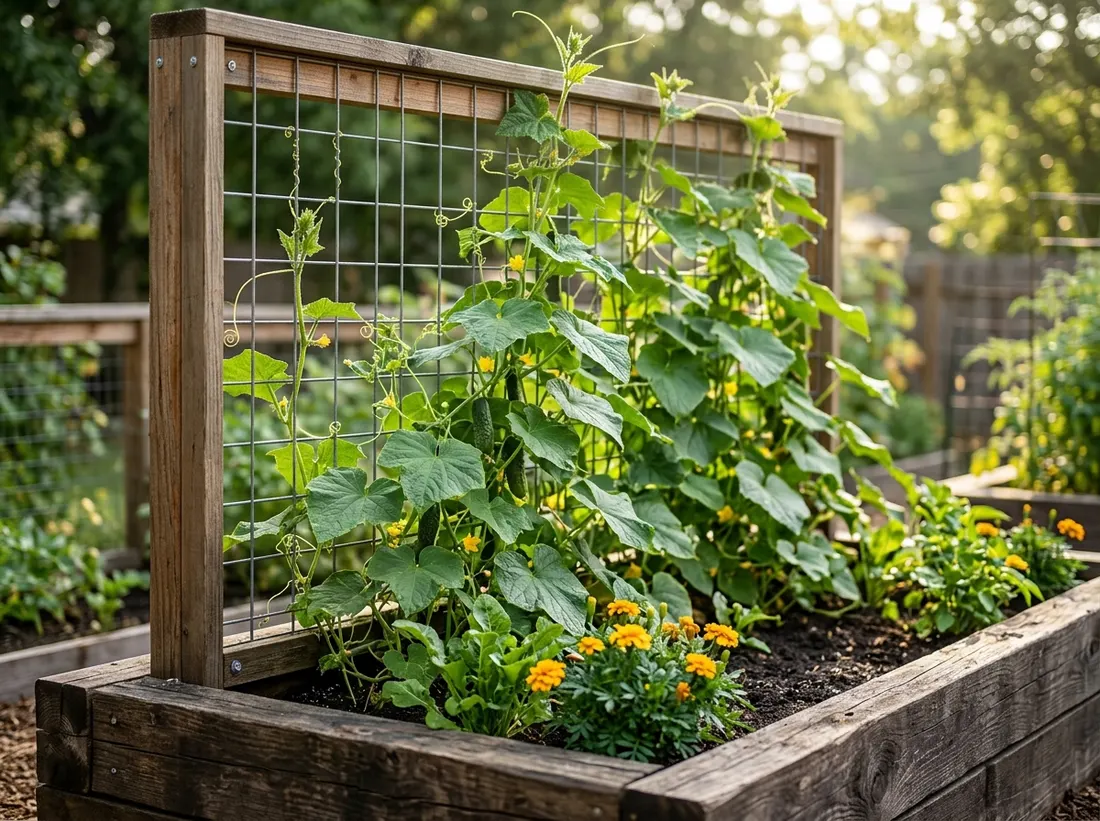
Placing a trellis along the north edge lets vining crops like cucumbers, pole beans, and peas grow upward instead of sprawling across the bed, and it avoids shading shorter plants since the tall growth stays on the shaded side. A simple cattle panel arched between two beds also works and doubles as a shared trellis for both. Vertical growing in a raised bed can roughly double how much you harvest per square foot, since the vine takes up floor space equal to just its base rather than its full spread.
11. Dedicate One Bed to Perennial Herbs
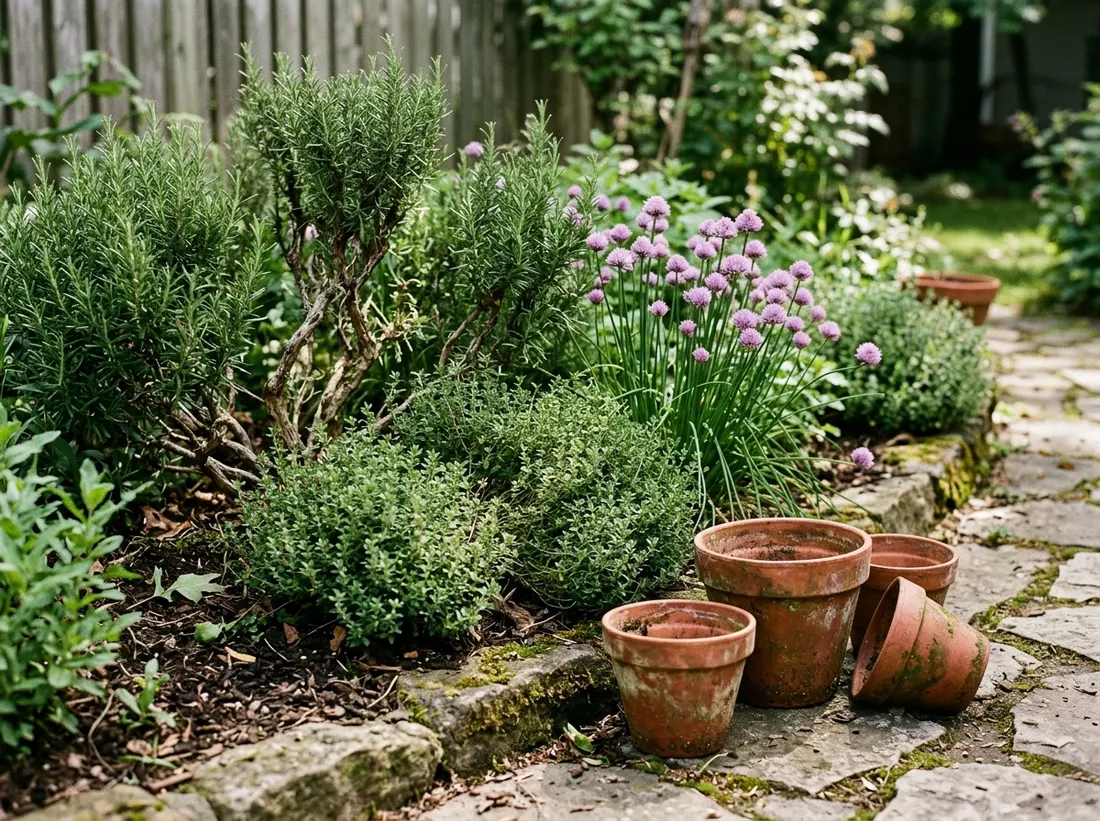
Herbs like rosemary, thyme, oregano, and chives come back year after year and do not want to be disturbed by annual soil turning. Giving them their own bed, or a dedicated corner of one, keeps you from accidentally digging up roots when you prep other beds for spring planting. Perennial herbs also tend to prefer leaner, slightly drier soil than heavy-feeding vegetables, so mixing less compost into that section prevents overly lush, less flavorful growth. This bed needs the least yearly maintenance of the bunch once established.
12. Rotate Crop Families Between Beds Each Season
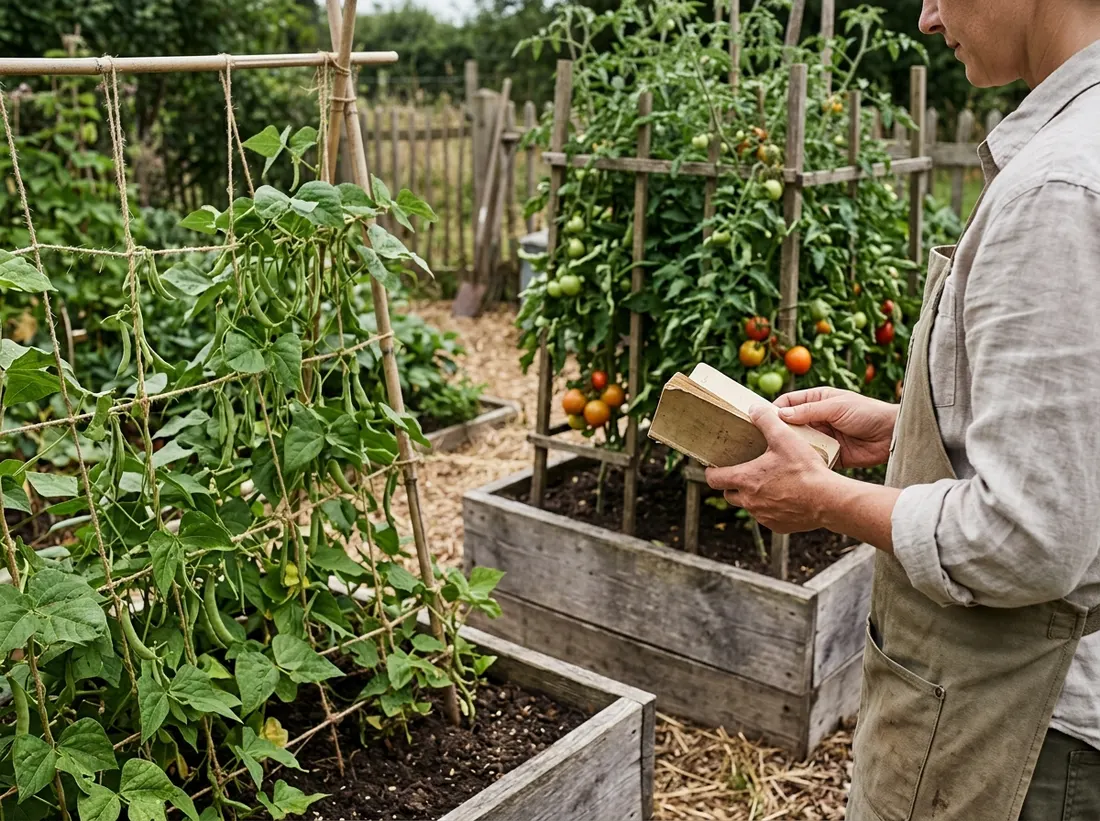
Growing the same plant family in the same bed year after year builds up soil-borne pests and diseases specific to that family, like blight in tomatoes or clubroot in cabbage. A simple three or four-bed rotation moves tomatoes and peppers, then legumes like beans, then leafy greens, then root vegetables through each bed in sequence. Legumes are especially useful in this rotation since they add nitrogen back into the soil for the next crop that follows them. Keeping a simple written record of what grew where each year makes this rotation far easier to stick to.
13. Add a Drip Irrigation Line Down Each Bed
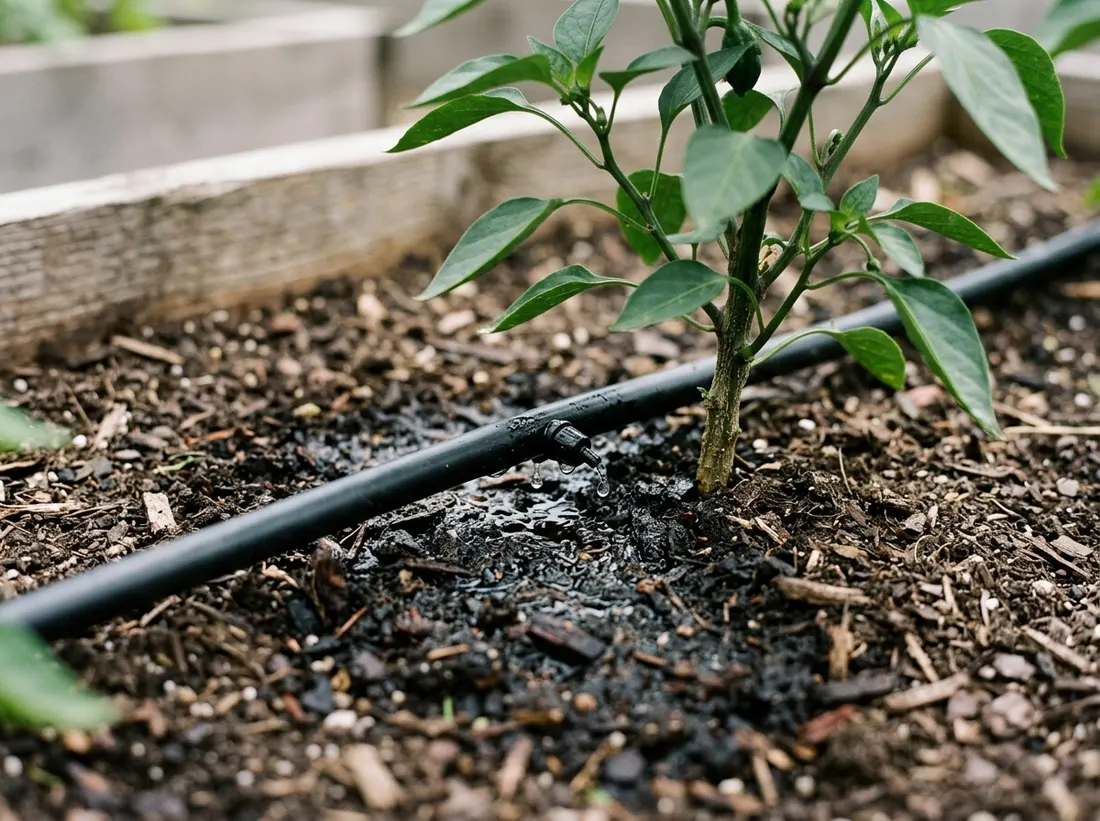
Raised beds dry out faster than in-ground soil because they drain well and sit above grade, so consistent watering matters more here than in a traditional garden. A drip line laid down the center of each bed delivers water directly to root zones and cuts down on the fungal issues that come from wetting leaves with overhead sprinklers. Running the lines to a simple timer means beds get watered evenly even when you are away for a few days. This setup pays for itself quickly in water savings and healthier plants once the season heats up.
14. Avoid Overcrowding by Following Spacing Charts
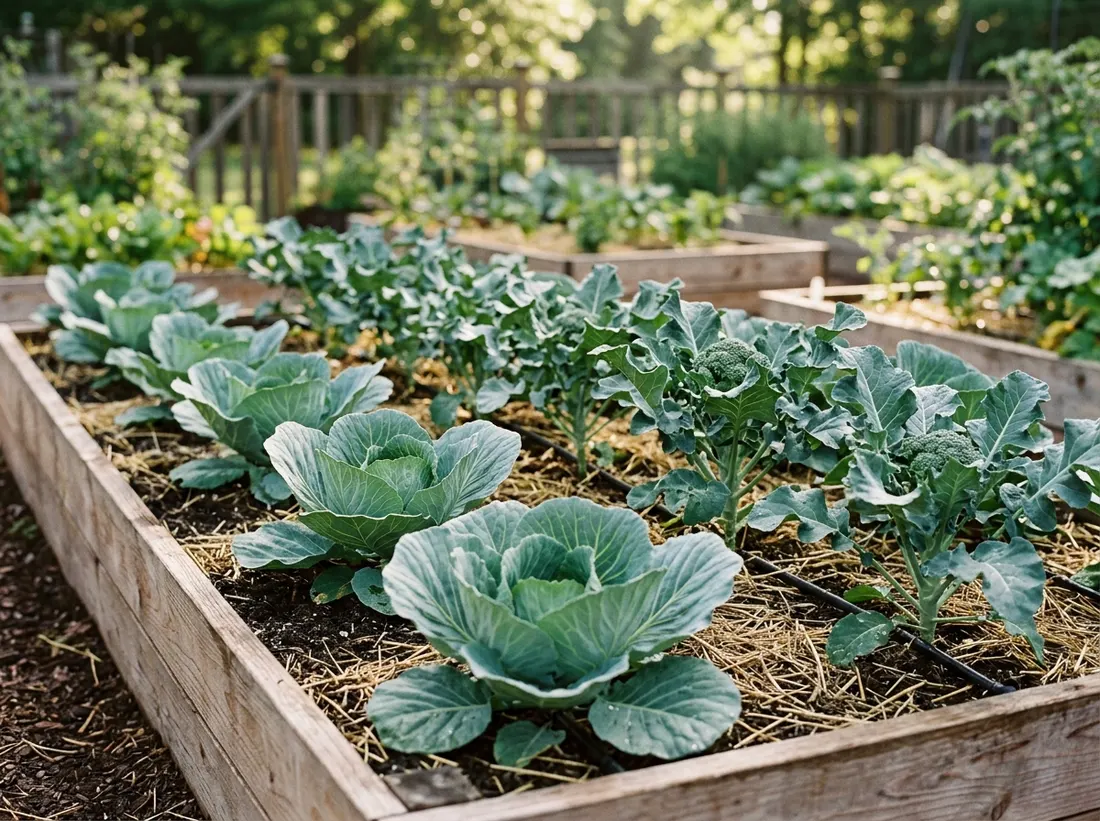
The most common raised bed mistake is planting too densely because the soil looks rich and the bed looks small. Overcrowded plants compete for light, nutrients, and airflow, which leads to smaller harvests and more disease pressure from leaves staying damp too long. Stick to the spacing chart in item 9 even when it feels like you are leaving gaps, since most crops fill in fully by midseason. If you are unsure, it is almost always better to plant slightly fewer, healthier plants than to squeeze in extras that end up stunting each other.
Conclusion
A raised bed vegetable garden layout comes together once you think of it in layers: the right height and material for your beds, a soil mix built for drainage and nutrition, and a planting plan that respects real spacing needs. None of these choices are complicated on their own, but skipping one, like guessing at spacing or reusing tired soil, tends to cause most of the problems new gardeners run into. Start with one or two beds using the ideas above, watch how your plants respond over a season, and adjust materials or spacing the next time you build. Raised beds forgive small mistakes far more easily than in-ground plots do, which makes them a genuinely good place to learn.
Frequently Asked Questions
How deep should a raised bed be for vegetables?
Most vegetables grow well in a bed 10 to 12 inches deep, which covers leafy greens, beans, peppers, and herbs. Root vegetables like carrots and potatoes need at least 14 to 18 inches so roots can fully develop. If your bed sits directly on native soil rather than a hard surface like concrete, roots can often stretch beyond the bed’s depth, which means you can get away with a slightly shallower build for most crops.
What is the best soil mix for a raised bed?
A blend of roughly one-third compost, one-third topsoil, and one-third an aeration material like perlite works well for most vegetables. This combination drains excess water while still holding enough moisture and nutrients between waterings. Avoid filling a bed with pure compost, since it can be too rich and unstable on its own, and avoid pure topsoil, since it compacts too easily without added texture.
How far apart should raised beds be spaced?
Leave at least 18 to 24 inches between beds so you can comfortably kneel, turn, and carry tools or a harvest basket without stepping on plants. If you plan to use a wheelbarrow, widen at least one path to 30 to 36 inches. Narrower paths save space but make regular maintenance noticeably harder over a full growing season.
Can you put a raised bed directly on grass?
Yes, as long as you line the bottom with cardboard or several layers of newspaper first to smother the grass without blocking drainage. The grass breaks down over time and adds organic matter to the soil above it. Avoid using a solid barrier like plastic sheeting on the bottom, since it stops roots from reaching the native soil below and can trap excess water.
How many vegetables can fit in a 4×8 raised bed?
Using the spacing guidelines for square foot gardening, a 4×8 bed holds roughly 32 planting squares. That works out to around 8 tomato plants, or a mix like 4 tomatoes, 8 pepper plants, and a border of lettuce and herbs filling the remaining squares. The exact count depends heavily on which crops you choose, since a full-size tomato plant takes up far more room than a radish.
Do raised beds need to be lined?
Lining is optional but helpful with wood beds, since a strip of landscape fabric along the inside bottom edge slows contact rot without blocking drainage. Metal beds sometimes benefit from a liner along the sides in very hot climates to reduce heat transfer to the soil near the edges. A full plastic liner across the bottom is not recommended, since it prevents proper drainage and can lead to waterlogged roots.