
25 Simple Steps to Start a Garden for Beginners
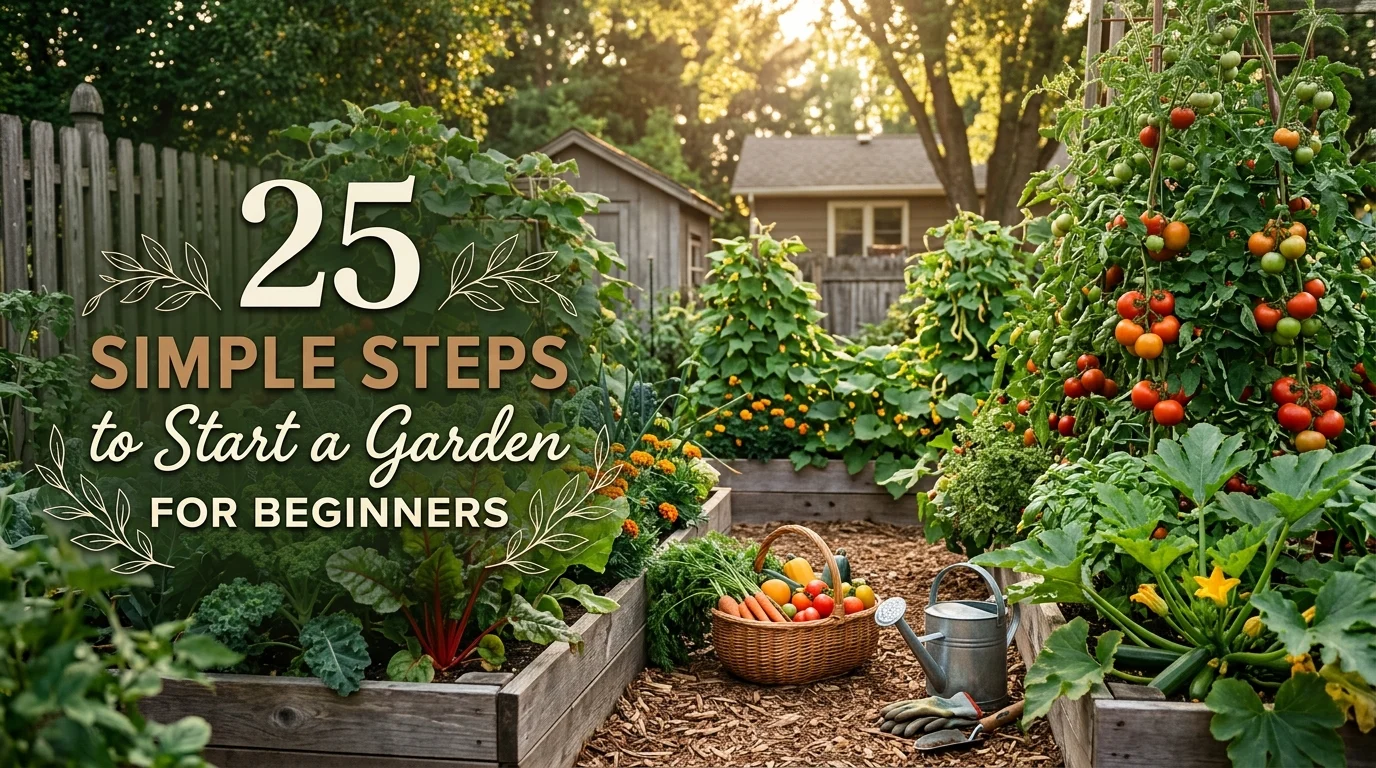
There’s a specific kind of overwhelm that hits once you’ve decided to start a garden and you’re finally standing outside with a shovel, wondering where to actually begin. I’ve found that most beginners get stuck not because gardening is hard, but because nobody breaks down the physical, hands-on part into steps you can just follow one at a time. You already know where your garden will go and roughly what you want to grow. What you need now is the doing part: prepping the ground, getting seeds and plants in correctly, watering on a schedule that actually works, and keeping everything alive through that nervous first season. Learning how to start a garden for beginners comes down to working through these steps in order, without skipping the ones that feel optional but aren’t, like testing your soil or hardening off seedlings. This walks you through the full process from breaking ground to your first harvest. Grab your gloves. Step one starts with the ground under your feet.
1. Clear the Planting Area Completely
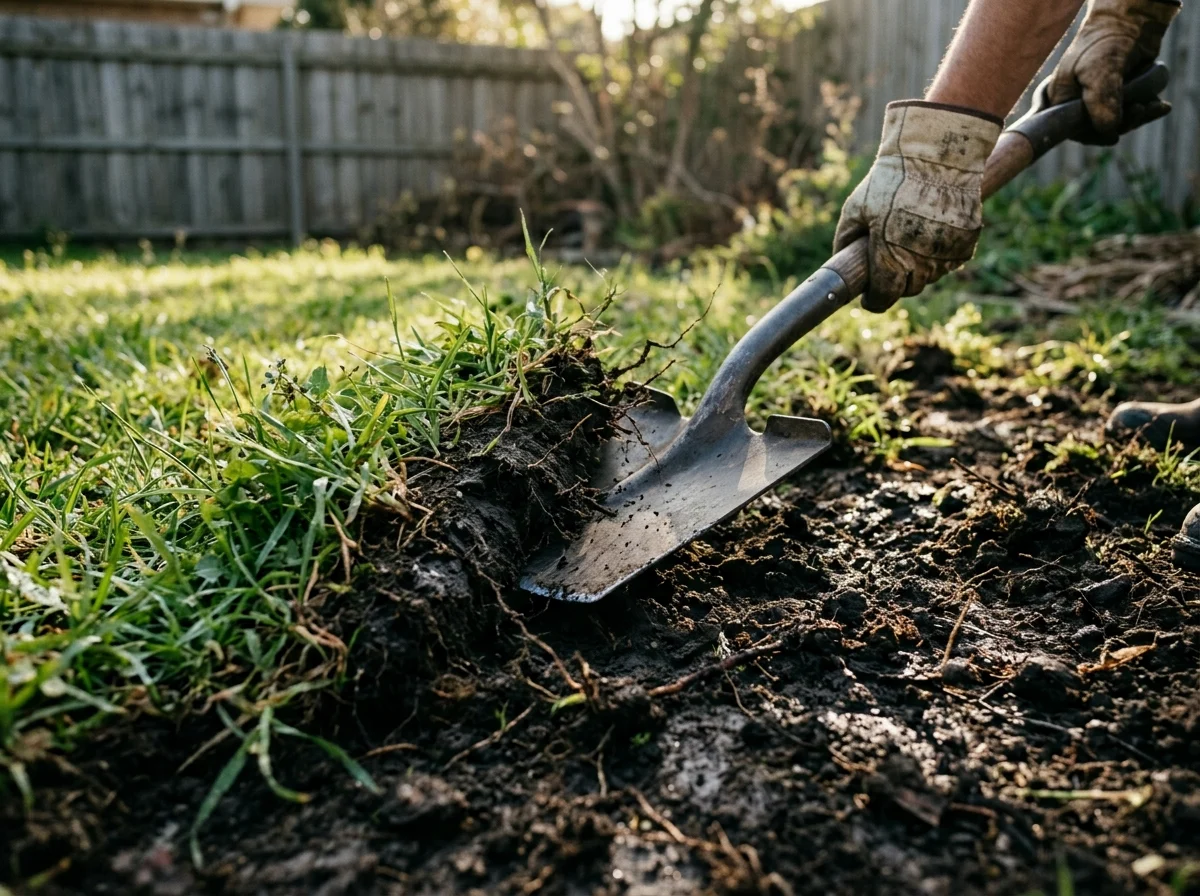
Remove all grass, weeds, and debris from your planting area before doing anything else. Use a flat spade to slice under sod in strips and roll it away, or smother grass with cardboard for two to three weeks if you’re not in a rush. Leftover roots and weeds left in place will compete with your new plants for water and nutrients all season.
2. Test Your Soil Before Amending It
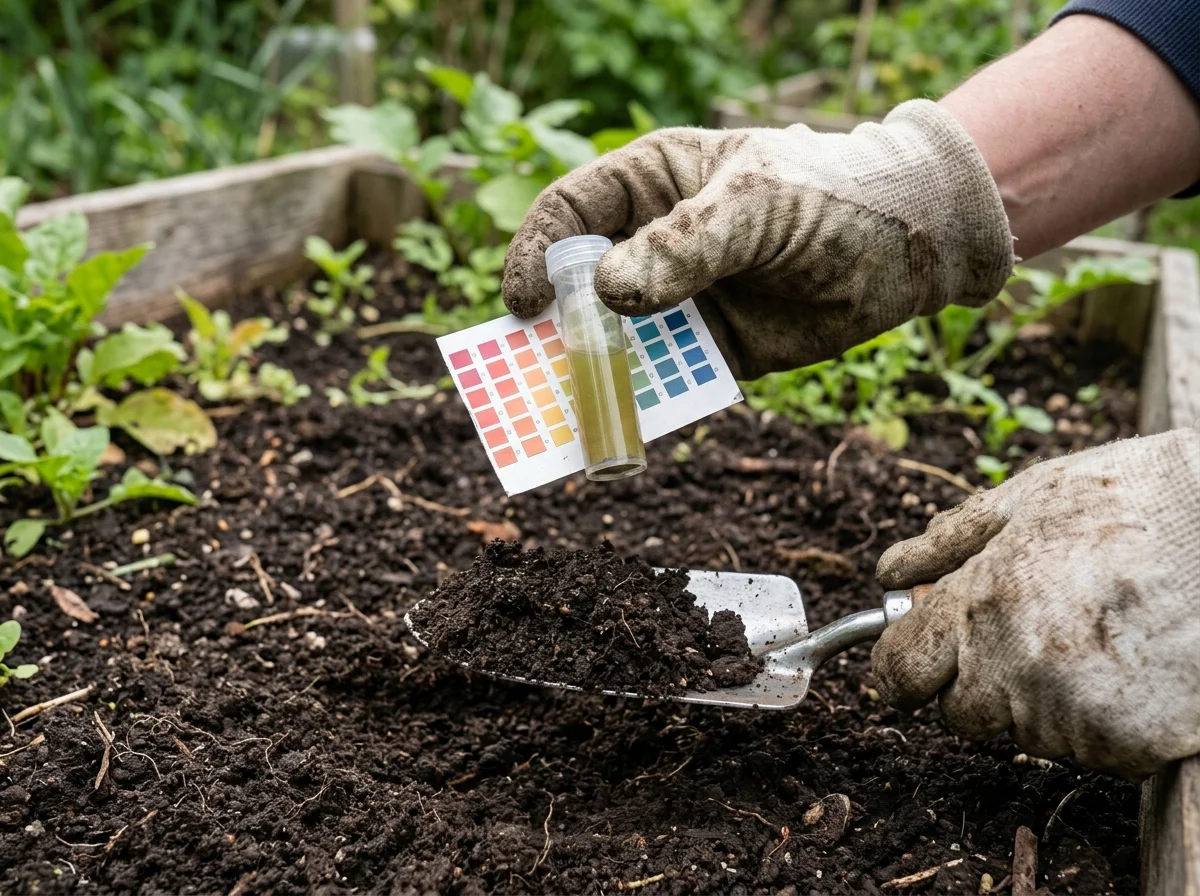
A basic soil test tells you your pH and major nutrient levels before you guess at what to add. Most vegetables grow best in soil with a pH between 6.0 and 6.8. A simple home test kit or a sample sent to your local extension office gives you results within a week or two, and it saves you from adding amendments your soil doesn’t actually need.
3. Loosen the Soil to a Full Spade Depth
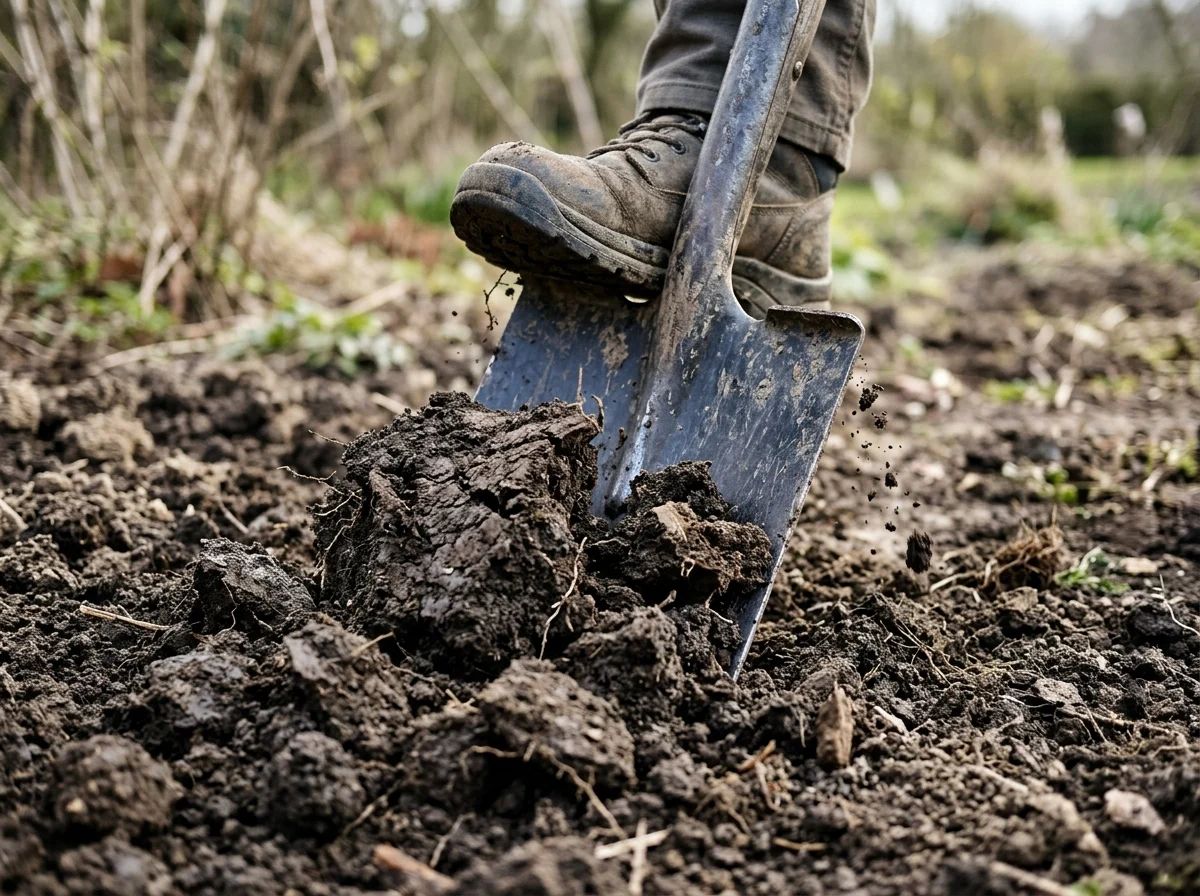
Dig or till the planting area to a depth of at least 8 to 10 inches, breaking up compacted soil so roots can spread freely. Compacted soil is one of the most common reasons new gardens struggle, since roots simply can’t push through it. Remove large rocks and clumps as you go instead of burying them back into the bed.
4. Mix in Compost or Aged Manure
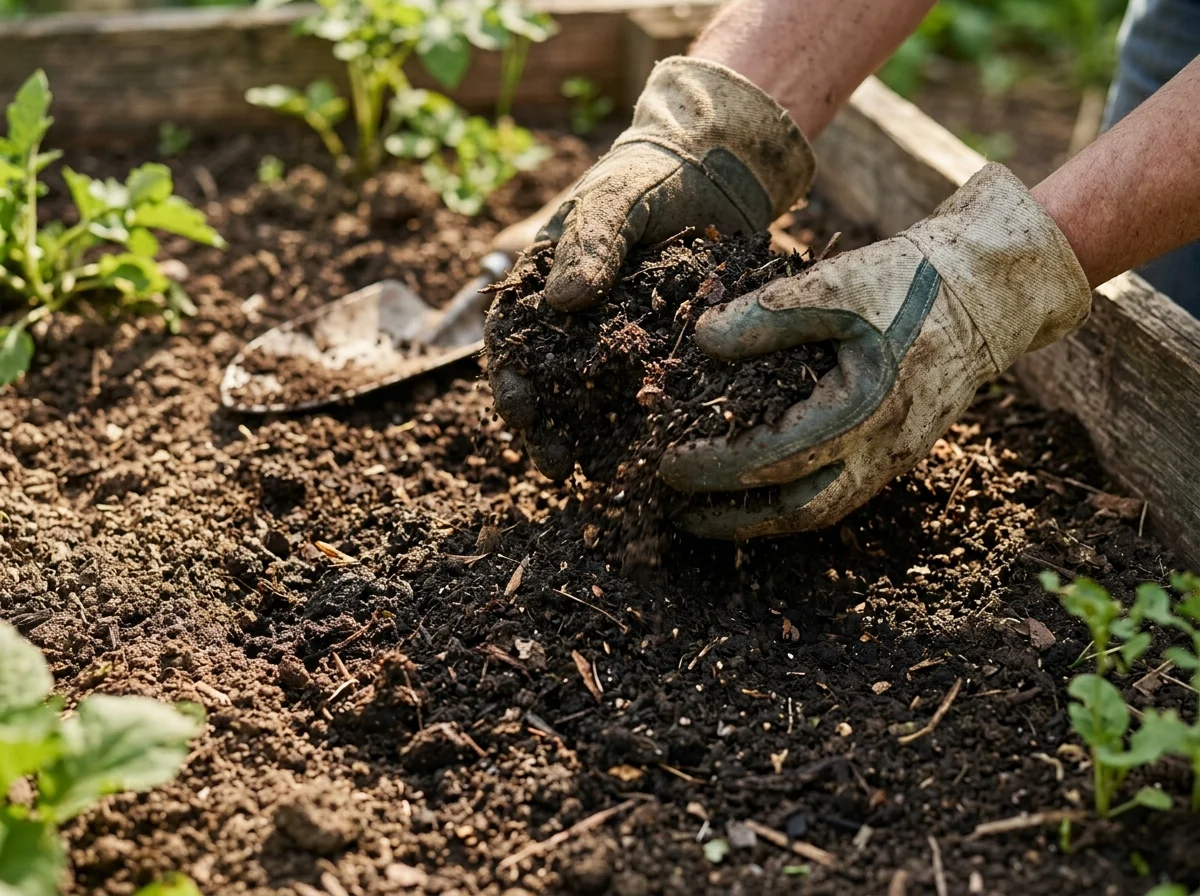
Work 2 to 3 inches of compost or well-aged manure into the top 6 inches of loosened soil. This single step does more for a new garden’s success than almost anything else, since it adds nutrients, improves drainage in heavy clay, and helps sandy soil hold water longer. Fresh, un-aged manure can burn young roots, so make sure it’s fully composted first.
5. Decide Between Rows, Raised Beds, or Containers
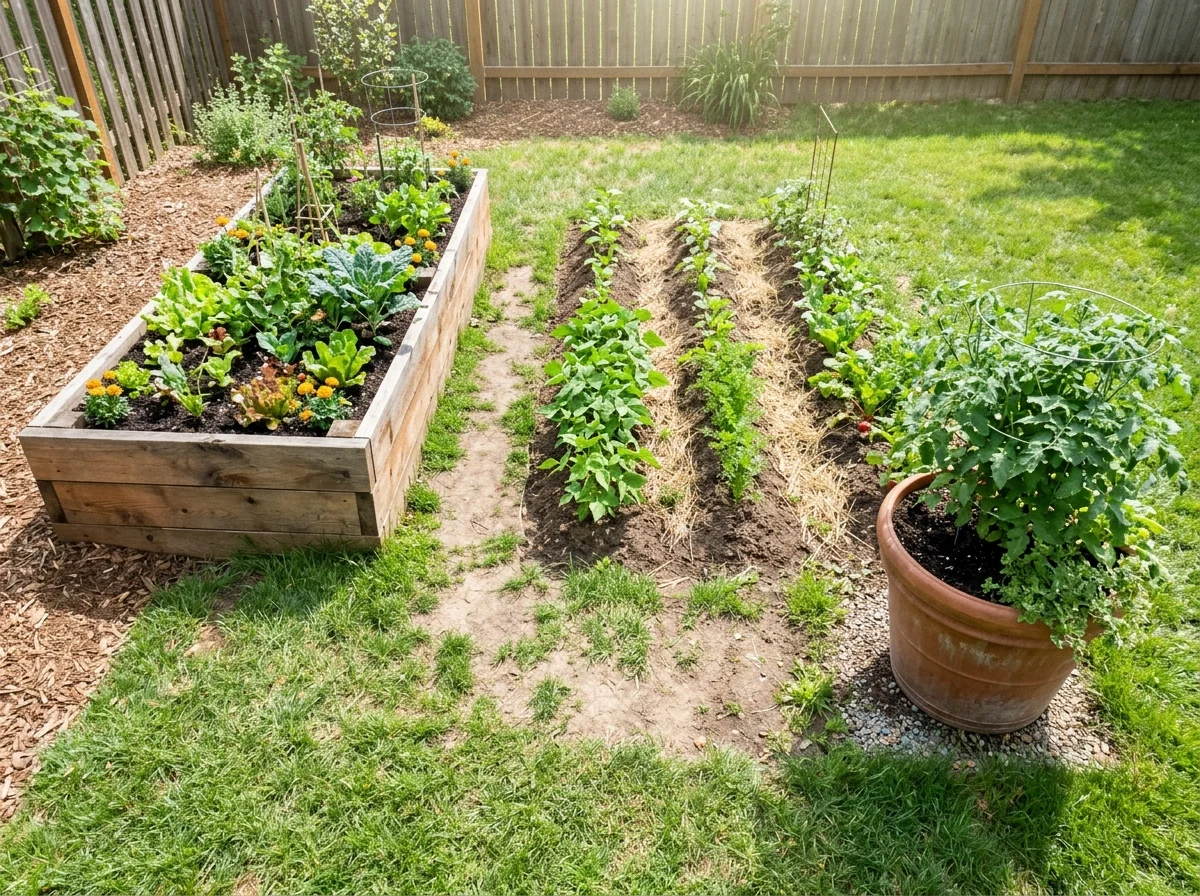
Match your planting method to your soil and space. Raised beds work well over poor native soil and drain reliably, in-ground rows suit larger open yards with decent soil already, and containers handle patios, balconies, or soil too rocky to dig. Whichever you choose, keep beds narrow enough (around 3 to 4 feet wide) that you can reach the center from either side without stepping on the soil.
6. Build or Set Up Your Beds
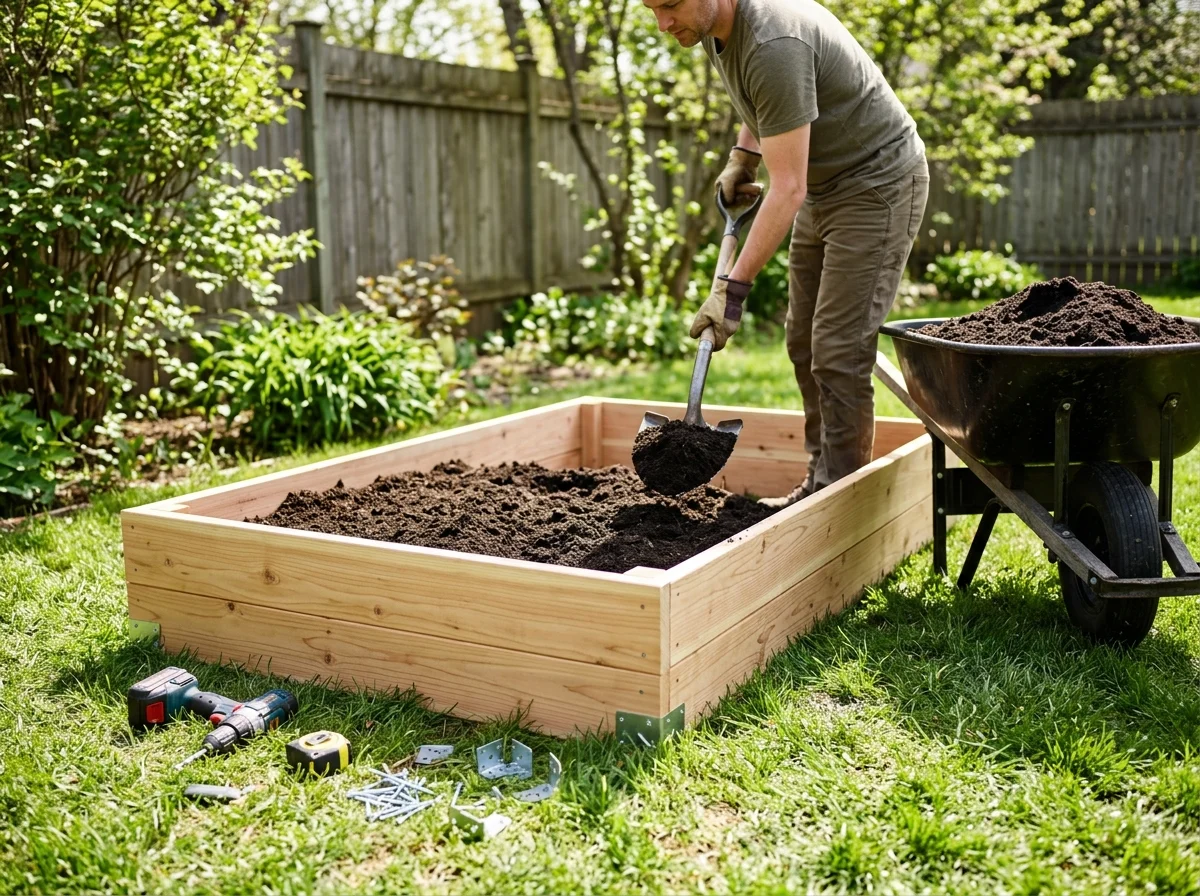
If you’re using raised beds, assemble the frames now and fill them with a mix of quality topsoil and compost instead of native soil alone. For in-ground rows, mound the soil slightly to improve drainage. For containers, choose pots with drainage holes at least 12 inches deep for most vegetables, and use a bagged potting mix instead of garden soil, which compacts too heavily in pots.
7. Plan Your Layout on Paper First
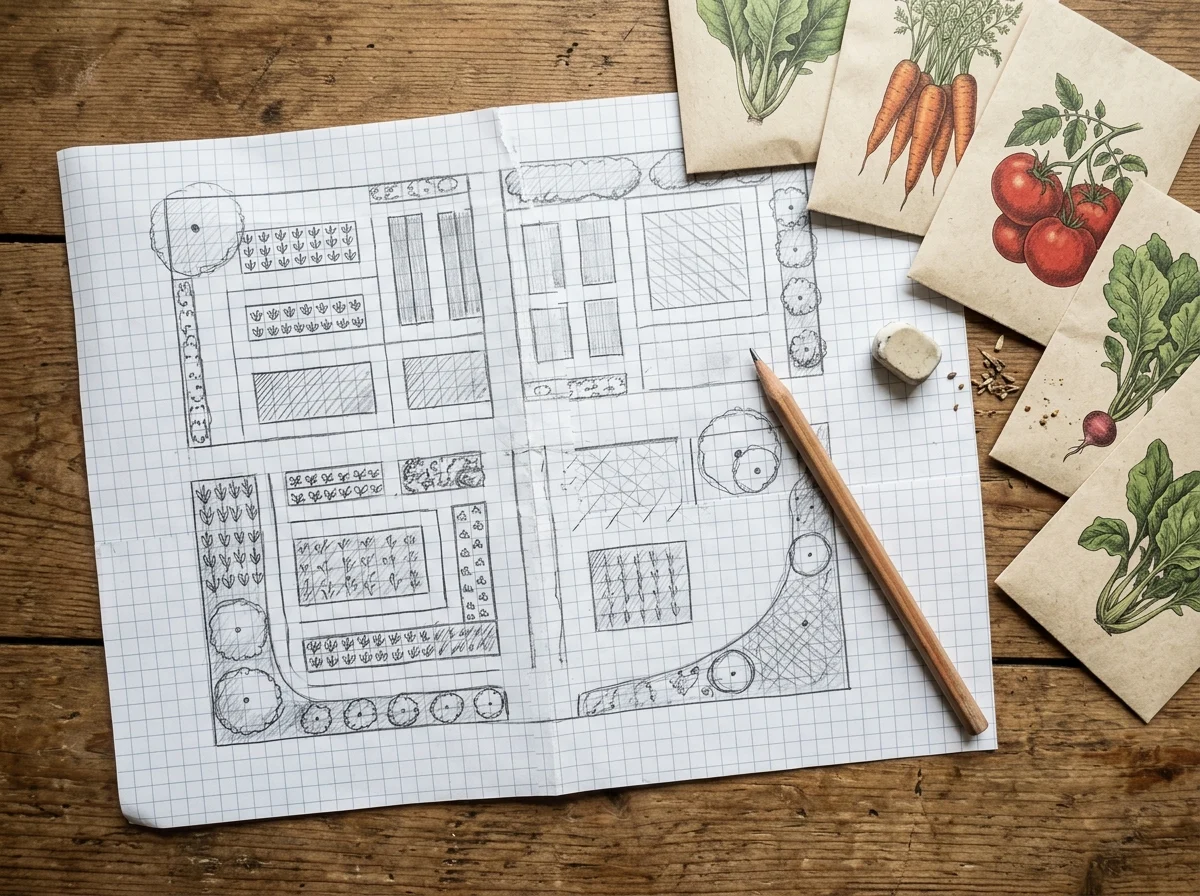
Sketch where each crop will go before you plant anything, grouping plants by height so taller crops like corn or trellised beans don’t shade shorter ones. Leave access paths at least 18 inches wide between beds so you can weed and harvest without compacting the growing soil. A five-minute sketch now saves you from replanting mistakes later.
8. Check Your Last Frost Date
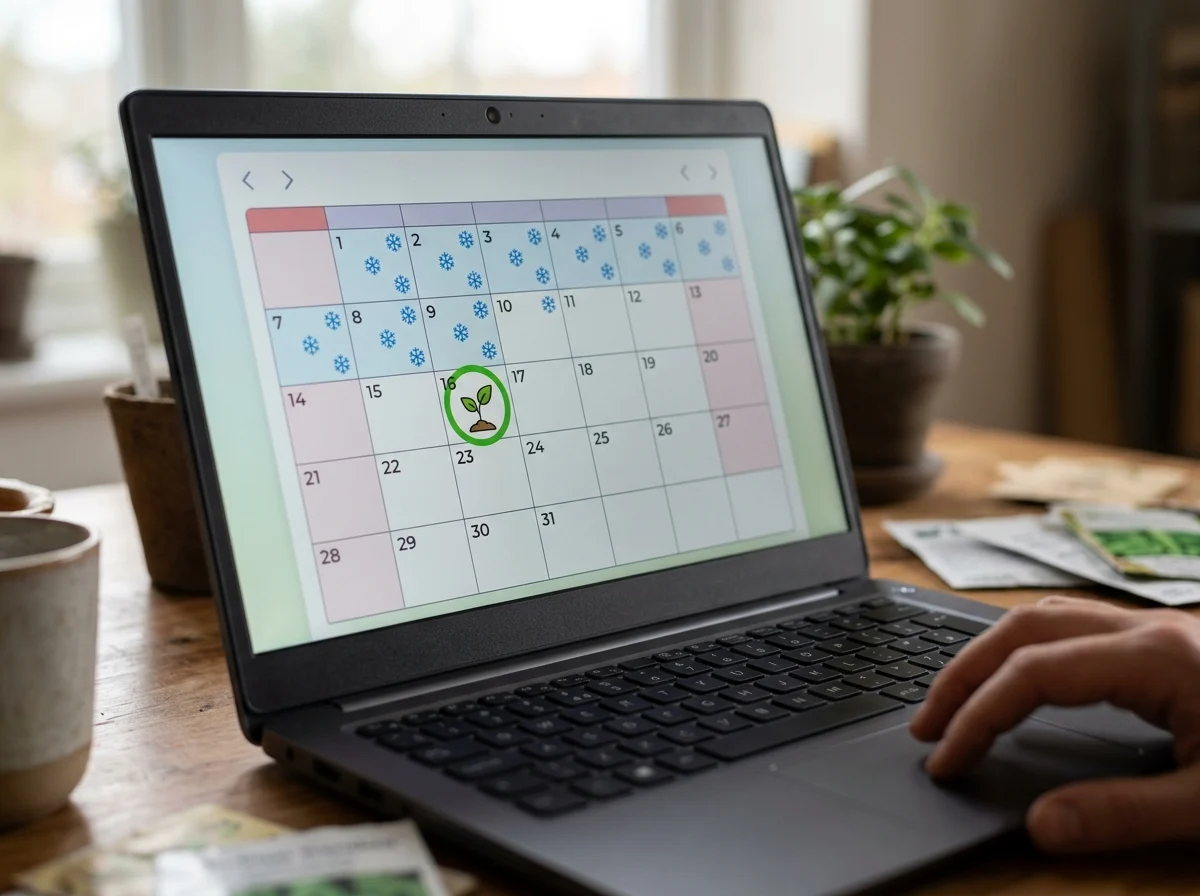
Look up your local average last frost date, since it determines when it’s safe to plant tender crops outdoors. Planting too early risks a late frost killing young seedlings, while planting too late shortens your growing season. Your local extension office or a gardening app tied to your zip code gives you an accurate date for your specific area.
9. Start Seeds Indoors for Slow-Growing Crops
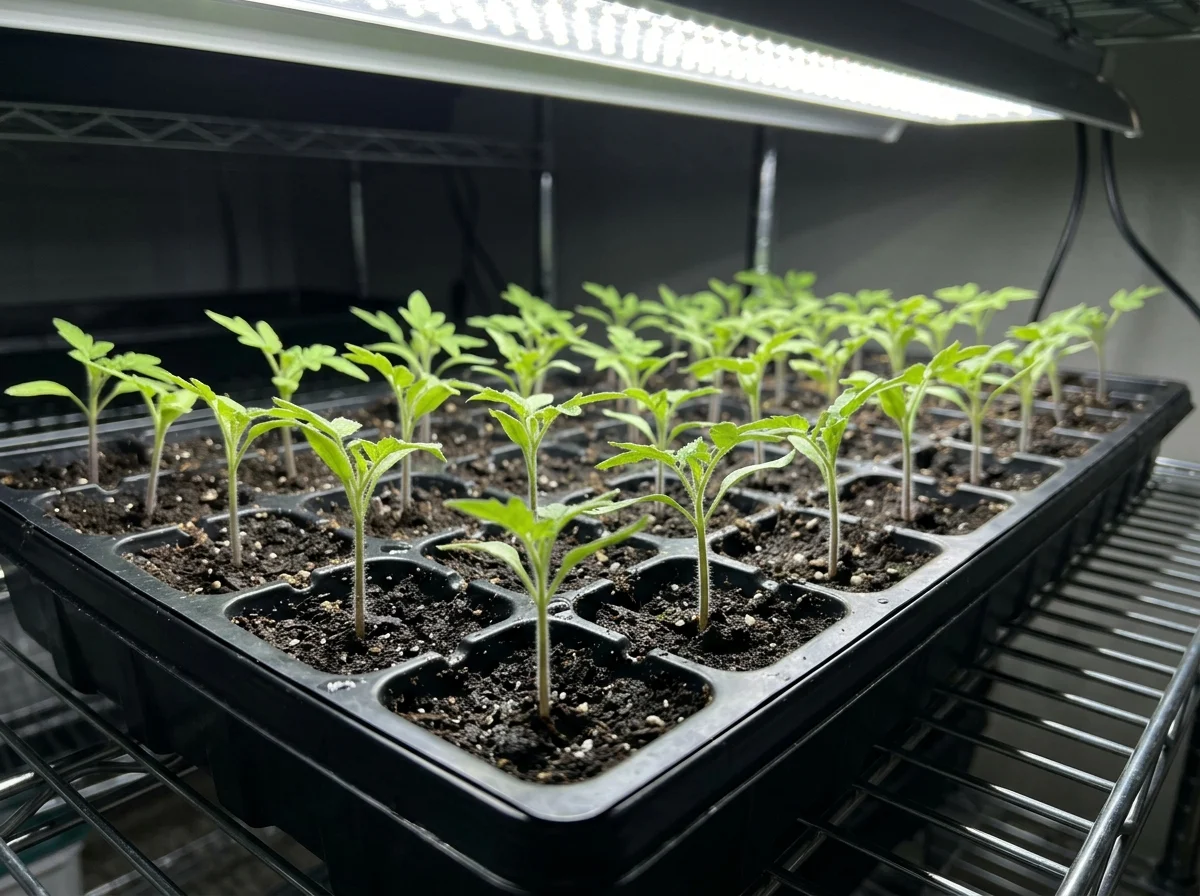
Start tomatoes, peppers, and eggplant indoors 6 to 8 weeks before your last frost date, using seed trays under a grow light or a bright south-facing window. These crops need a long head start to produce a full harvest in most climates. Keep the soil consistently moist and the room temperature around 65 to 75°F for even germination.
10. Direct-Sow Cold-Hardy Crops Early
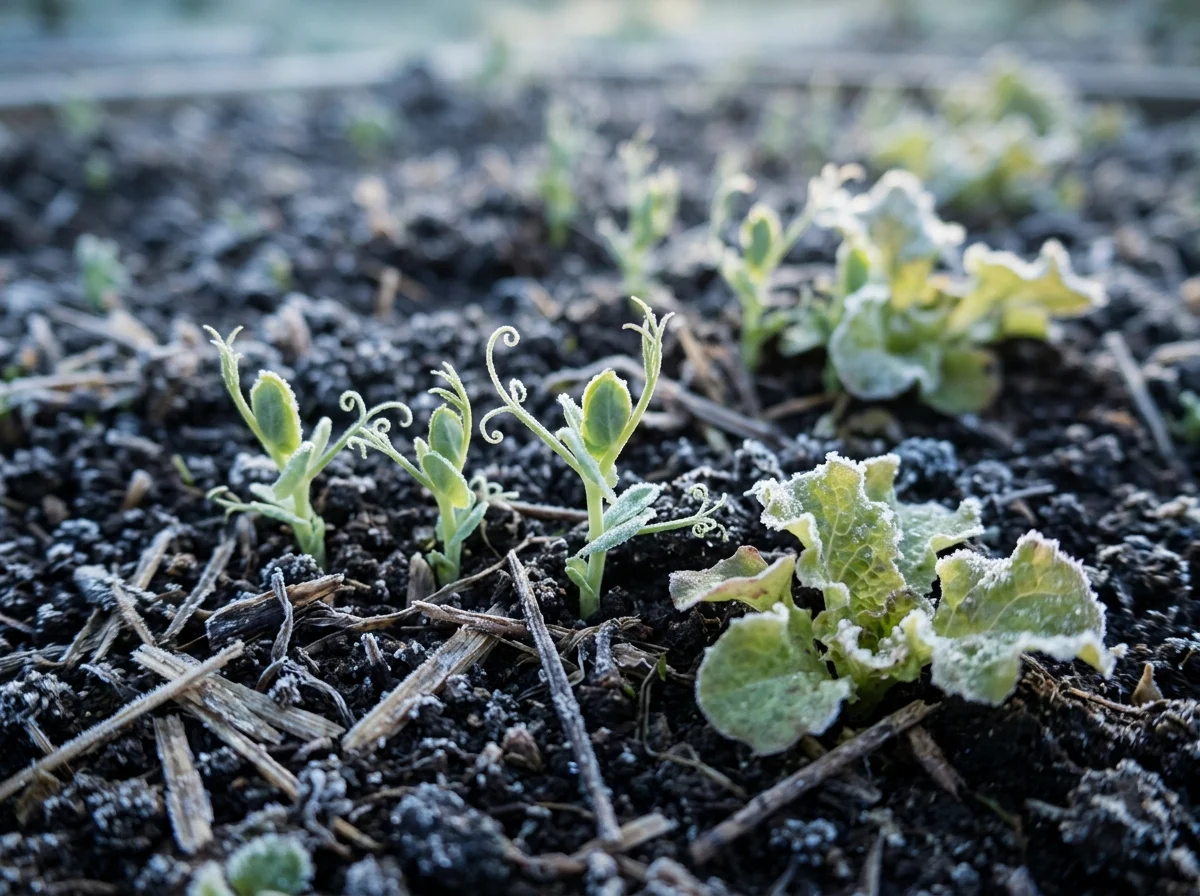
Peas, spinach, lettuce, and radishes can go straight into the ground several weeks before your last frost date, since they tolerate cool soil and light frost. Direct-sowing skips the transplant shock that slows down other crops. Follow the seed packet’s spacing exactly, since crowded rows of these fast growers bolt and struggle faster than properly spaced ones.
11. Harden Off Indoor Seedlings
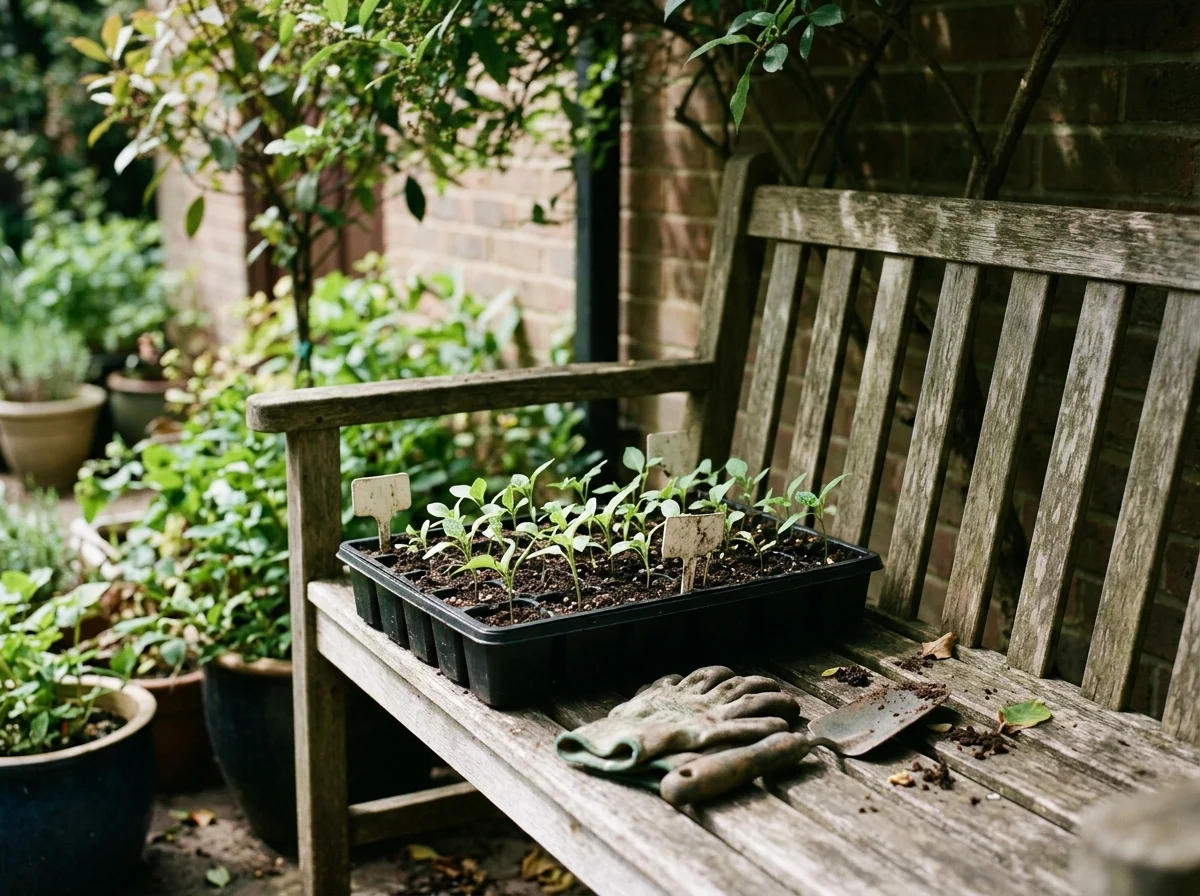
Before transplanting indoor-started seedlings outside, set them outdoors in a sheltered, shaded spot for a couple of hours a day, gradually increasing sun exposure over 7 to 10 days. Skipping this step shocks tender seedlings that have only known indoor conditions, and many wilt or die within days of an unhardened transplant. This is one of the most skipped steps and one of the most important.
12. Transplant Seedlings at the Right Spacing
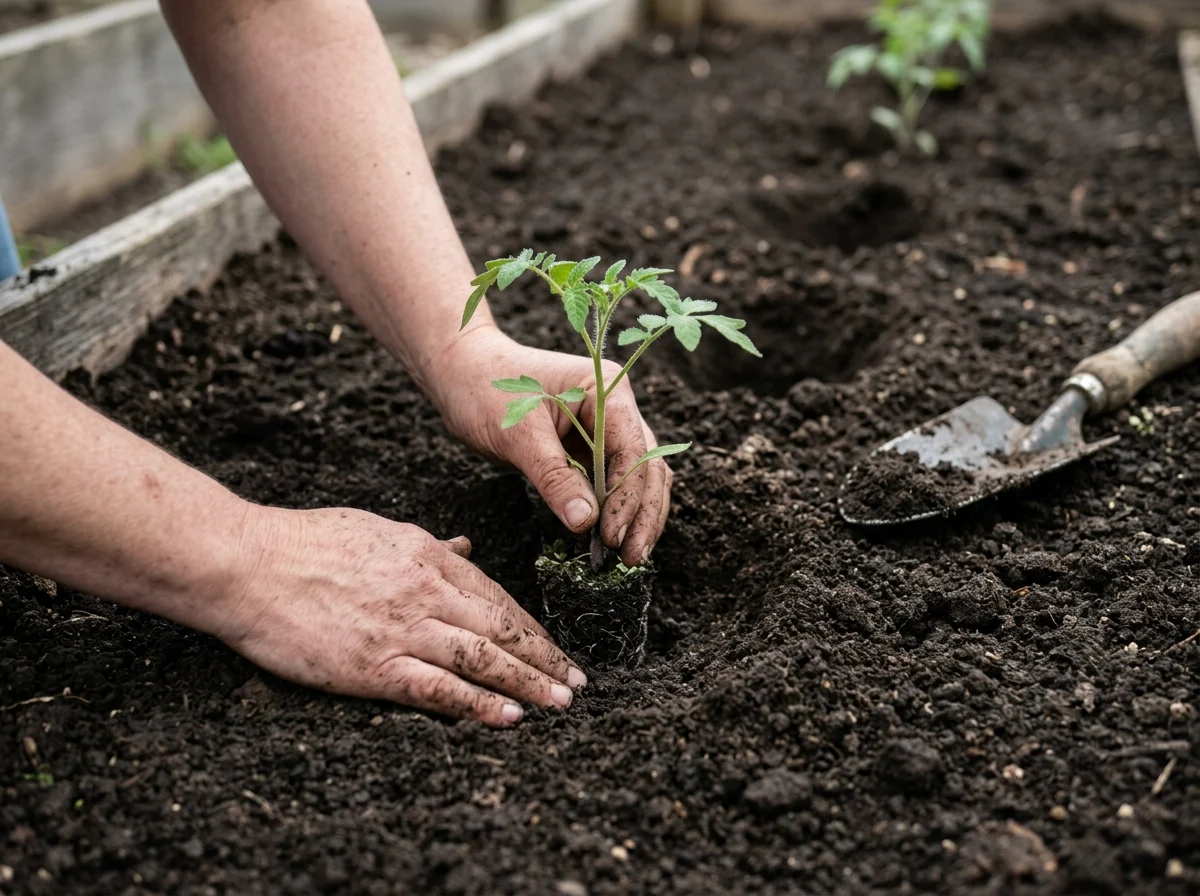
Plant hardened-off seedlings at the spacing listed on their tags or seed packets, usually 18 to 24 inches apart for tomatoes and peppers. Water each new transplant immediately after planting to settle the soil around its roots and remove air pockets. Transplant on a cloudy day or in the early evening to reduce transplant stress from direct afternoon sun.
13. Direct-Sow Warm-Season Seeds After Frost Danger Passes
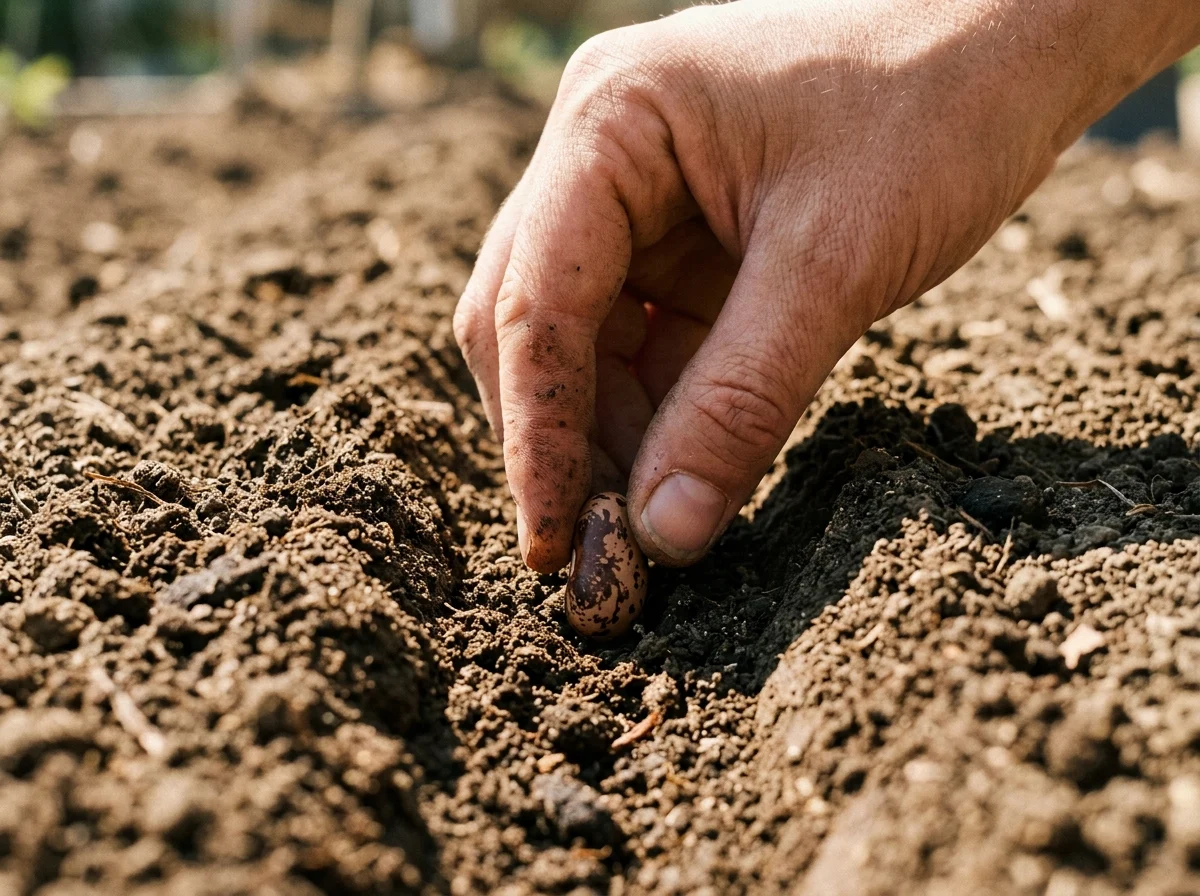
Once your last frost date has safely passed and soil has warmed, direct-sow beans, squash, cucumbers, and corn straight into their final spot. These crops generally dislike being transplanted and grow better sown directly. Plant seeds at the depth listed on the packet, typically about twice the seed’s width.
14. Water Deeply Right After Planting
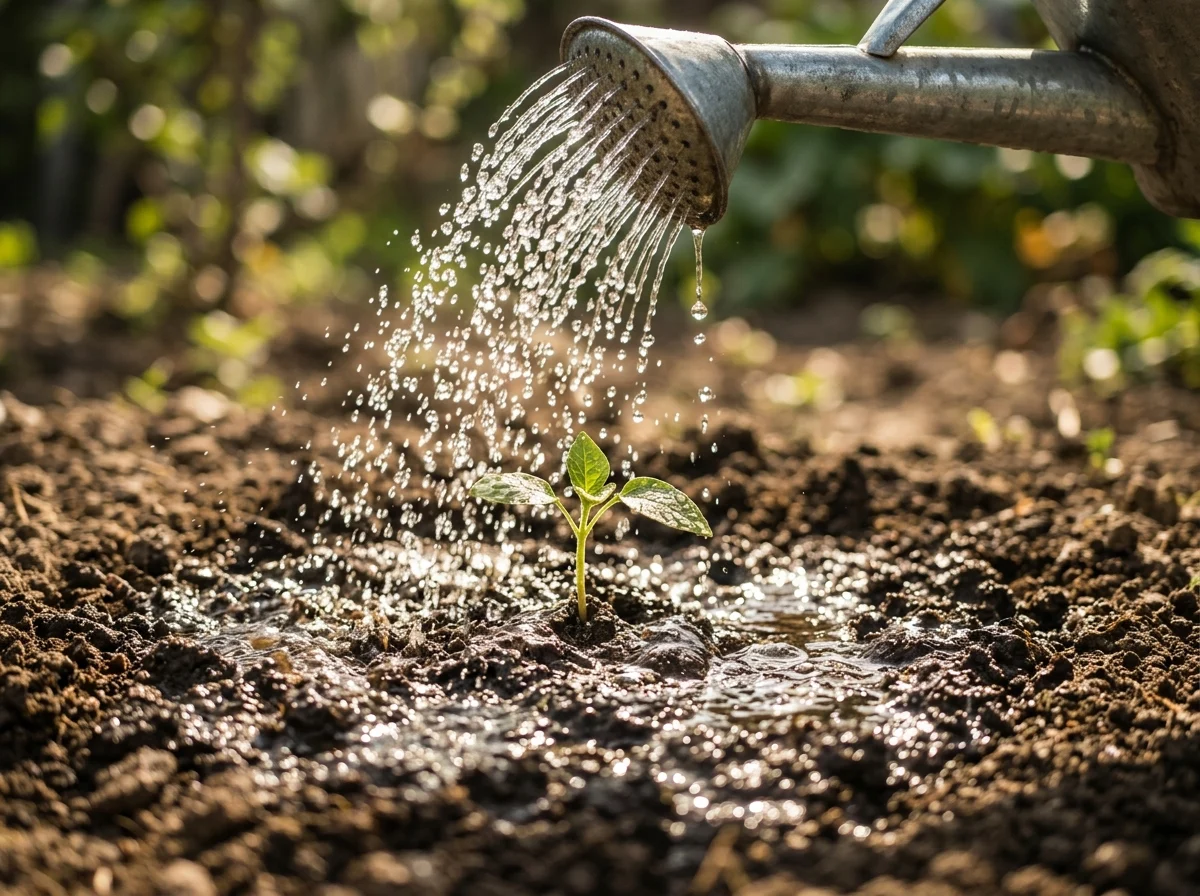
Give every newly planted seed and transplant a deep, thorough watering the moment it goes in, soaking the soil several inches down instead of just wetting the surface. This settles soil around roots and starts germination for seeds. A watering can or a gentle hose setting works better than a strong spray, which can wash small seeds out of place.
15. Set Up a Consistent Watering Schedule
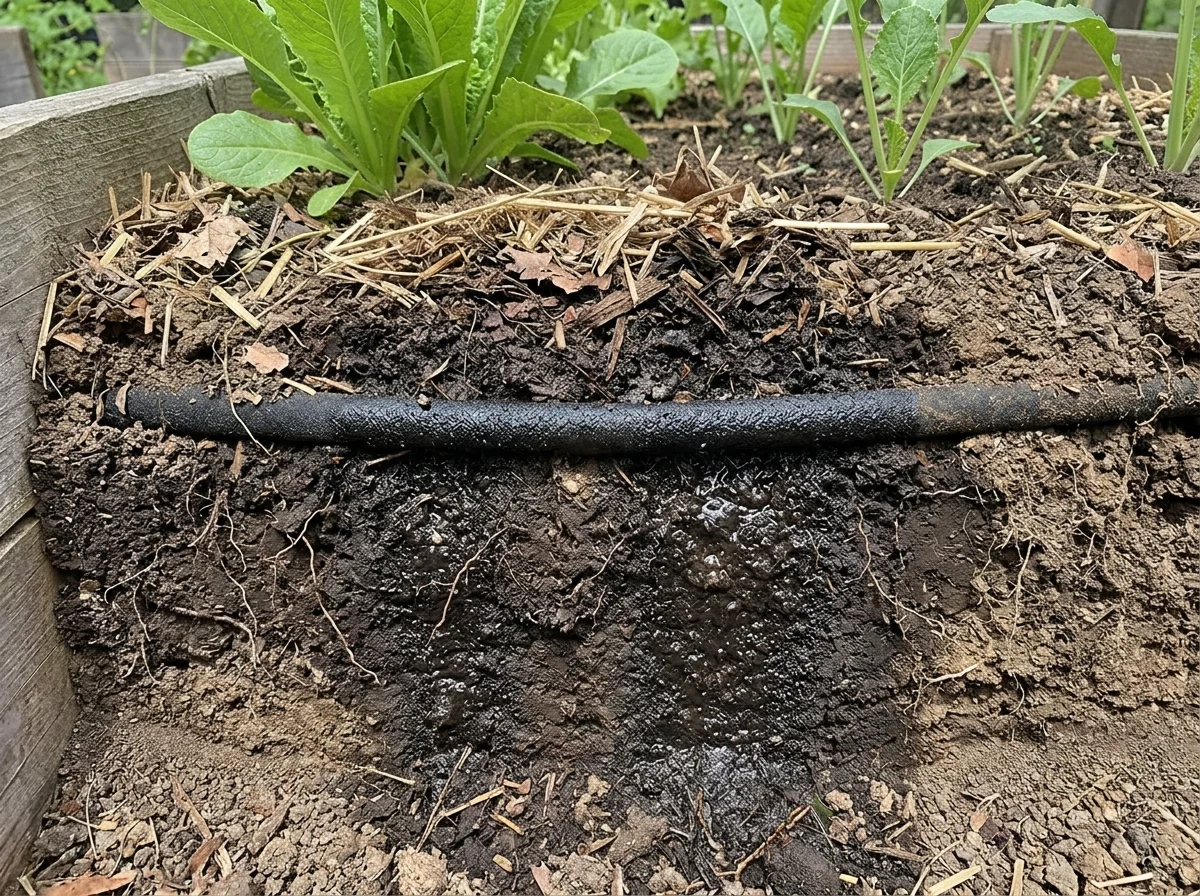
Most vegetable gardens need about 1 to 1.5 inches of water per week, whether from rain or irrigation, delivered in one or two deep sessions instead of daily light sprinkles. Deep, infrequent watering encourages roots to grow downward, while shallow daily watering keeps roots near the surface, where they dry out fast. Adjust upward during hot, dry stretches and check soil moisture with a finger test before watering.
16. Mulch Around Your Plants
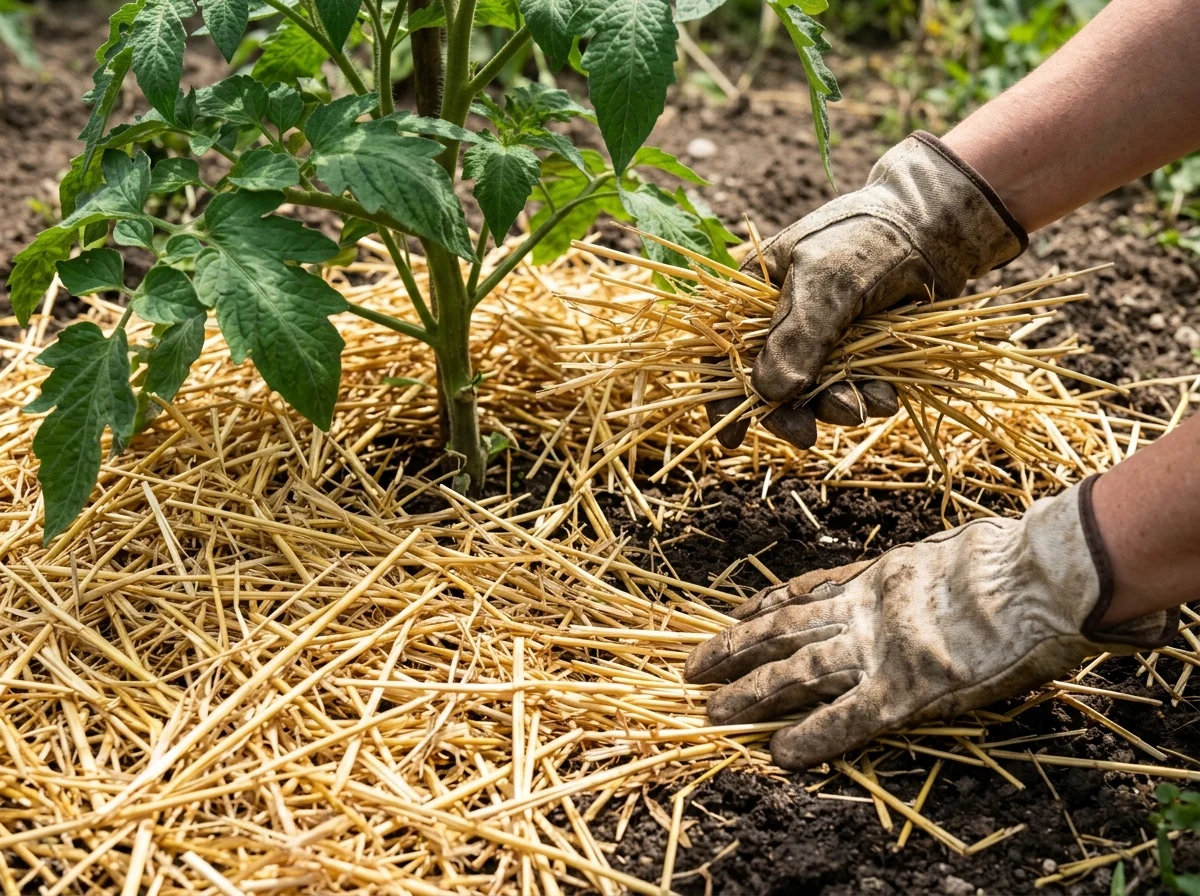
Spread 2 to 3 inches of mulch, such as straw, shredded leaves, or bark, around your plants once they’re established, keeping it a couple of inches away from stems to prevent rot. Mulch holds soil moisture, blocks most weed seeds from sprouting, and keeps soil temperature more even. This single step cuts down significantly on both watering frequency and weeding time.
17. Weed Consistently While Weeds Are Small
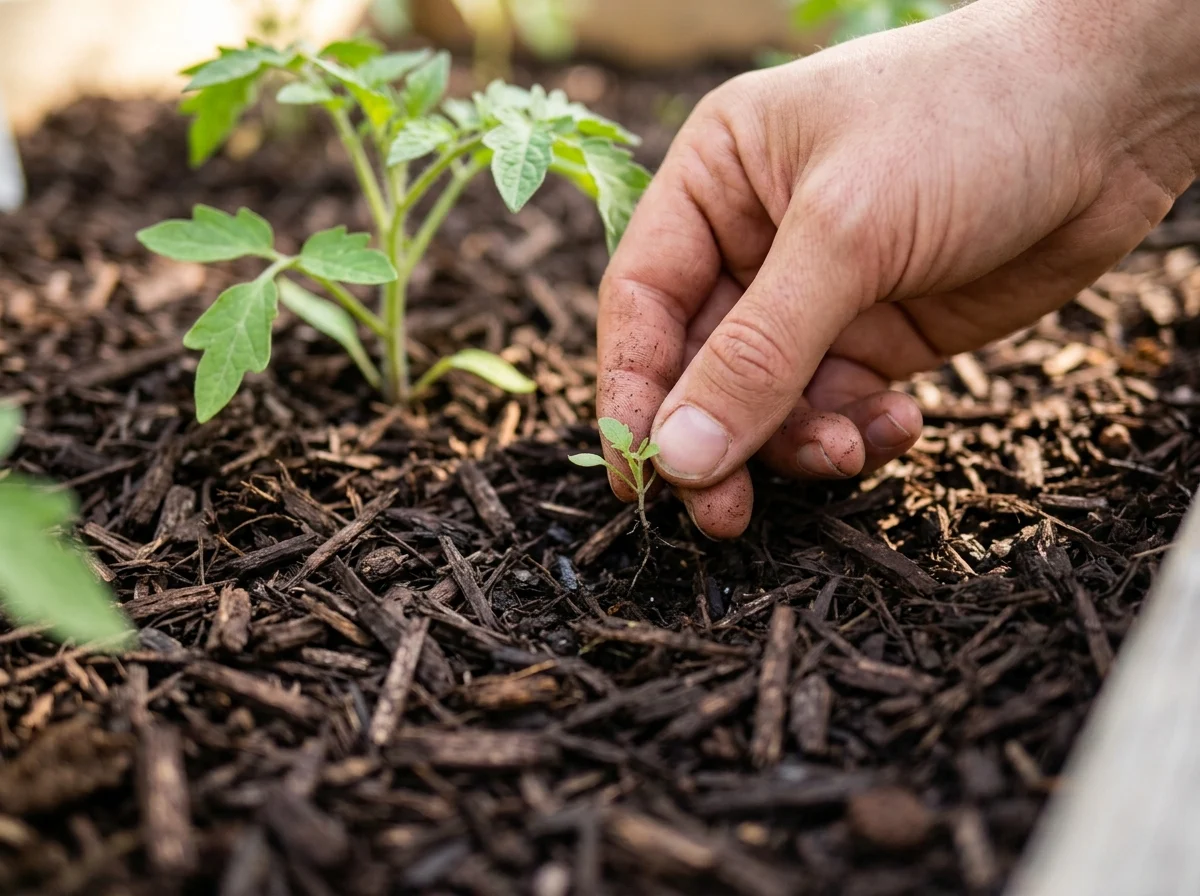
Pull weeds while they’re small and before they set seed, checking your beds every few days instead of letting weeds establish deep roots. Small weeds come out easily by hand and barely disturb your crops’ roots. Established weeds compete directly with your plants for water and nutrients, and letting them go to seed multiplies next season’s weeding work.
18. Watch for Early Pest and Disease Signs
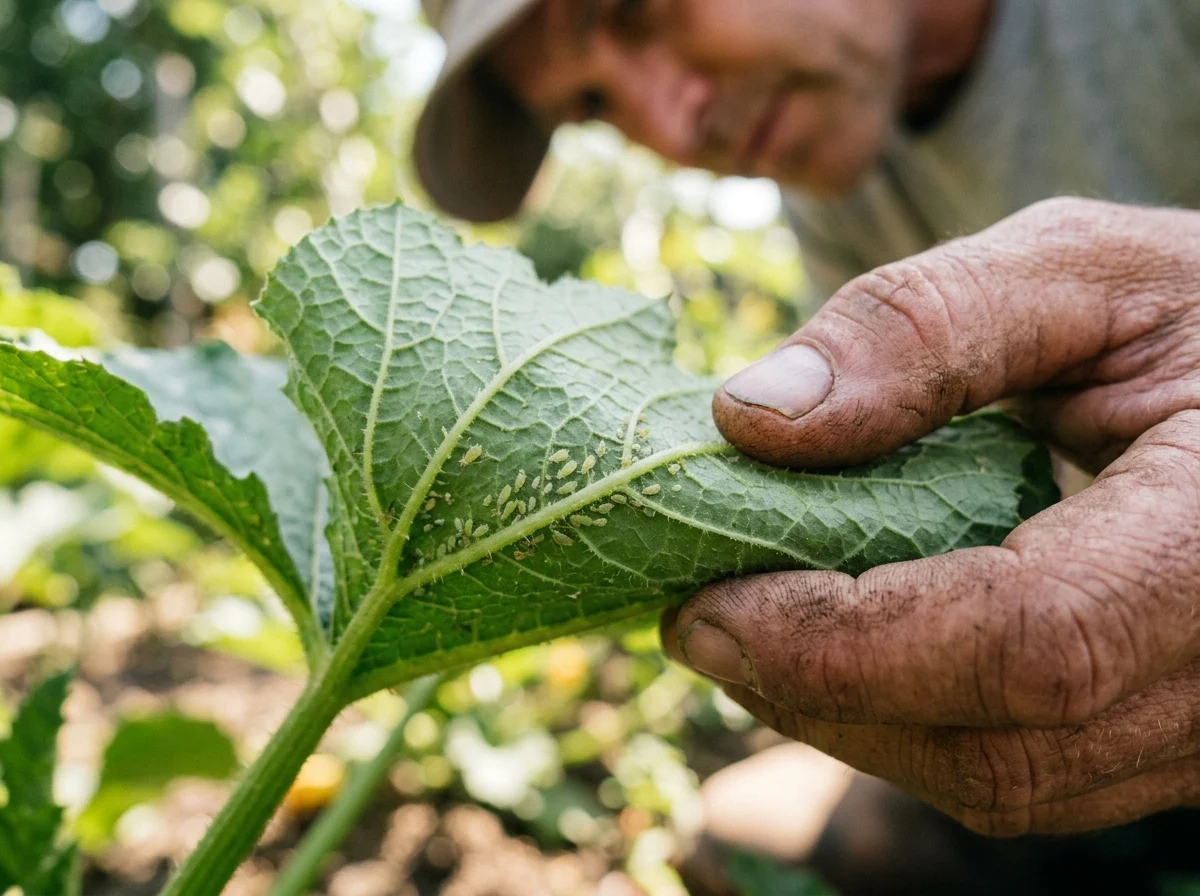
Check the undersides of leaves and new growth every few days for early signs of aphids, holes, or discoloration. Catching a small pest problem early, like a handful of aphids, is far easier to manage by hand-picking or spraying with insecticidal soap than waiting until an infestation spreads across the bed. Yellowing lower leaves often signal overwatering instead of a pest issue.
19. Feed Your Plants Once They’re Established
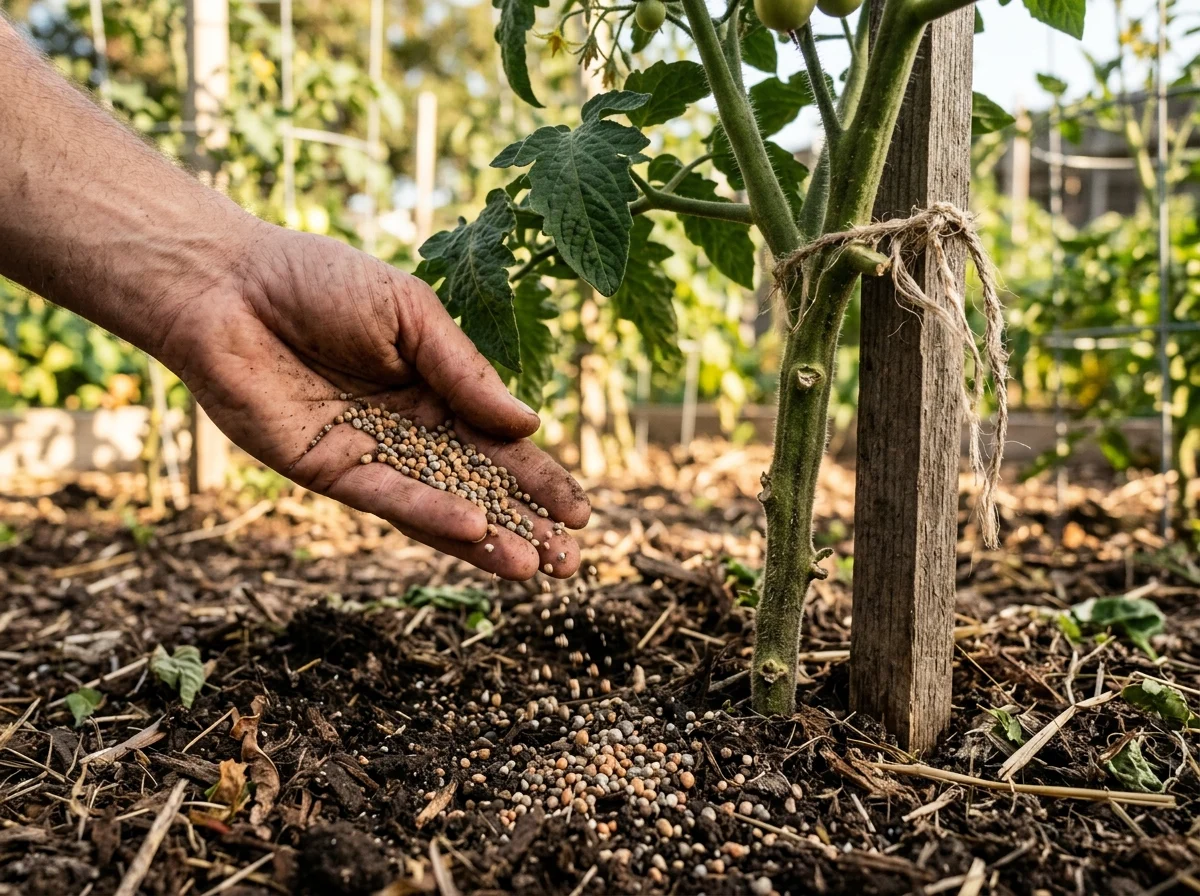
Apply a balanced fertilizer or a fresh layer of compost about 4 to 6 weeks after planting, once your seedlings show new growth. Heavy feeders like tomatoes and squash benefit from a second feeding mid-season as they start setting fruit. Follow the product’s rate exactly, since overfeeding pushes leafy growth at the expense of flowers and fruit.
20. Stake or Support Climbing and Sprawling Plants
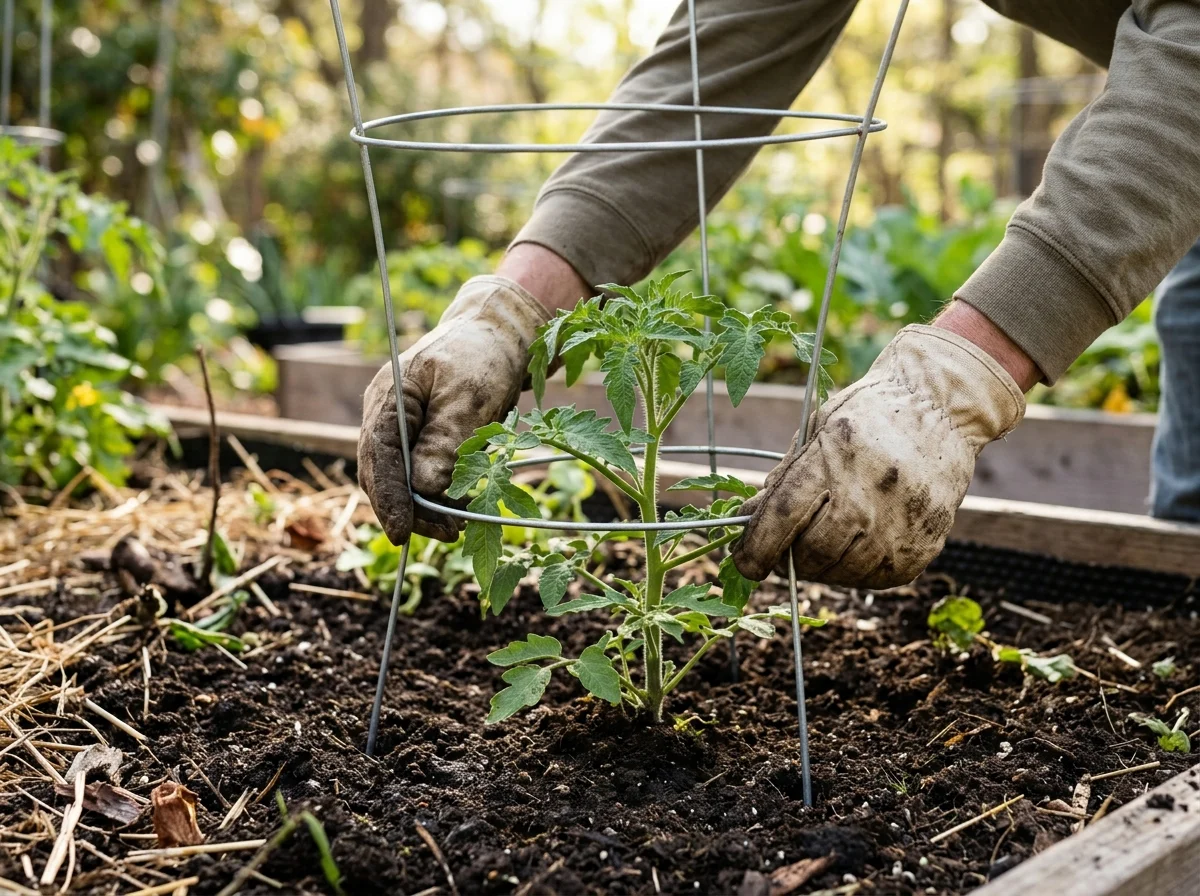
Install stakes, cages, or trellises for tomatoes, peas, cucumbers, and pole beans while plants are still small, since adding support later risks damaging established roots. Supported plants get better airflow, which cuts down on fungal disease, and keep fruit off the soil where it’s prone to rot and pests. Tie stems loosely with soft twine to avoid cutting into growing stems.
21. Thin Overcrowded Seedlings
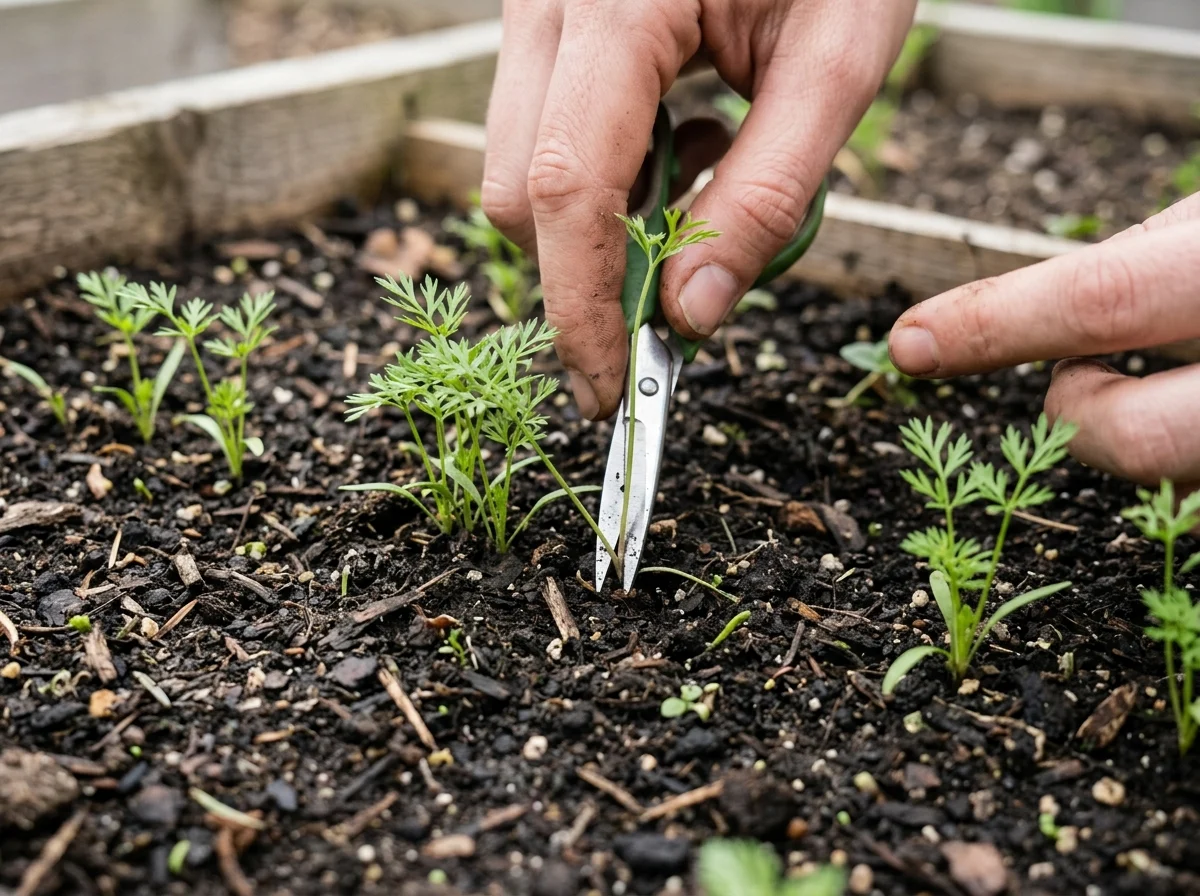
Once direct-sown seedlings like carrots, radishes, and lettuce have their first true leaves, thin them to the spacing listed on the seed packet, removing the weakest seedlings first. Crowded seedlings compete for light and nutrients, resulting in smaller, weaker plants for everyone in the row. Snip extras at the soil line with scissors instead of pulling, which can disturb the roots of seedlings you’re keeping.
22. Monitor for Blossom Drop and Pollination Issues
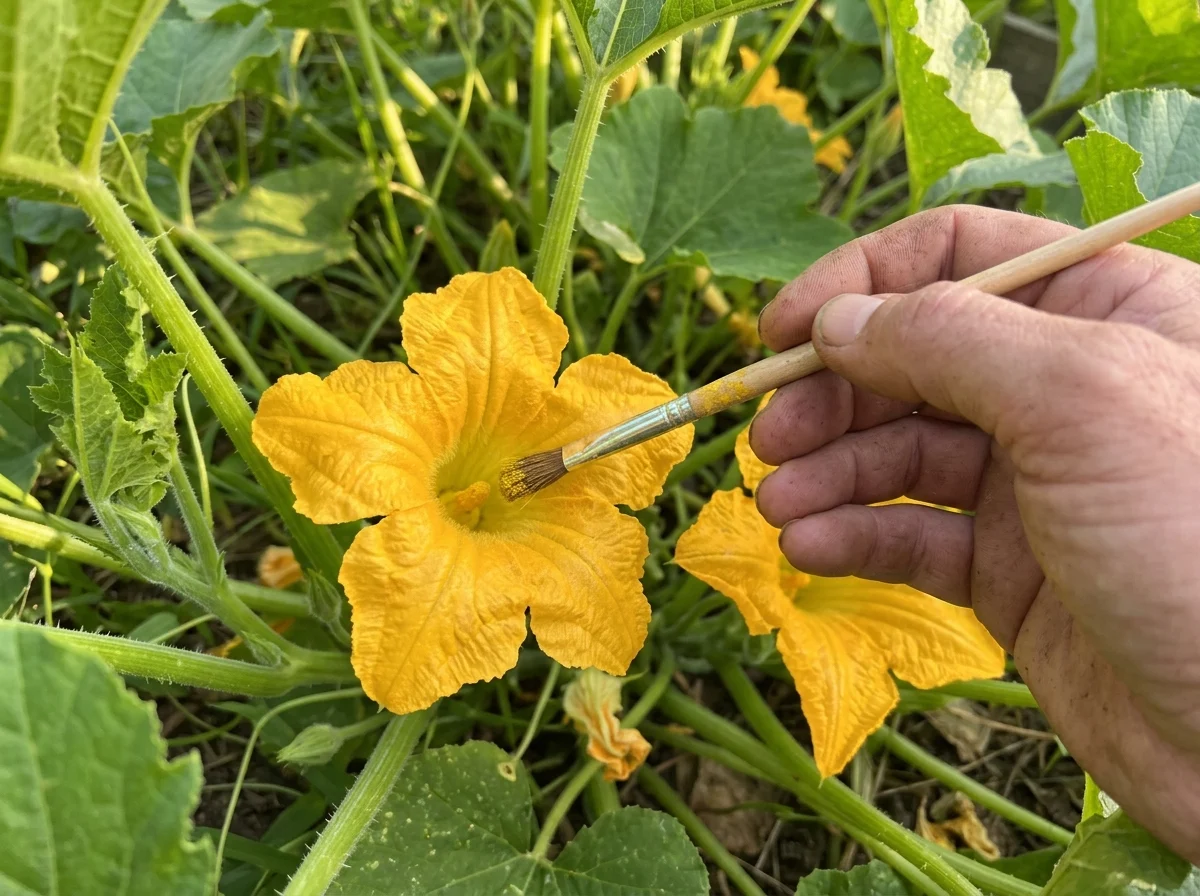
If tomatoes or squash flower but don’t set fruit, check first for extreme heat above 90°F or below 55°F, which stalls pollination temporarily. Hand-pollinating squash blossoms with a small paintbrush, moving pollen from male to female flowers, solves the problem in home gardens with few pollinators. This is a normal, temporary issue in most first gardens and usually resolves once temperatures moderate.
23. Adjust Care as Plants Mature
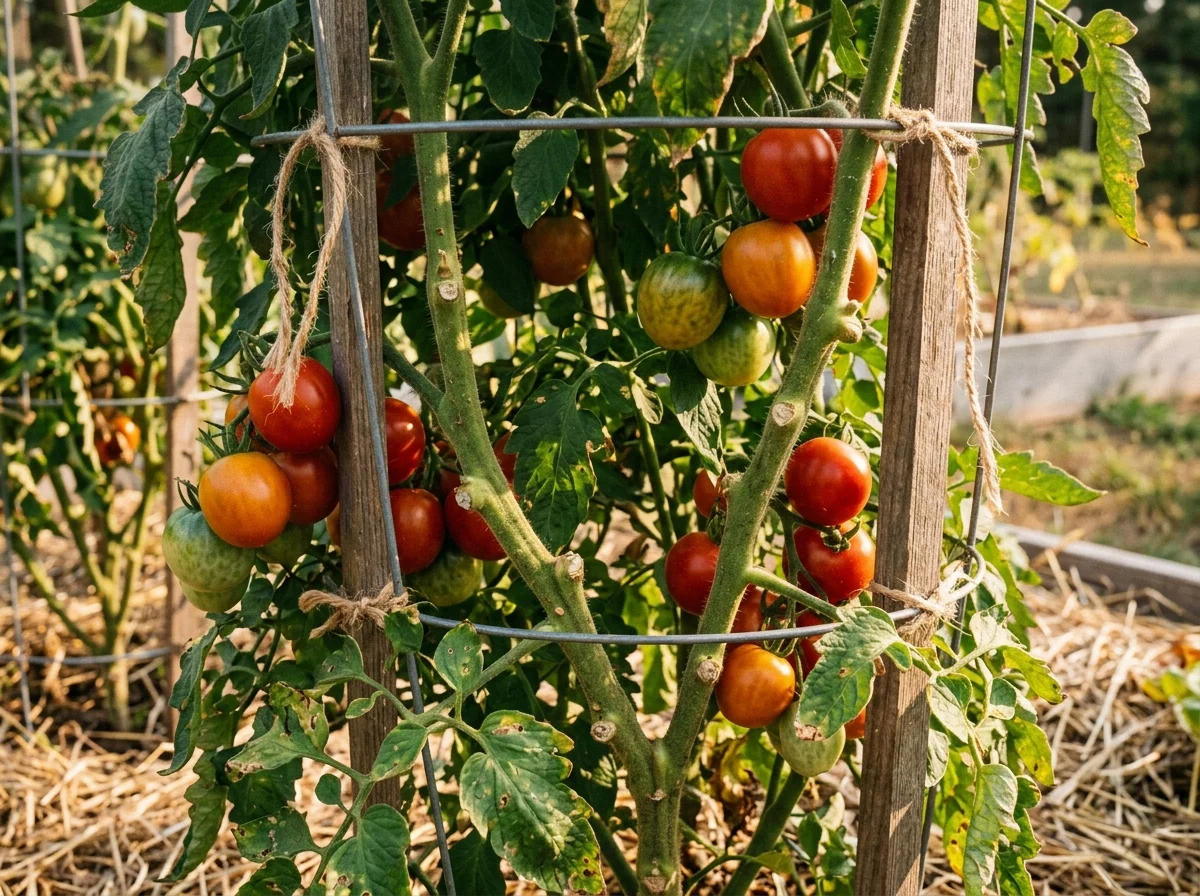
Reassess watering and feeding needs as plants grow larger, since a full-sized tomato plant in August needs more water than the same seedling did in June. Prune suckers from indeterminate tomatoes to improve airflow and fruit size. Continue checking for pests weekly, since larger, denser plants can hide problems longer than young seedlings.
24. Harvest at the Right Time for Each Crop
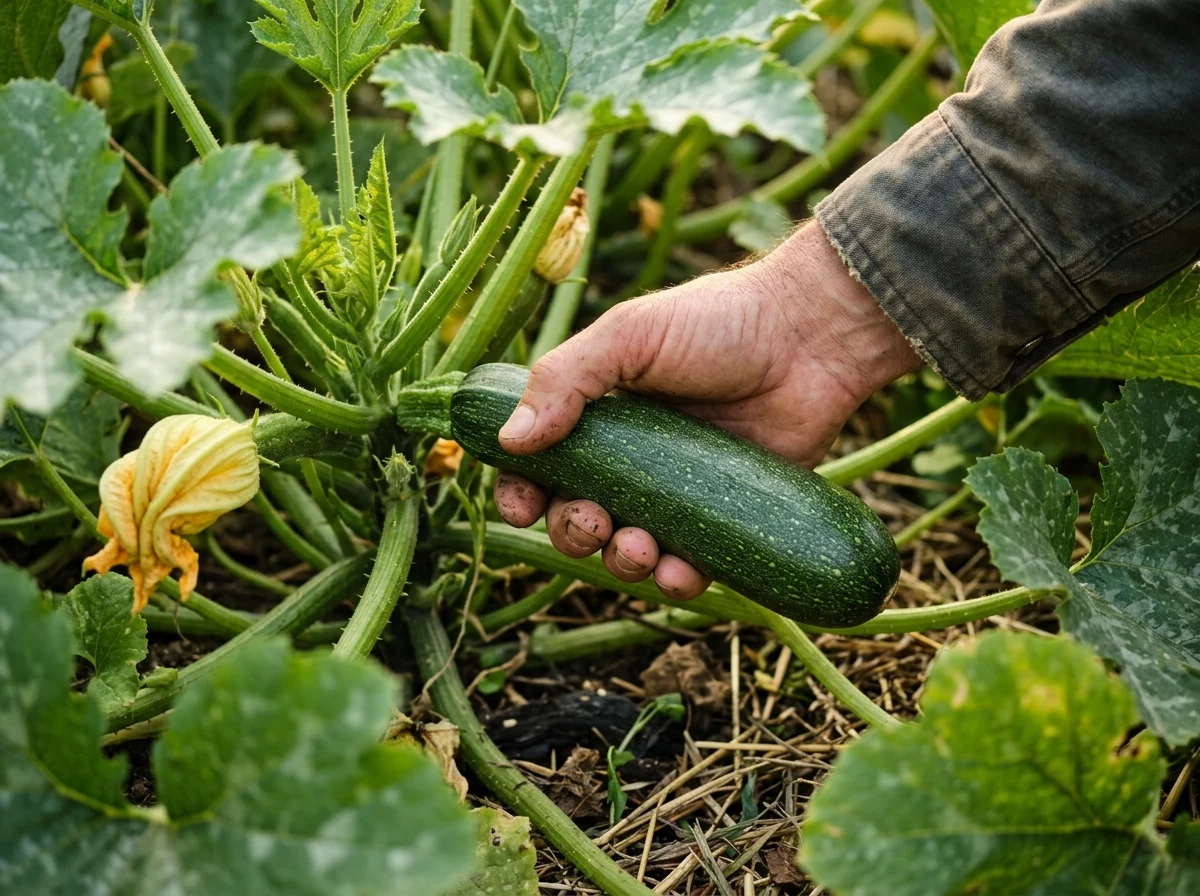
Pick vegetables at peak ripeness instead of waiting for the biggest possible size, since many crops like zucchini and green beans turn tough or bitter if left too long. Harvest most leafy greens by cutting outer leaves and letting the center keep producing. Regular harvesting on crops like beans and cucumbers actually encourages the plant to keep producing more.
25. Clean Up and Note What Worked
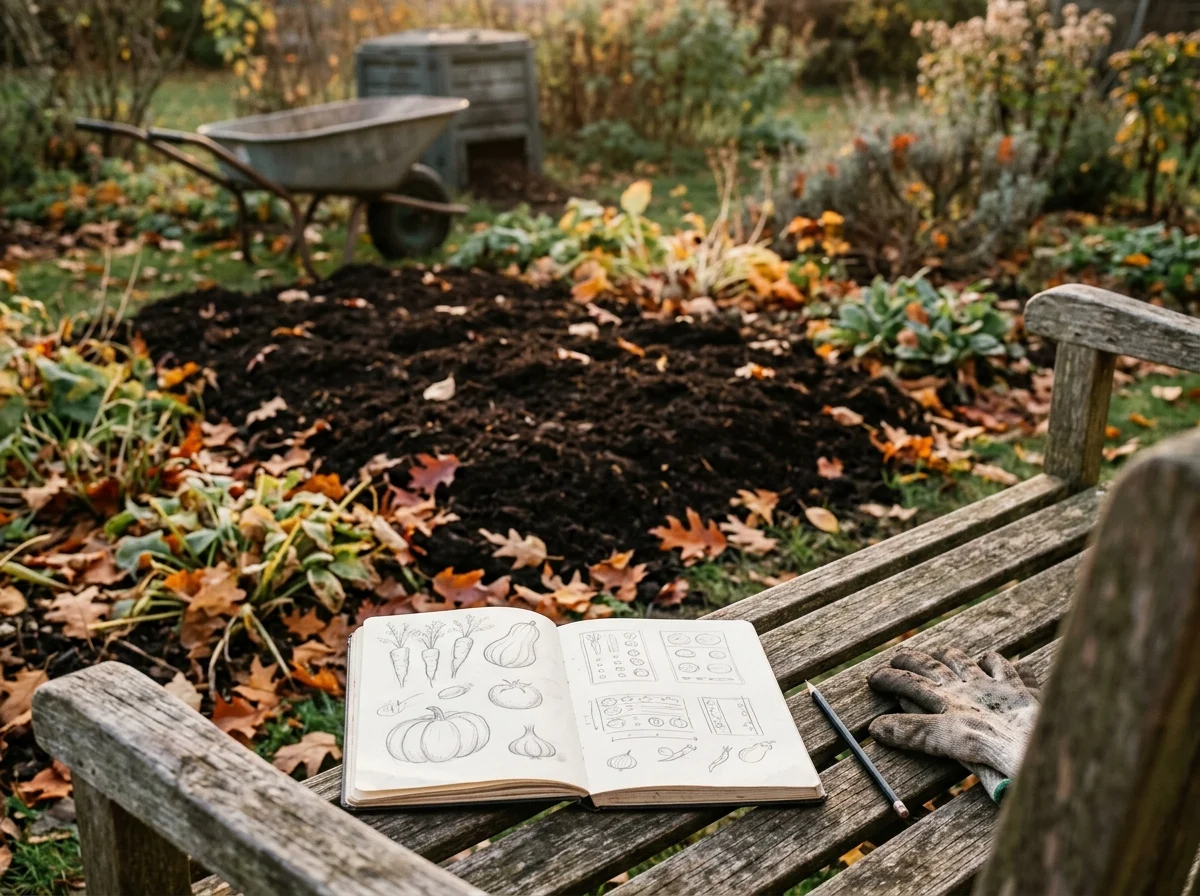
At the end of the season, remove spent plants, add a fresh layer of compost, and write down what grew well and what struggled. This record becomes genuinely useful next year, when you’re deciding what to plant again and where. A first garden rarely goes perfectly, and that’s normal; the notes you take now make your second garden noticeably easier.
Conclusion
Starting a garden comes down to a series of small, manageable actions instead of one big leap: prepare the soil, plant at the right time and depth, water consistently, and stay ahead of weeds and pests before they get established. Every step here builds on the one before it, so working through them in order gives you the best shot at a strong first harvest. Your first season will teach you things no guide can, and that’s part of the process. Save this list, work through it bed by bed, and check back as each stage comes up.
Frequently Asked Questions
How long does it take to start a garden from scratch?
Clearing and preparing a basic garden bed usually takes a weekend of hands-on work, though soil amendments benefit from sitting for a week or two before planting. From planting to first harvest, fast crops like radishes take about 25 to 30 days, while tomatoes and peppers take 60 to 80 days after transplanting. Plan on several weeks between prep and your first real harvest.
What is the easiest vegetable to grow for a first-time gardener?
Radishes, lettuce, and bush beans are the easiest vegetables for a first-time gardener, since they germinate quickly and tolerate minor care mistakes without much fuss. Radishes are ready to harvest in as little as 25 days, giving beginners a fast, encouraging result before the season gets busy. Zucchini is also forgiving and highly productive once established, though it needs more space than the others.
Do I need raised beds to start a garden?
No, raised beds are not required to start a garden, though they help when native soil is poor, rocky, or drains badly. In-ground rows work fine over decent existing soil, and containers work well for patios or small spaces. Choose based on your soil quality and available space instead of assuming raised beds are always necessary.
How often should a beginner water a new garden?
Most vegetable gardens need about 1 to 1.5 inches of water per week, applied in one or two deep sessions instead of daily light watering. Newly planted seeds and transplants need more frequent, gentle watering for the first week or two until roots establish. Check soil moisture with a finger test before watering instead of watering on a fixed schedule alone.
What is the biggest mistake beginners make when starting a garden?
Skipping soil preparation, especially not adding compost or testing pH before planting, is the biggest mistake beginners make. Poor soil limits everything that happens afterward, no matter how carefully you water or care for plants later in the season. Planting too early before the last frost date and crowding plants too closely at transplant time are the next two most common early mistakes to watch for.
Can I start a garden without buying expensive tools?
Yes, a spade, a hand trowel, a hose or watering can, and gloves cover most of what a first garden needs. Many beginners overspend on specialty tools before they know which ones they’ll actually use regularly. Add tools gradually as you find a genuine need for them instead of buying a full set up front.