
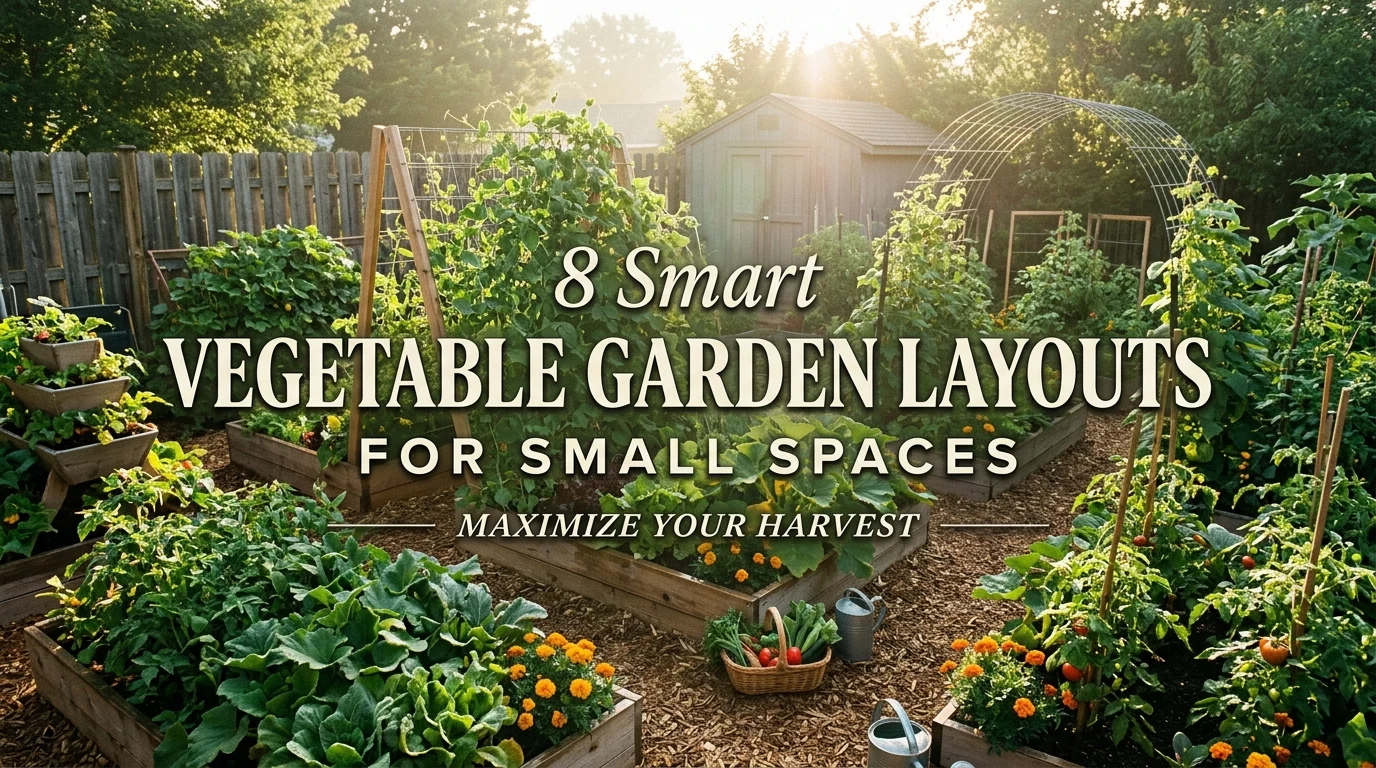
8 Vegetable Garden Layout Ideas for Small Yards
A small backyard can make vegetable growing feel like a puzzle you cannot quite solve. You have maybe 200 square feet of usable ground, an oddly shaped side yard, or just a sunny patio, and you want tomatoes, greens, herbs, and peppers all fitting in without the space turning into a mess. I have noticed that most people get stuck at this exact point, not from a lack of gardening skill, but because they never settled on an actual physical structure to build around. Once you pick a real vegetable garden layout, a pattern for where beds, rows, or containers go, the rest of the planning gets much easier. This article walks through eight layout patterns that work specifically for tight spaces, from raised beds and grid systems to vertical trellises and pathway-first designs. Each one fits a different yard shape and gardening style, so you can match the layout to what you actually have instead of forcing a big-yard plan into a small one. Let’s start with raised beds, since they solve more small-yard problems at once than almost any other option.
1. Classic Raised Bed Rows
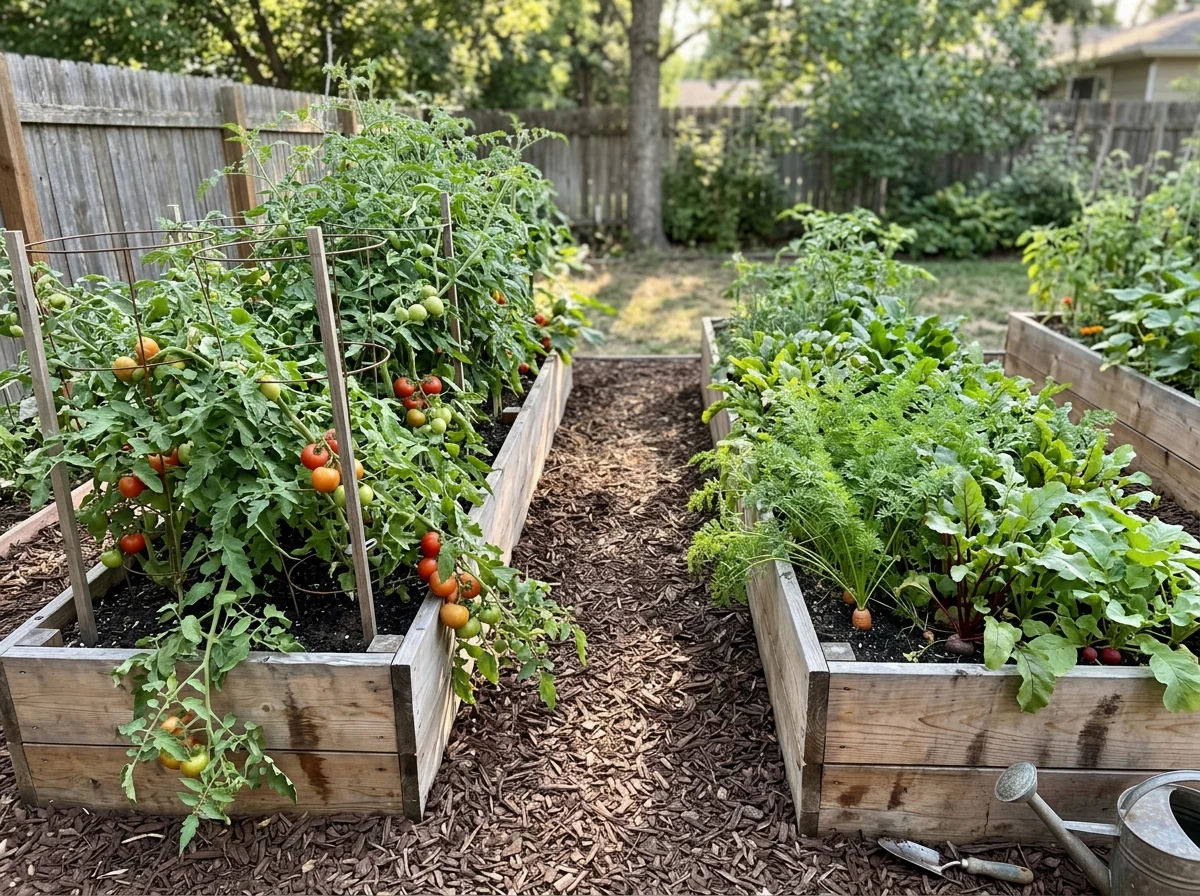
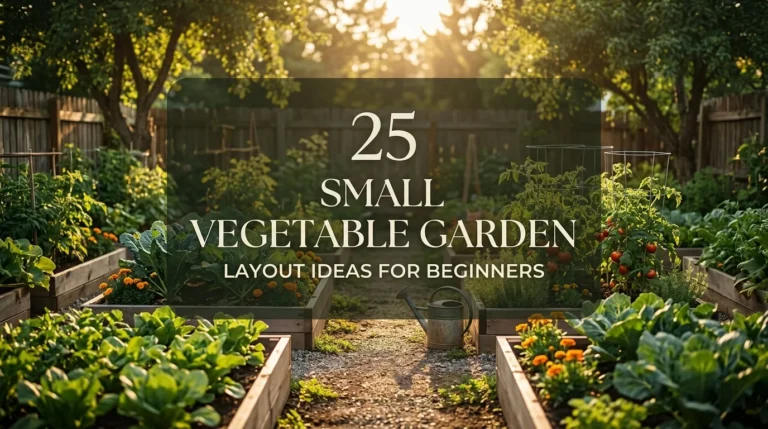
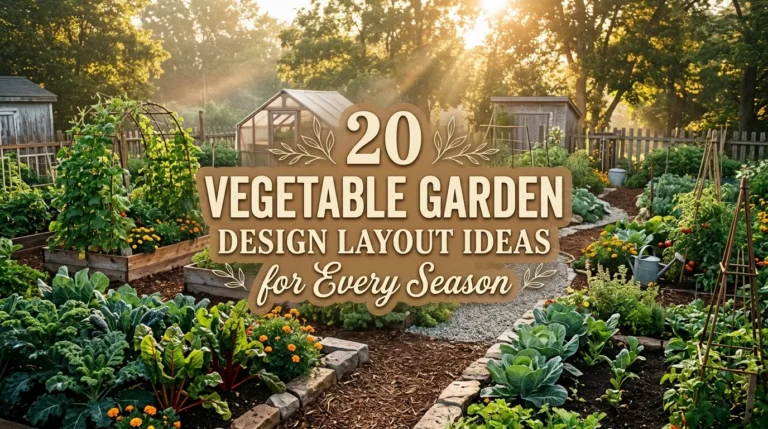
Classic raised bed rows use two or three rectangular beds, each 3 to 4 feet wide and 6 to 8 feet long, set parallel to each other with pathways in between. A width of 3 to 4 feet is the key number here, since it lets you reach the center of the bed from either side without stepping on the soil and compacting it. This layout works well in rectangular yards at least 10 by 12 feet, and it fits beginners because each bed can hold a different crop group, root vegetables in one bed, tomatoes and peppers in another, without them competing for space. The most common mistake is building beds too wide, which forces you to walk on the soil to weed or harvest from the middle, undoing a lot of the benefit of raising the bed in the first place.
2. A Keyhole Garden Bed
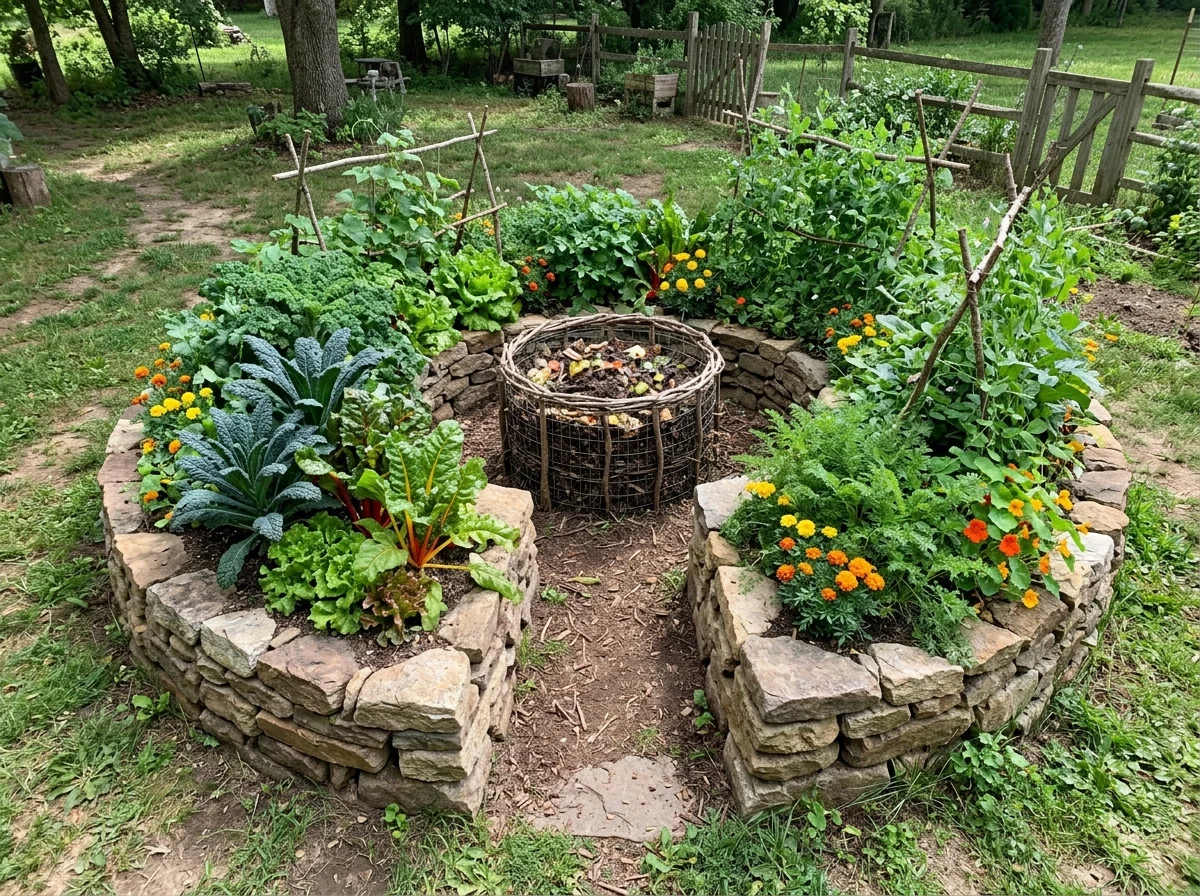
A keyhole garden bed is circular or horseshoe-shaped, roughly 6 feet across, with a narrow notch cut into one side so you can walk to a small compost basket at the center. The shape gives you far more planting edge per square foot than a straight rectangle, which matters when every foot of a small yard counts. It works especially well in a round or awkward corner spot where a standard rectangular bed would leave wasted gaps. The center compost basket feeds nutrients outward as you water, so the bed needs less added fertilizer over a season. The main thing to get right is keeping the diameter close to 6 feet. Go much bigger and you lose the ability to reach the center from the notch path, which defeats the whole design.
Bed Width and Path Width for Raised Beds
For any raised bed you access from both sides, keep the width to 4 feet or less; for a bed against a wall or fence that you can only reach from one side, keep it to 2 feet. Paths between beds should be 18 to 24 inches wide, enough for a wheelbarrow or a kneeling pad. Cedar and composite lumber both hold up well against rot and are worth the extra cost over standard pine, which tends to break down within two or three seasons.
3. Straight-Row Cropping
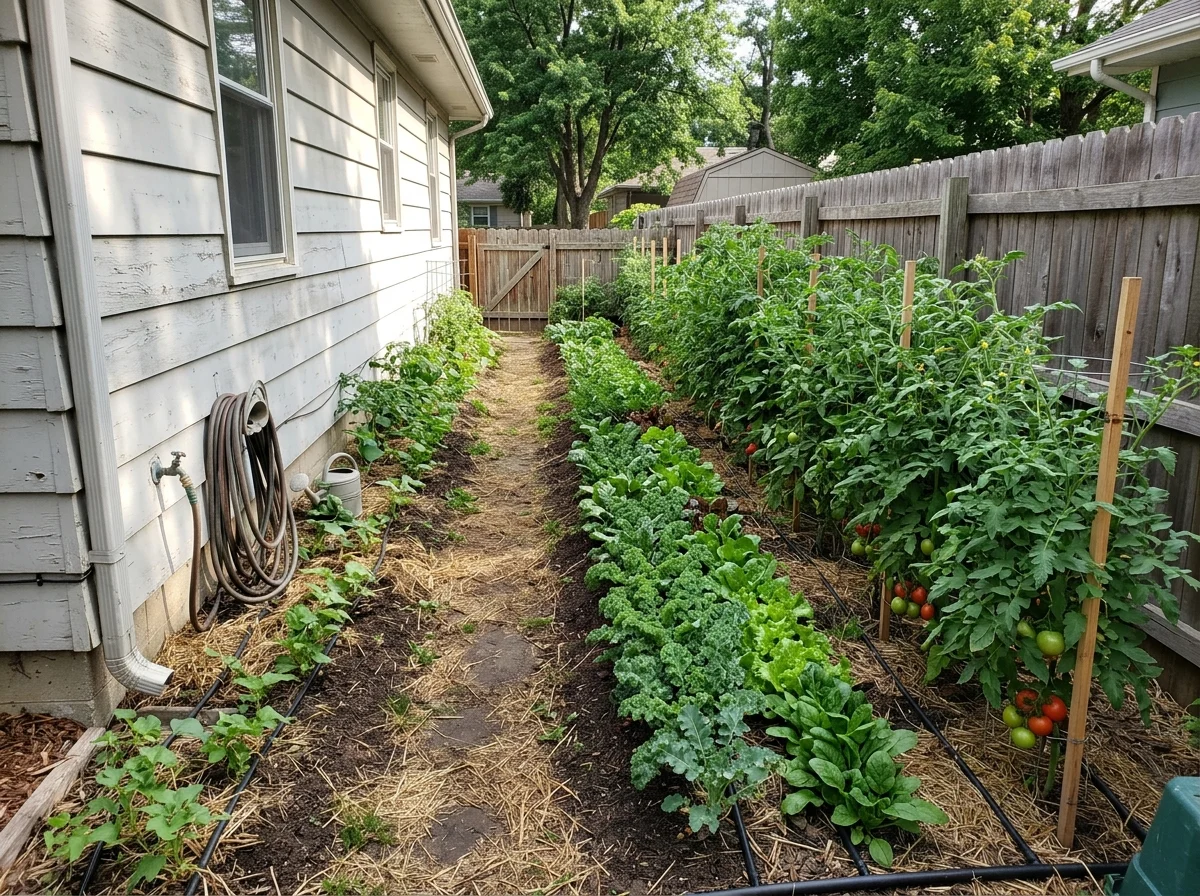
Straight-row cropping means planting single or double rows of one crop at a time, spaced according to what that crop needs, with narrow paths between rows instead of wide beds. Tomatoes typically go 24 to 36 inches apart within a row, with rows spaced about 3 feet apart and 12-inch paths in between. This layout works best in long, narrow yards, the kind you get with a side-yard strip or a fence-line planting area, because rows can run the full length of the space without wasted corners. Orient rows north to south where possible so taller plants do not shade shorter ones for most of the day. A common mistake is spacing rows for a hose or sprinkler instead of for the actual plant, which leaves crops crowded once they mature.
4. Square-Foot Gardening Grid
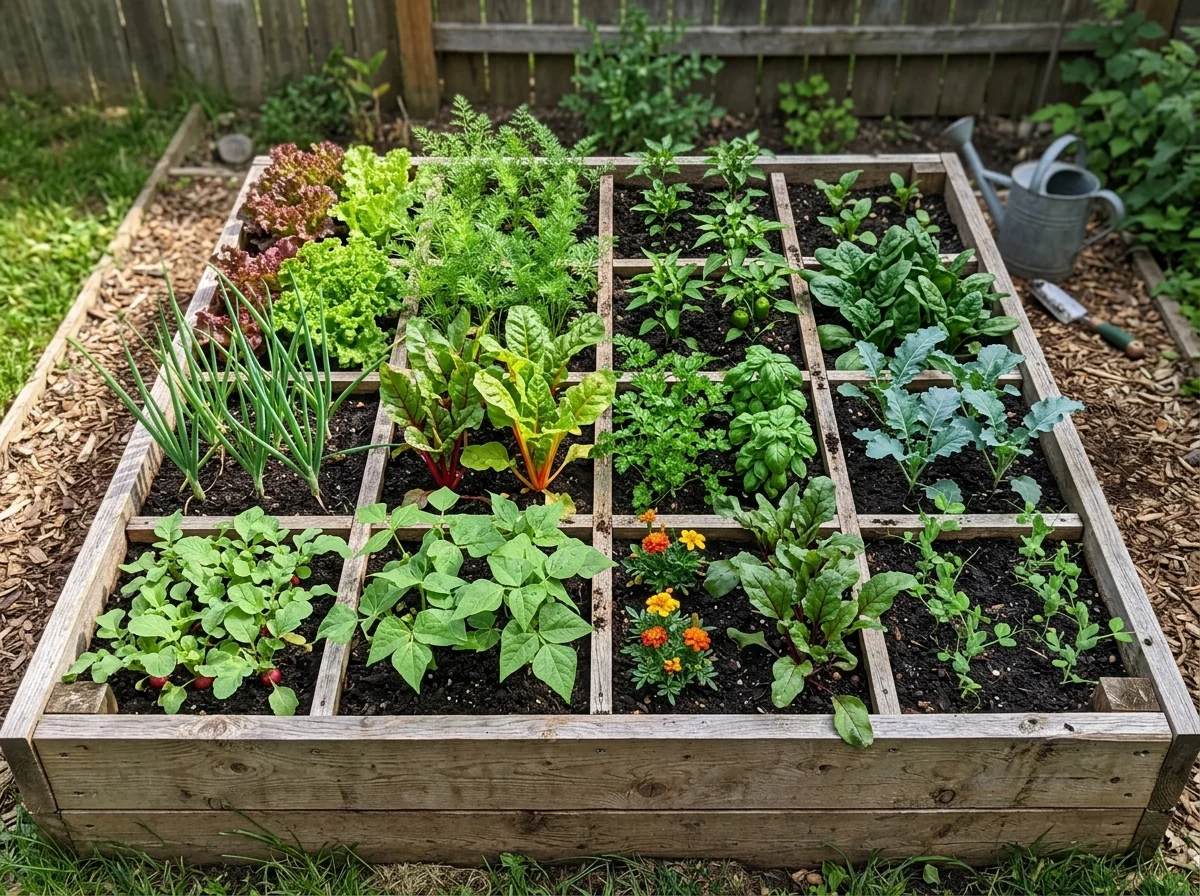
A square-foot gardening grid divides a raised bed, most often 4 feet by 4 feet, into 16 one-foot squares using string or thin wood strips, with each square planted to a set number of one crop. This method works well for yards under 50 square feet and for anyone new to spacing calculations, since the grid does the math for you. It also makes crop rotation simple, because you can track exactly what grew in which square from season to season. The most common mistake is overplanting a square, cramming in extra seedlings “just in case,” which stunts growth for everything in that square once roots compete for room.
How Many Plants Fit in Each Square
The standard counts are one plant per square for tomatoes, peppers, and eggplant; four plants per square for lettuce, bush beans, and Swiss chard; nine per square for spinach and bush peas; and sixteen per square for radishes and carrots. These numbers come from each crop’s mature spread, not the seedling size, so resist the urge to fit in more than the grid calls for.
5. Vertical Trellis Against a Fence
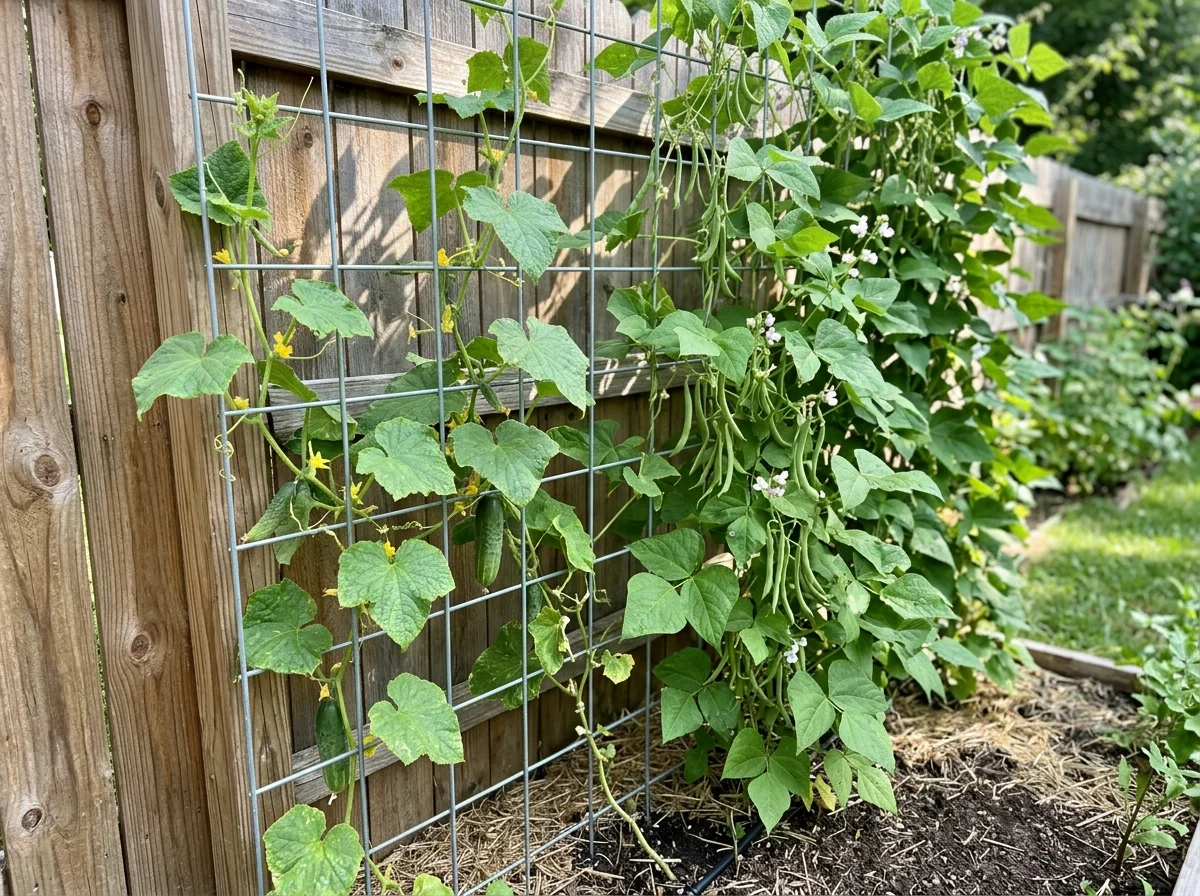
A vertical trellis mounted along an existing fence line trains vining crops like cucumbers, pole beans, and peas to grow upward instead of sprawling across the ground, freeing up the soil below for shorter crops. Plant vining crops 6 to 12 inches apart at the base of the fence, and make sure the fence line gets at least 6 hours of direct sun, since shaded fences produce weak vertical growth. This layout is close to essential in yards under 150 square feet, where every square foot of ground has to earn its place. A frequent mistake is mounting the trellis flat against the fence with no gap, which blocks airflow behind the leaves and raises the risk of fungal disease in humid weather.
Choosing the Right Trellis Material
For a fence-line trellis, cattle panel, bamboo stakes, and nylon netting are the three practical choices. Cattle panel is the most durable and supports heavy crops like squash, bamboo is the cheapest and easiest to cut to size, and nylon netting works well for lighter vines like peas but needs a wood or metal frame to stay taut.
6. Container Clusters on a Patio
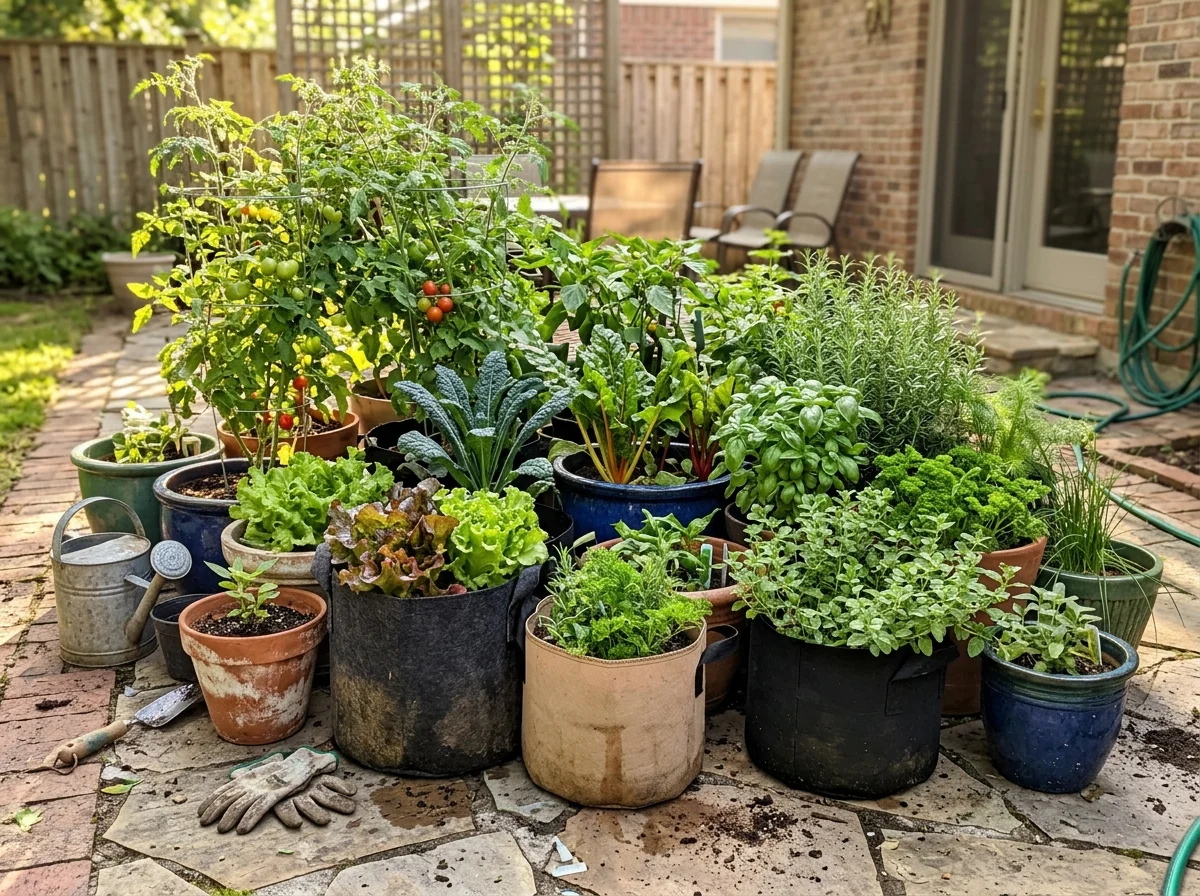
A container cluster groups several pots, grow bags, or half barrels of different heights together on a patio or balcony in a triangular or stepped arrangement, rather than lining them up in a single row. This works for yards with no exposed soil at all, including rentals and paved patios, since every container is self-contained and movable. Group containers by water needs so thirsty crops like tomatoes are not sharing a watering schedule with drought-tolerant herbs like rosemary. The most common mistake is using containers smaller than 5 gallons for tomatoes or peppers; anything under that size dries out too fast and limits root growth, which shows up as smaller yields by mid-summer.
7. Corner and L-Shaped Beds
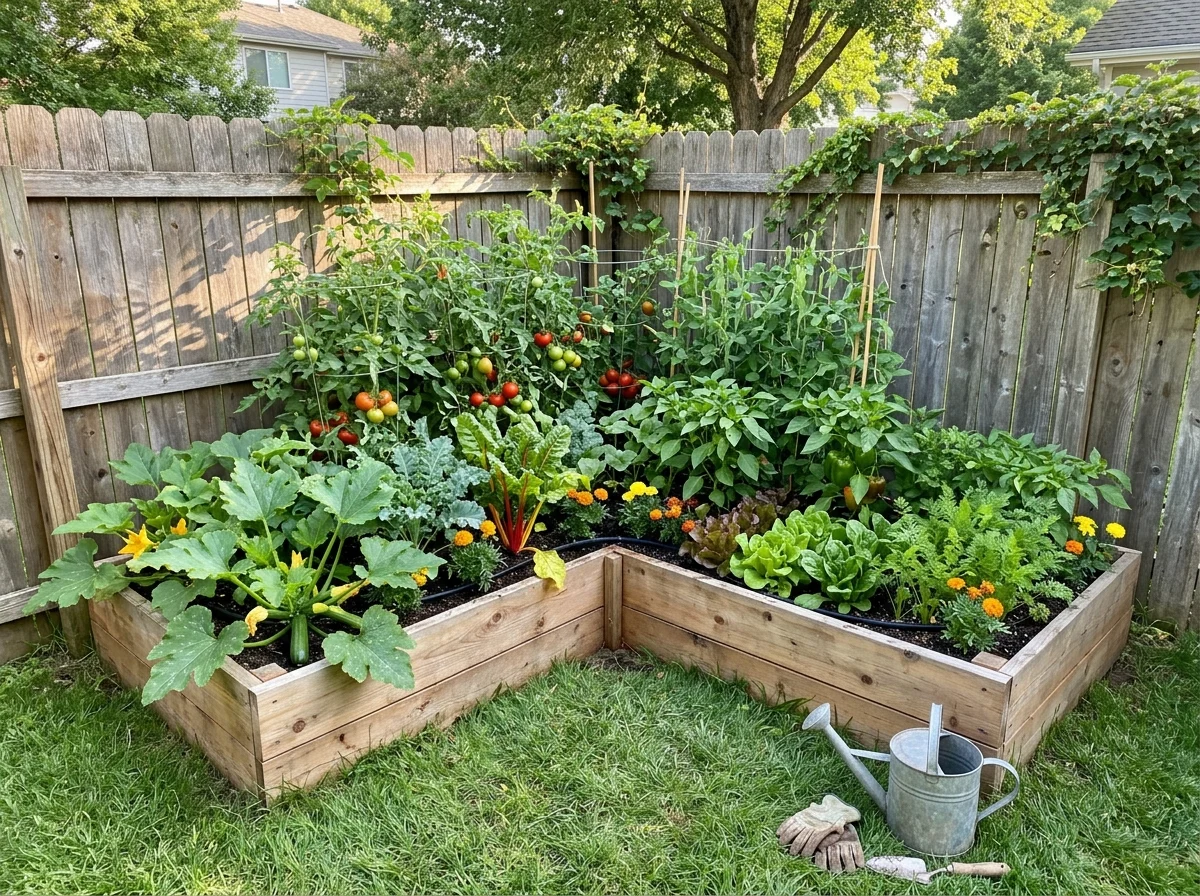
An L-shaped bed follows two joining fence lines or the natural corner of a yard, typically 3 feet wide along each leg, meeting at a right angle. This layout puts a corner to use that would otherwise sit empty or become a dumping spot for yard tools, and it works in square or rectangular yards where at least one corner gets good sun. Put your tallest plants, like staked tomatoes or trellised beans, at the inside corner so they do not shade the rest of the bed. Keep each leg of the L to 3 feet wide or less so you can reach across from the outer edge without stepping into the soil.
8. Pathway-First Planning
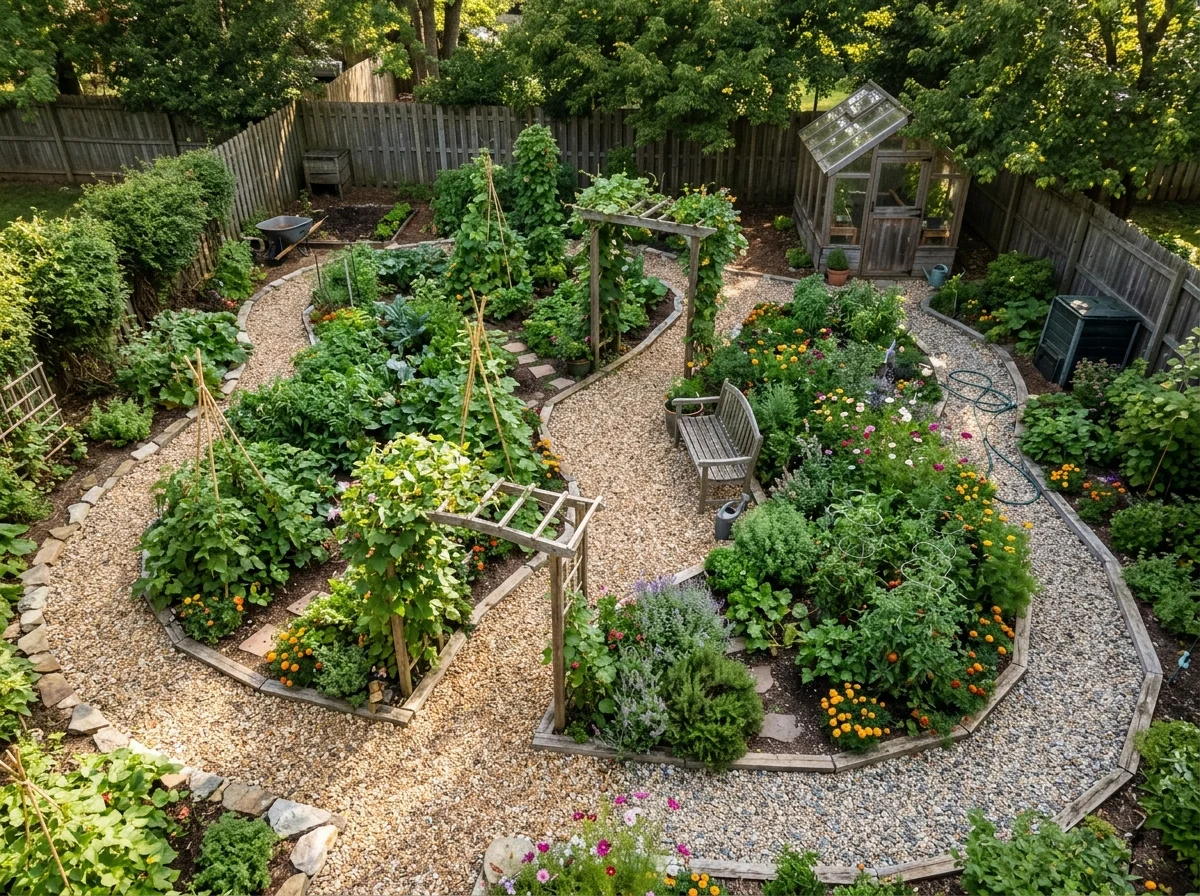
Pathway-first planning means marking out the routes you will actually walk before you decide where any bed goes, then fitting beds into whatever space is left over. Start by walking the yard and noting where you would naturally move between the house, the hose, and the yard’s exit points, then lay a path at least 18 inches wide along each of those routes. This approach works for any oddly shaped yard, since it builds the layout around real movement instead of an idealized rectangle grid. The most common mistake is designing beds first and paths as an afterthought, which usually ends with at least one bed you cannot reach without walking through another one.
Conclusion
Eight layouts, one goal: getting the most food out of a small footprint without a garden that fights you every time you go out to weed or harvest. Raised beds and grids suit anyone starting from bare ground, vertical trellises and container clusters solve yards with little or no usable soil, and corner beds with pathway-first planning make the most of an awkward shape. Pick one layout that matches your actual yard rather than the one that looks best in photos, and you will spend less time fighting the space and more time growing in it.
Frequently Asked Questions
What is the best vegetable garden layout for a small yard?
There is no single best layout; it depends on your yard’s shape and how much ground soil you have access to. Raised beds in parallel rows work well for a rectangular yard with open ground, a square-foot grid suits a compact space under 50 square feet, and container clusters work when there is no usable soil at all, such as a patio or balcony.
How much space do I need for a vegetable garden layout?
A working small-space layout can start with as little as 16 square feet, the size of a single 4 by 4 foot square-foot garden bed. For a more varied layout with two or three raised beds and paths between them, 100 to 150 square feet gives enough room to grow a real mix of crops.
Should I use raised beds or rows in a small yard?
Raised beds generally work better than straight rows in small or irregularly shaped yards because they concentrate good soil in a defined area and use narrower paths. Straight rows still make sense in a long, narrow strip of yard where a rectangular bed would waste space at the ends.
How wide should garden paths be in a small space?
Main paths should be at least 18 inches wide, and 24 inches is more comfortable if you use a wheelbarrow or garden cart. Narrower service paths between rows or raised beds can go down to 12 inches, as long as you can still kneel or crouch to reach the plants on either side.
Can I combine multiple layout types in one small yard?
Yes, and most small yards end up combining at least two layouts once the whole space is in use. A common combination is raised beds along the ground for main crops, a vertical trellis on a fence for vining plants, and a few containers on a patio corner for herbs or crops that need to move with the sun.
Do I need full sun for every layout?
Most vegetable crops need at least 6 hours of direct sun a day, so the layout should follow the sun, not the other way around. If your yard only has one sunny section, build your primary layout there first, and reserve shadier corners for leafy greens or herbs that tolerate partial shade.
What is the easiest layout for a first-time vegetable gardener?
A square-foot gardening grid in a single 4 by 4 foot raised bed is the easiest starting point, since the grid tells you exactly how many plants go in each square. It keeps spacing mistakes to a minimum and is small enough to manage in a single season before expanding to a larger layout.