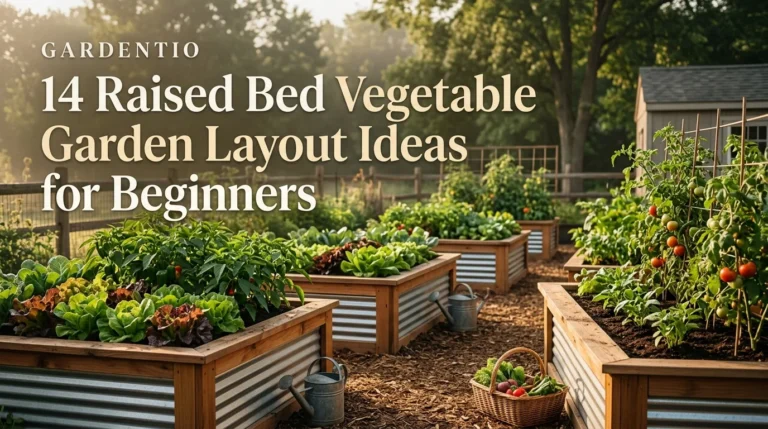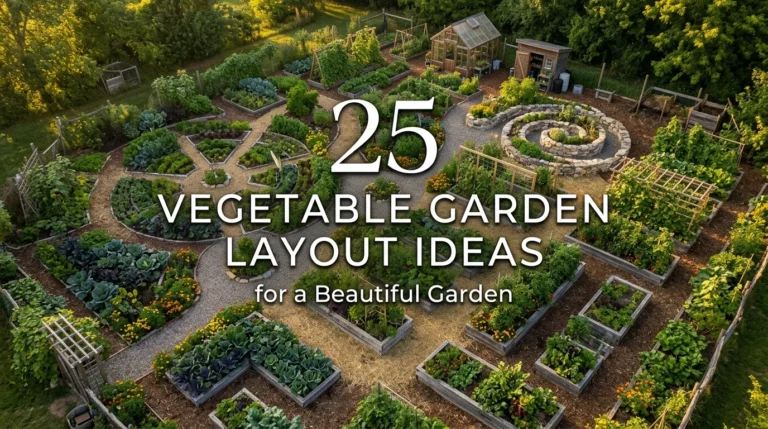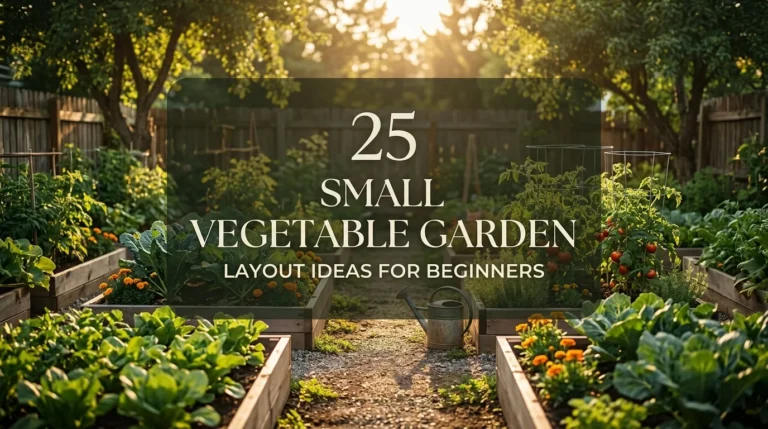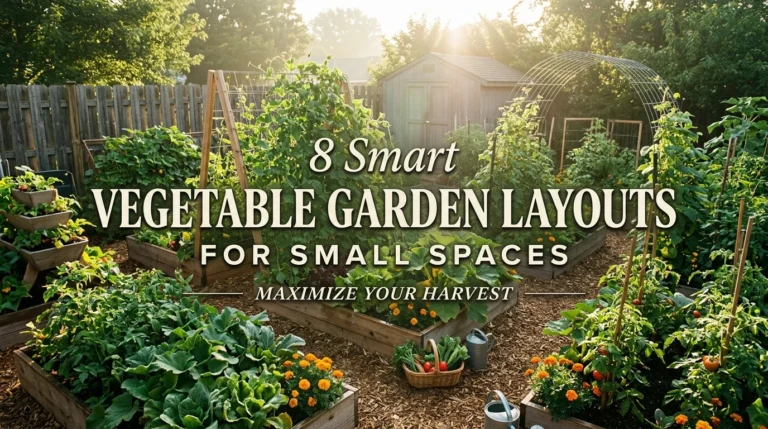

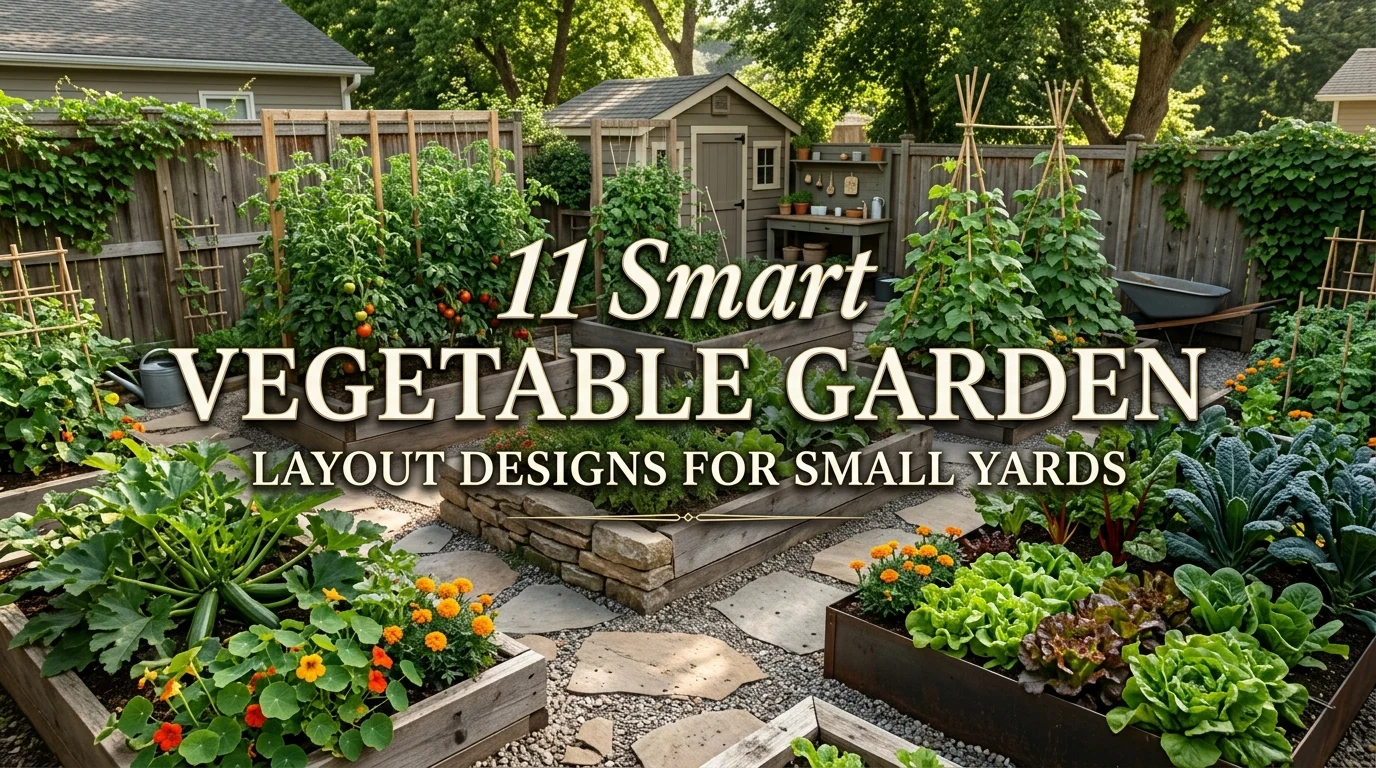
11 Vegetable Garden Layout Design Ideas for Small Yards
A vegetable patch that grows well but is a pain to walk through is more common than most people admit. Rows get planted wherever there’s open dirt, the hose drags across three beds to reach the back corner, and by midsummer the whole thing looks more like a maze than something you’d want guests to see. Good vegetable garden layout design fixes this before a single seed goes in the ground. It starts with paying attention to where the sun actually falls across your yard through the day, then working out how you’ll walk through the space, which plants benefit from growing near each other, and how the beds will rotate from one year to the next so the soil doesn’t wear out. None of this requires a big property. A small space with a clear plan often produces more food and looks better than a large one planted without any thought to structure. What follows are eleven planning ideas that go beyond picking a bed shape, they’re about the thinking that makes a small vegetable garden work well and look good at the same time. The first place to start is with the sun.
1. Plan Around Where the Sun Actually Falls
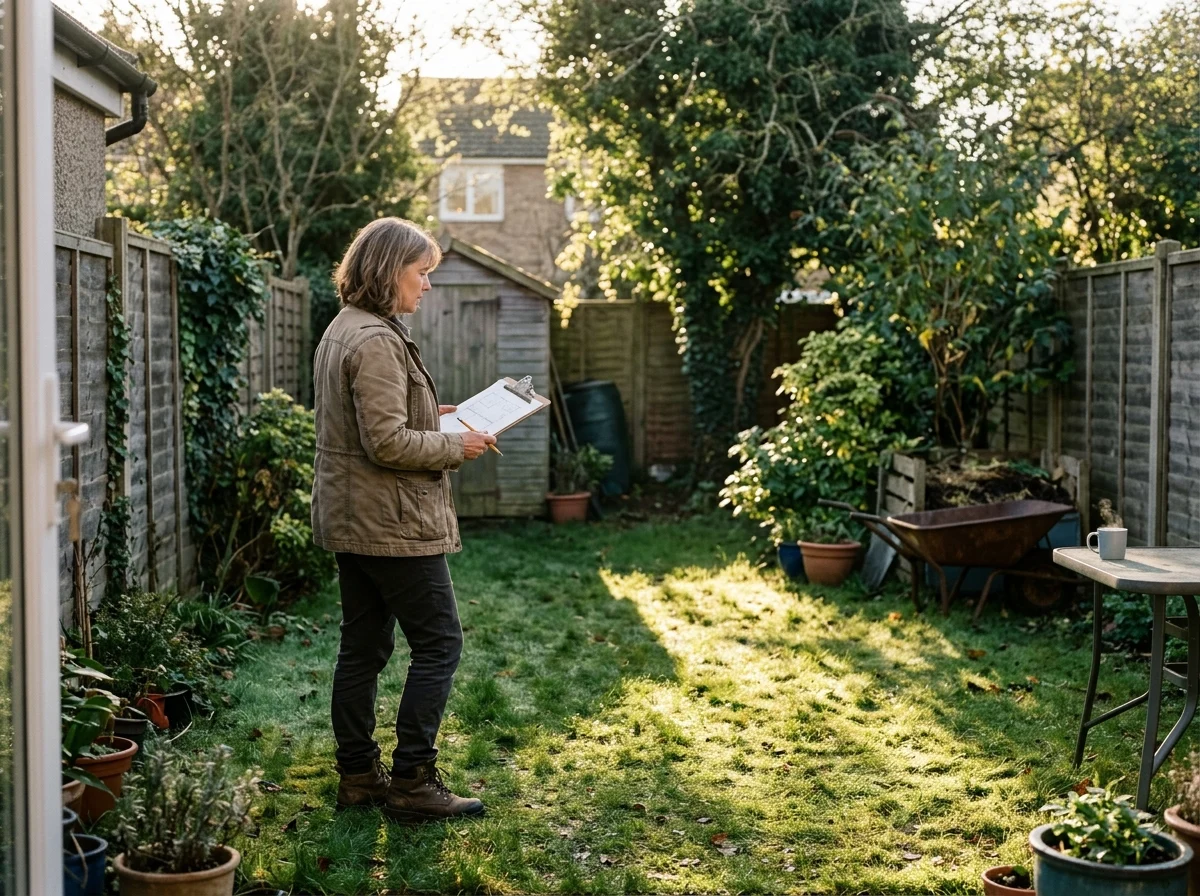
Most fruiting vegetables, tomatoes, peppers, squash, and cucumbers, need six to eight hours of direct sun a day, so the first step in any vegetable garden layout design is walking your yard at a few points during the day and noting where the sun actually lands, not where you assume it does. In the Northern Hemisphere, a spot along the south side of a house, fence, or hedge usually gets the most consistent light, since nothing blocks the sun as it moves across the southern sky. In the Southern Hemisphere, that same logic points beds toward the north side instead. Once you’ve found the sunniest stretch of your yard, that’s where the main growing beds belong, and everything else in the design works around that spot.
2. Place Tall and Trellised Crops So They Don’t Shade Shorter Ones
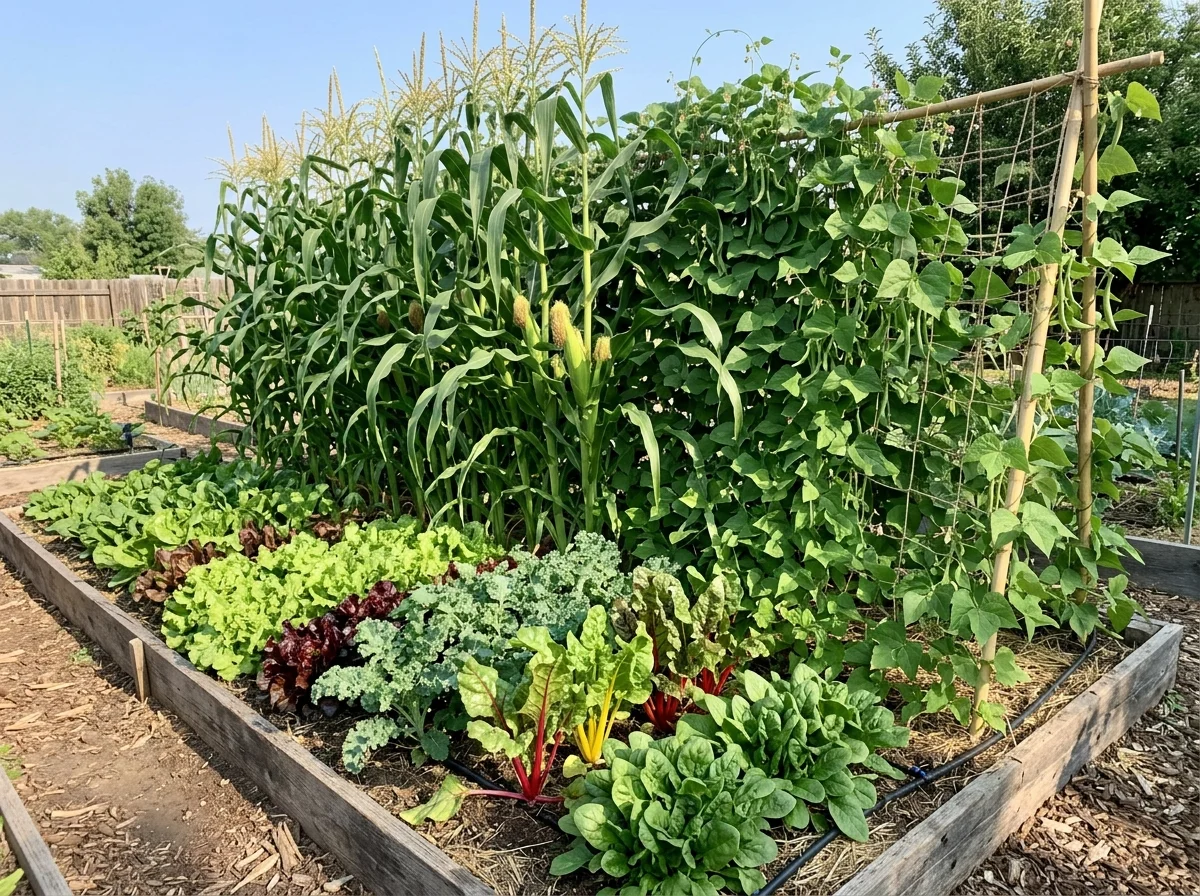
Inside that sunny area, plant placement still matters. Tall or trellised crops like pole beans, corn, and staked tomatoes cast long shadows, so put them on the north edge of a bed (the south edge if you’re in the Southern Hemisphere) where their shade falls outside the growing space instead of over shorter crops like lettuce, carrots, and bush beans. This one adjustment can be the difference between a bed that produces evenly and one where half the plants stay stunted. If your yard only gets strong afternoon sun, save that hotter light for heat-lovers like peppers and eggplant, and use any morning-sun spots for greens and herbs, which tend to bolt faster in intense afternoon heat.
3. Plan Path Widths Before You Build Beds
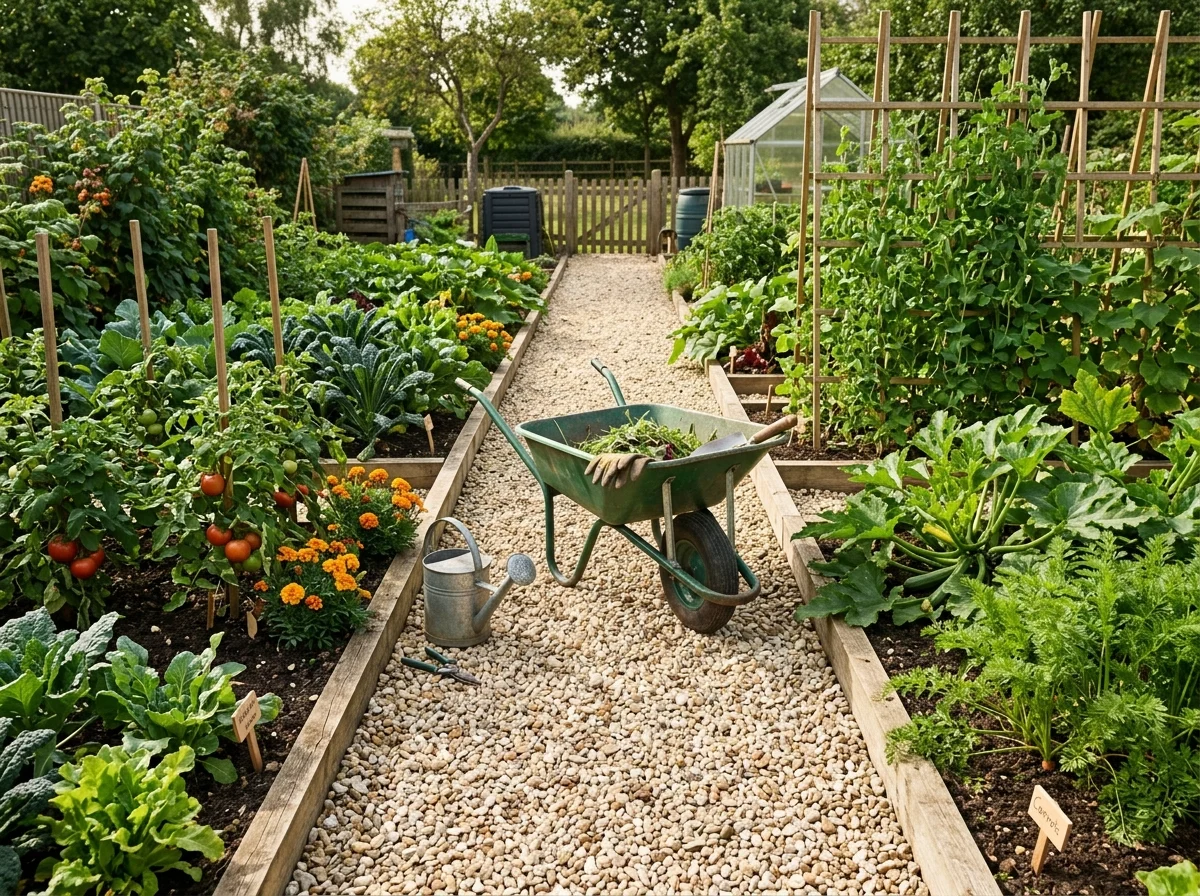
Main paths should be at least 24 to 36 inches wide, wide enough for a wheelbarrow or garden cart to pass through without brushing plants on either side. Secondary paths between individual beds can narrow to 12 to 18 inches, just enough for one person and a hand tool. Planning path width into the layout before beds go in matters more than it seems, because a path that’s too narrow gets skipped, and whichever bed sits behind it gets neglected too. Give the beds you’ll visit most often, salad greens, herbs, tomatoes, the shortest, most direct path from the door, and push slower crops like winter squash or parsnips further back where a longer walk matters less.
4. Build Companion Planting Into the Layout From the Start
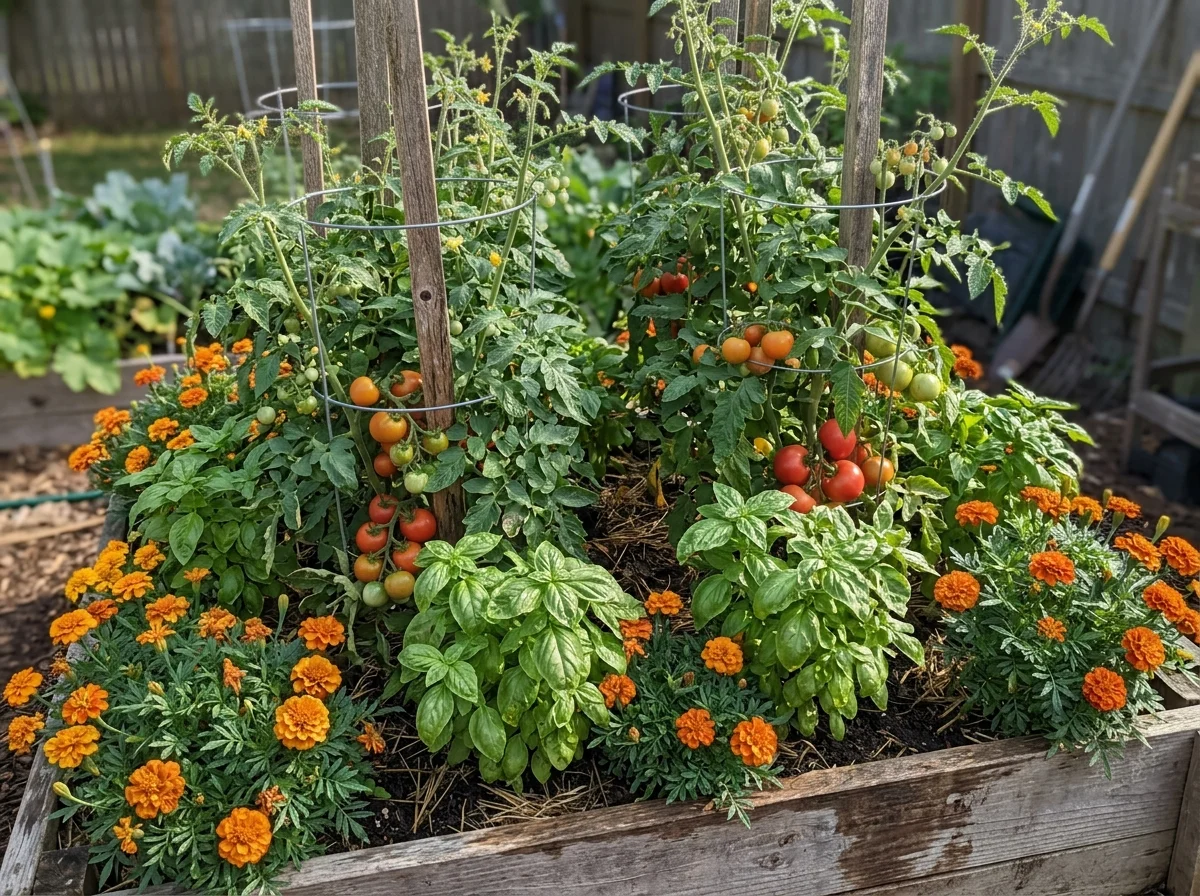
Companion planting works best when it’s built into the layout instead of added as an afterthought. Rather than one long row of a single crop, group plants that help each other into the same bed or zone from the start. Basil, tomatoes, and marigolds share a bed well, the marigolds help repel some pests, and basil is often said to improve tomato flavor when grown nearby. Carrots and onions planted together can confuse each other’s pests, since the onion’s smell masks the carrot from carrot fly. Planning these pairings into the bed layout on paper first, before anything is planted, is far easier than trying to rearrange full-grown plants later.
5. Add a Flowering Herb Border for Pollinators
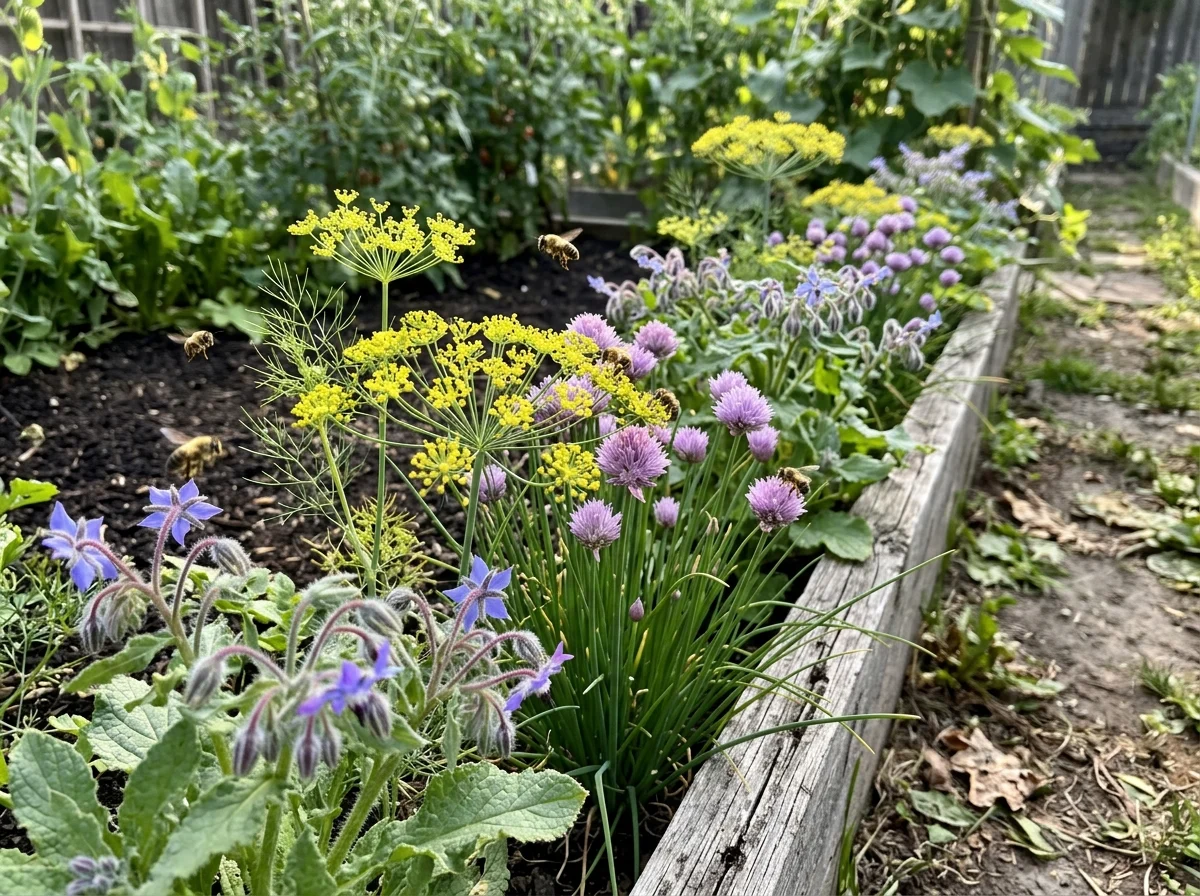
Running a narrow border of flowering herbs, dill, cilantro left to flower, chives, or borage, along the outer edge of the vegetable beds pulls pollinators and beneficial insects into the garden without taking up growing space inside the beds themselves. Place this border along the path side of a bed so it’s easy to reach for cutting and easy to see, since a border tucked behind taller crops does little good for either the pollinators or you. This works especially well next to squash, cucumbers, and other vine crops that depend heavily on bee visits to set fruit. In a small yard, one strip of flowering herbs can do more for pollination than several isolated flower pots scattered around the property.
6. Give Beds a Clean Edge for Curb Appeal
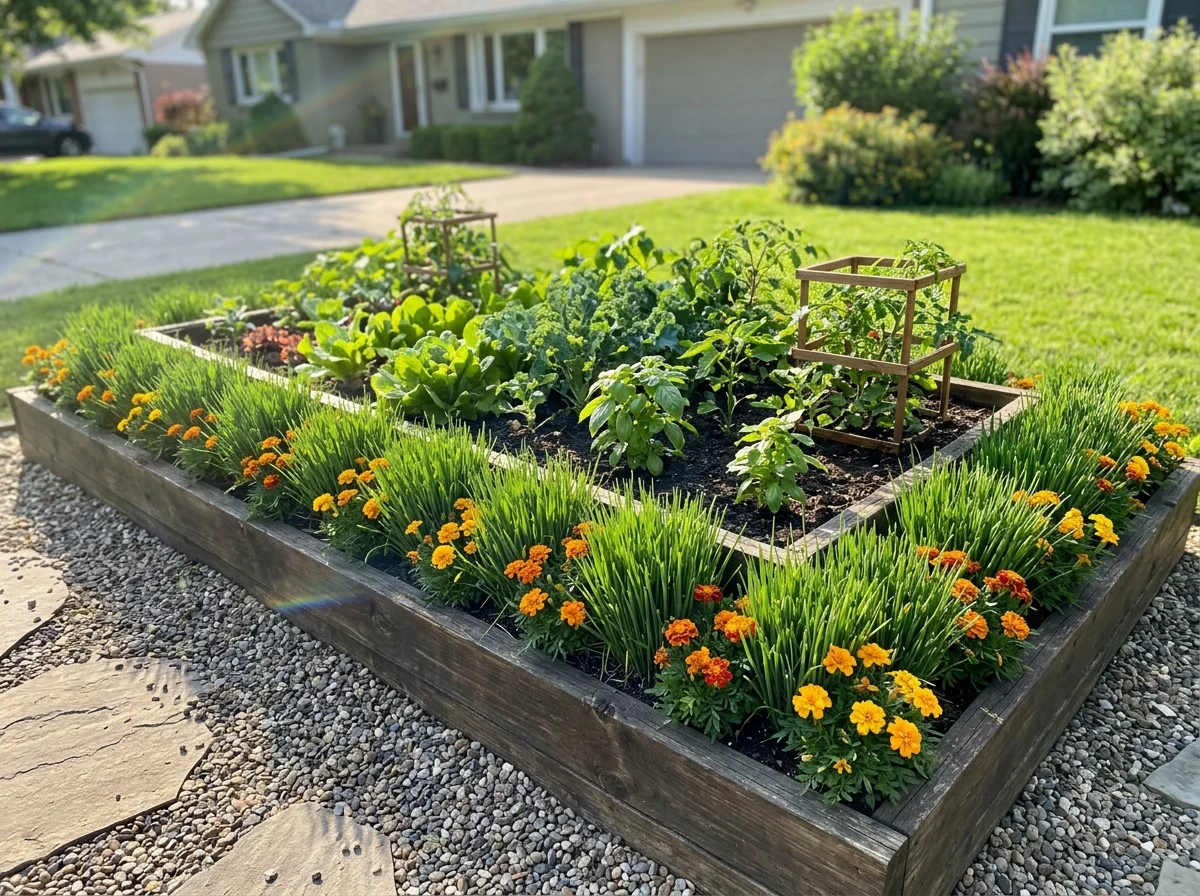
A vegetable garden looks intentional the moment it has a clean edge. Lining bed edges with a low, tidy plant, dwarf marigolds, alyssum, or a clipped row of chives, gives the whole layout a finished look even while the vegetables inside are still small or between harvests. This matters most in a small yard, where the vegetable garden usually sits close to a patio, deck, or front walk and needs to hold its own visually, not just produce food. Choose one edging plant and repeat it around most of the beds rather than mixing several different ones, since repetition is what reads as designed instead of accidental.
7. Use Ornamental-Grade Vegetables Near the Front of the House
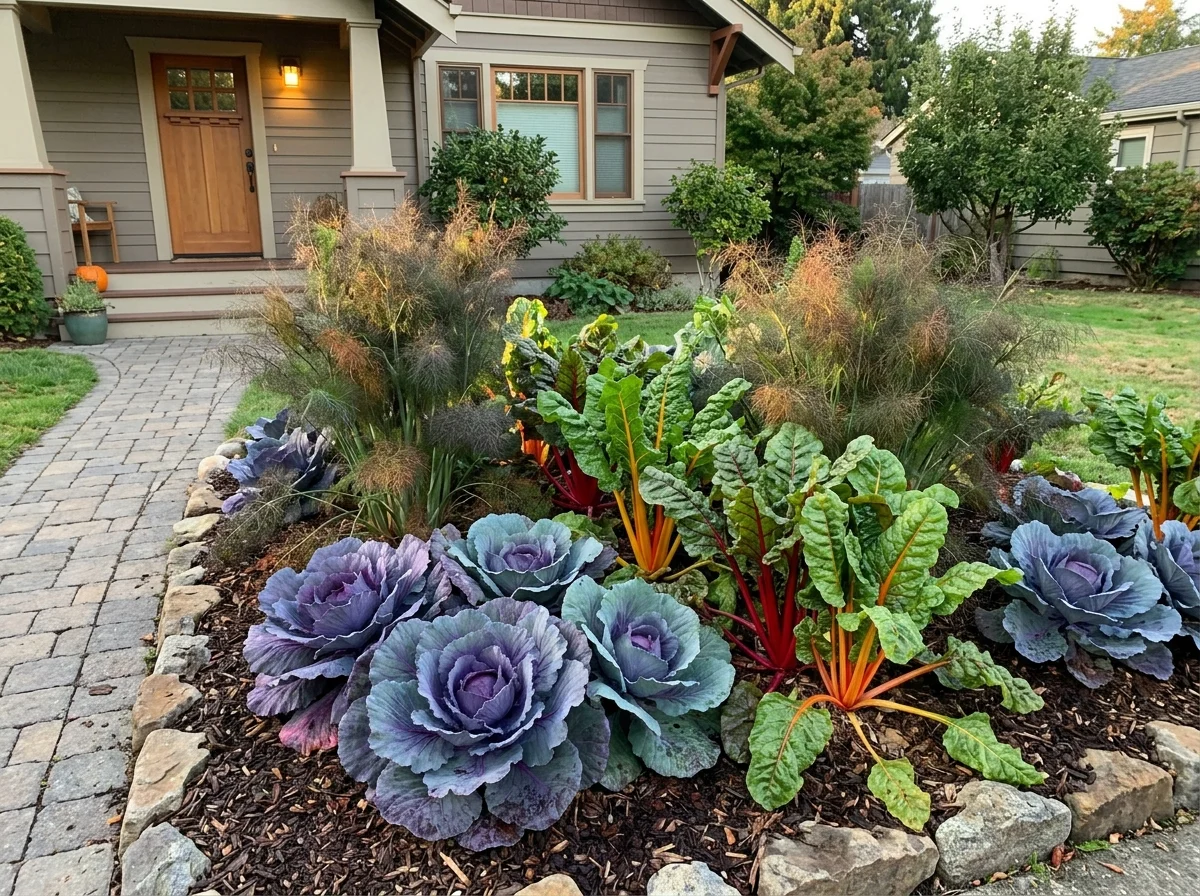
Several vegetables are attractive enough to plant in a front-yard bed the same way you’d plant a shrub or perennial. Rainbow chard, purple cabbage, artichokes, and bronze fennel all hold color and shape through a full season and can pass for ornamental landscaping even before anything is harvested. Rosemary and lavender can edge a bed and double as herbs for the kitchen. Placing a few of these ornamental-grade vegetables near the front of the house or along a walkway lets you grow food in a spot that would otherwise sit empty, and it gives neighbors and passersby less reason to see the vegetable garden as clutter. Save plainer, sprawling crops, squash, potatoes, corn, for a less visible side or back section of the yard.
8. Plan Four Crop Rotation Zones From Day One
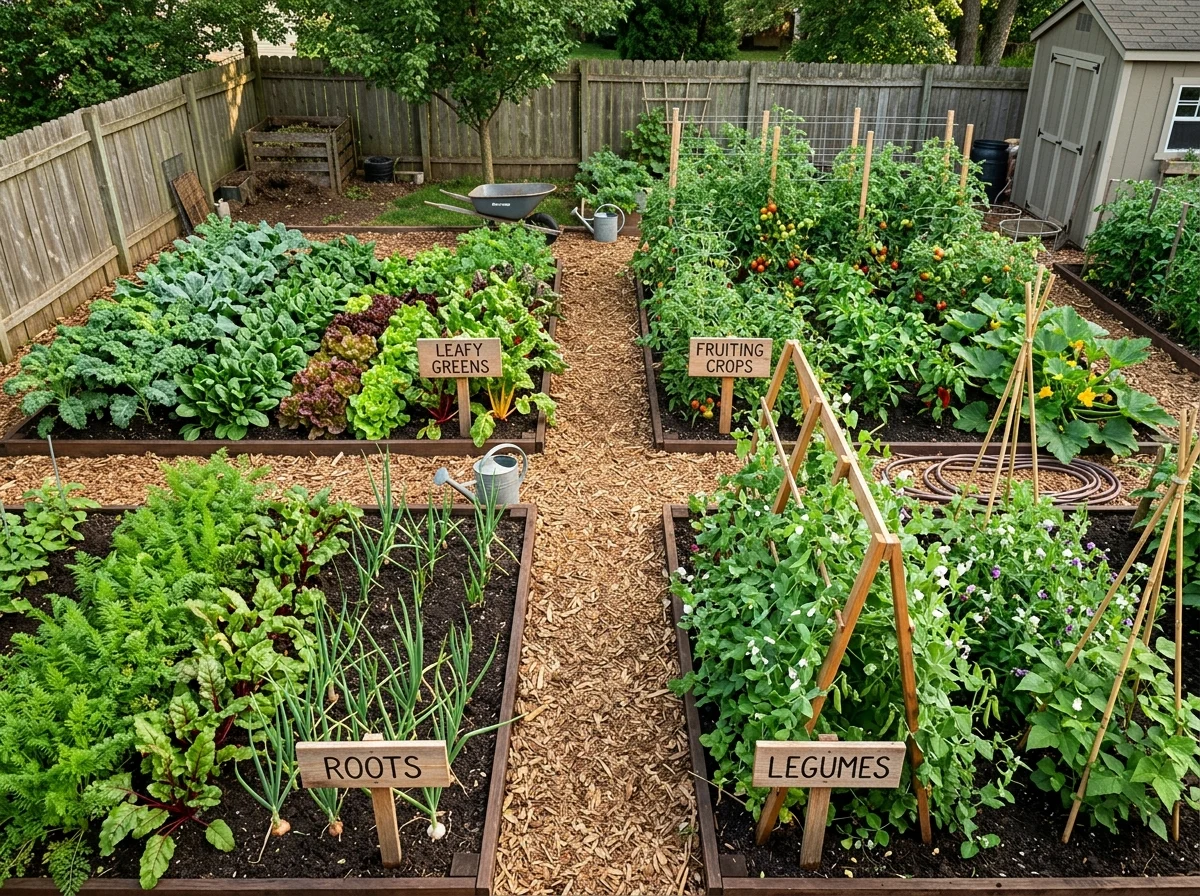
Four rotation zones is enough for most small vegetable gardens: one for leafy greens, one for fruiting crops like tomatoes and peppers, one for root vegetables, and one for legumes like beans and peas. Each year, shift what grows in each zone one position over, so no plant family grows in the same soil two years running. Building these four zones into the layout from the start, instead of retrofitting rotation once beds are already planted, means each zone can be sized and placed by what it needs, root zones somewhere with looser soil, legume zones don’t need heavy feeding since they add nitrogen back into the ground.
9. Give Perennial Crops Their Own Separate Zone
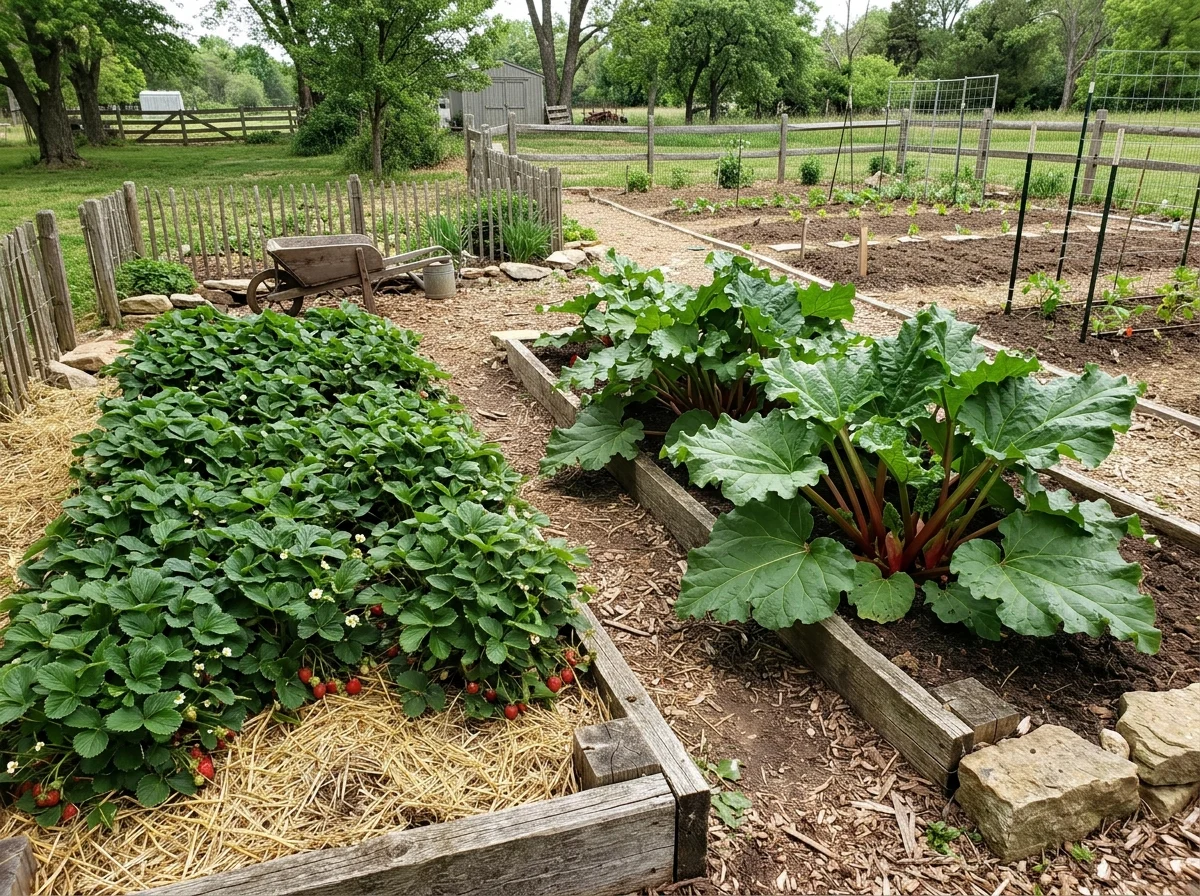
Perennial crops, asparagus, rhubarb, strawberries, and any berry bushes, don’t belong inside the rotation at all, since they stay in the same spot for years. Give them a dedicated, separate zone off to one side of the annual rotation beds, ideally somewhere they won’t need to be disturbed when you’re reworking the rest of the layout. Placing perennials in with the annual rotation zones by accident is a common early planning mistake, it either forces you to skip that zone in the rotation every year or means digging out an established plant that was never meant to move. Marking this permanent zone clearly on your layout plan from the first season saves a lot of rework later.
10. Choose a Symmetrical Layout for an Orderly Feel
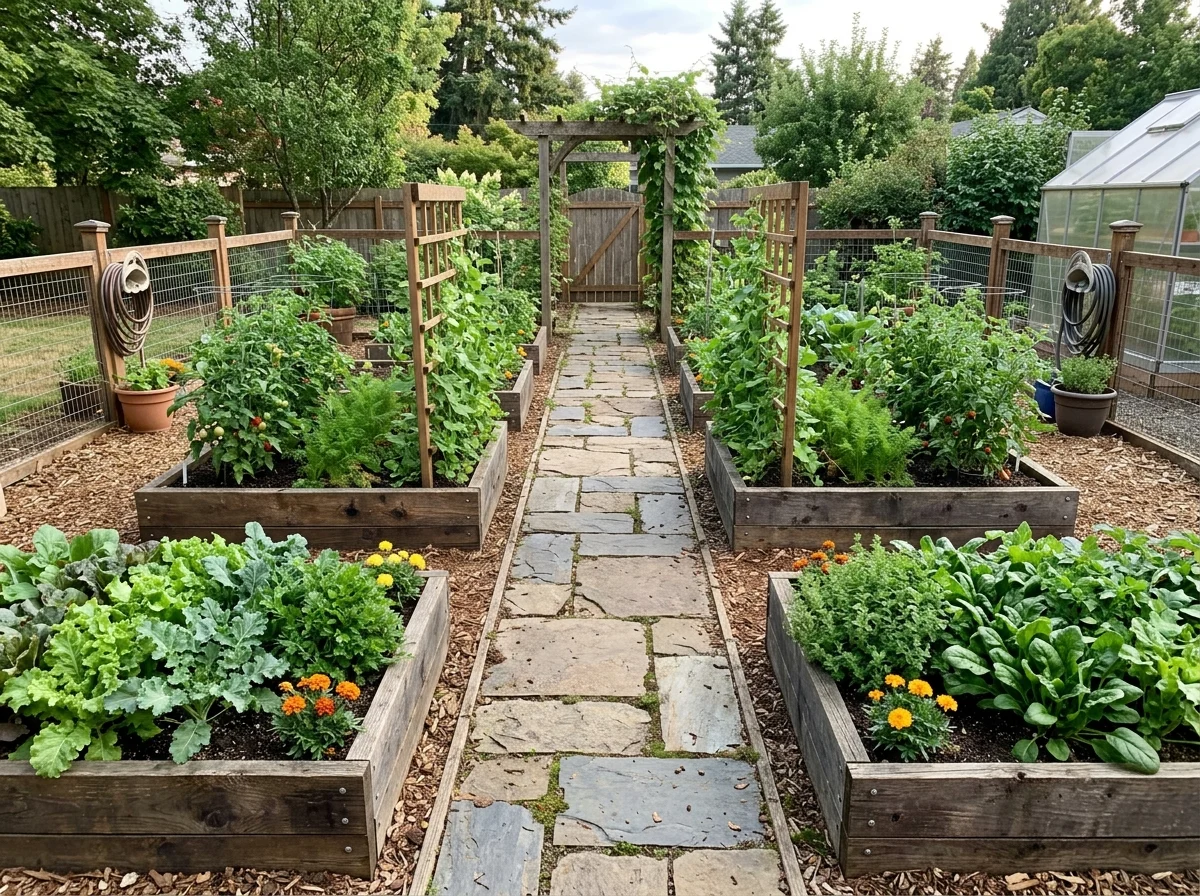
A symmetrical layout, matching beds on either side of a central path, evenly spaced rows, appeals to gardeners who want the space to feel calm and orderly at a glance. It also makes rotation and spacing math simpler, since every bed on one side has a matching bed on the other. This style suits a small, square, or rectangular yard particularly well, where a clear structure keeps the space from feeling cluttered. Symmetry does take slightly more planning up front, beds need to be measured and marked out evenly, but it pays off in a garden that’s easy to maintain, since you always know where each bed’s edge falls even after everything has filled in.
11. Choose an Informal Cottage-Style Layout for a Looser Feel
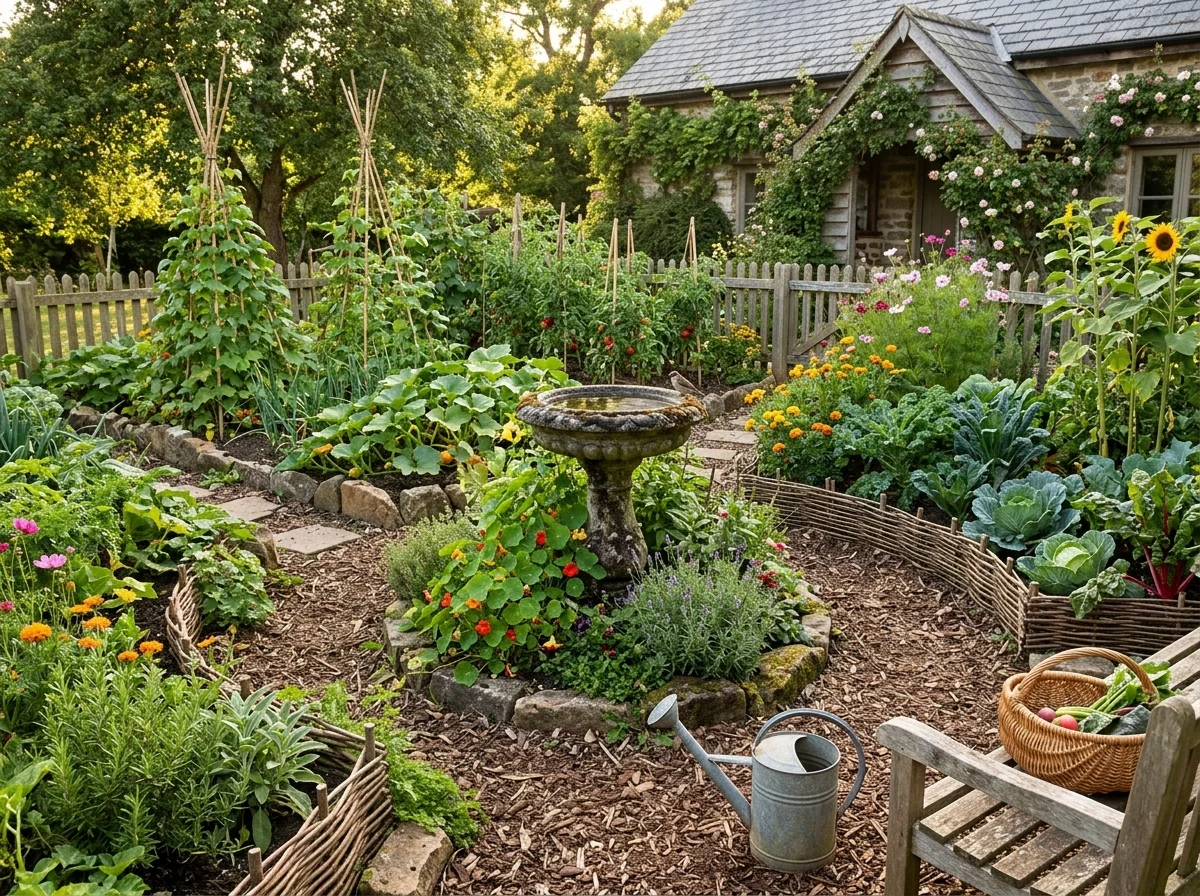
An informal, cottage-style layout uses curved bed edges, mixed heights, and plants allowed to spill slightly over their borders, which suits a yard with an irregular shape or a gardener who wants a looser, less structured feel. This style still needs a plan, it just uses curves and groupings instead of a grid. Set one clear anchor feature, a small trellis, an obelisk, a birdbath, or even a well-placed fruit tree, somewhere the eye naturally lands from the main viewing point, whether that’s a kitchen window or the patio. Build the sightline from that spot through the garden toward the anchor feature, and let the beds curve around it rather than blocking the view. A garden with one clear thing to look at reads as designed even when the planting inside is informal.
Conclusion
A vegetable garden layout design that works starts with the same handful of decisions repeated in different forms throughout this list: know where your sun actually falls, plan how you’ll walk through the space before you plant it, group plants that help each other, leave room for the beds to rotate year to year, and decide early whether you want the space to feel ordered or relaxed. None of these ideas require more square footage, they just ask you to think through the space before the first seed goes in. Start with a rough sketch, mark the sun, the paths, and the rotation zones first, then fill in what you’re actually growing. The layout only gets harder to change once things are planted.
Frequently Asked Questions
How do I start planning a vegetable garden layout for a small yard?
Start by mapping where the sun falls across your yard at a few points during the day, since that determines where the main beds go before anything else. From there, sketch the space on paper, mark main paths at least 24 to 36 inches wide, then decide how many rotation zones you need and where a perennial section or ornamental border might fit. Doing this planning on paper first makes it much easier to adjust before you’ve invested time and money into beds that are already built.
What is the best shape for a small vegetable garden?
There’s no single best shape, the right one depends on your yard and how you want the space to feel. A rectangular or square layout with straight paths suits a small, regular-shaped yard and makes spacing and rotation simpler to plan. A curved, cottage-style layout works better in an irregular yard or for a gardener who wants a softer, less formal look. What matters more than the shape itself is that paths are wide enough to use and beds sit where the sun actually reaches them.
How much space should I leave between garden beds?
Leave at least 24 to 36 inches for main paths that need to fit a wheelbarrow or cart, and 12 to 18 inches for narrower paths between individual beds. Tighter spacing might fit more growing area into a small yard, but it makes weeding, harvesting, and moving tools through the garden harder, which often means those beds get neglected. It’s usually better to plant a slightly smaller area that stays easy to reach than a larger one that’s hard to walk through.
Can I mix vegetables and flowers in the same garden bed?
Yes, mixing vegetables and flowers in the same bed is a common and effective design choice. Marigolds, nasturtiums, and flowering herbs like dill and borage attract pollinators and some beneficial insects while adding color next to crops like tomatoes, squash, and beans. Many vegetables, rainbow chard and purple cabbage among them, are attractive enough to work as ornamental plants on their own. Mixing the two makes a small vegetable garden look like an intentional garden bed rather than a strictly utilitarian plot.
How do I plan for crop rotation in a small garden?
Divide your growing space into three or four zones based on plant family, leafy greens, fruiting crops, root vegetables, and legumes, and shift what grows in each zone by one position every year. Keep perennial crops like asparagus, rhubarb, and berries in their own separate zone outside this rotation, since they stay in place for years. Planning these zones into the layout from the beginning makes the yearly shift far simpler to keep up with, since you’re not reworking beds that already have plants established in them.
Does a vegetable garden need a formal design to look good?
No, a vegetable garden doesn’t need to be formal or symmetrical to look good. An informal, cottage-style layout with curved beds and one clear anchor feature, a trellis, a birdbath, a small fruit tree, can look just as intentional as a grid of matching beds. What makes any layout read as designed rather than accidental is consistency in the edging, clear paths, and at least one feature the eye is meant to land on, not the strict use of straight lines.